In the wake of the global COVID-19 pandemic, the way we work and communicate has undergone a significant transformation, with remote collaboration becoming more prevalent than ever. As companies around the world adapted to the new normal, virtual meetings have become an integral part of daily professional life. Among the plethora of video conferencing tools available, Zoom has emerged as a frontrunner, offering a seamless and user-friendly platform for remote communication. If you’re switching to Ubuntu for work or if you’re just exploring the operating system, Zoom offers a robust and reliable virtual meeting platform for everyone. In this article, we will guide you how to install Zoom on Ubuntu 22.04, enabling you to harness the power of this versatile tool for effective communication in the ever-evolving landscape of remote work.
Key Benefits of Zoom:
- Bridging the distance: Connect with loved ones or colleagues around the world through clear video and audio calls.
- Boosting collaboration: Screen sharing, virtual whiteboards, and interactive polls make meetings dynamic and engaging.
- Stay on top of it all: Record and transcribe key points for easy reference later.
- Accessible for everyone: Free tier available, making Zoom ideal for individuals and organizations of all sizes.
- Versatility at your fingertips: Whether it’s personal connection or professional productivity, Zoom caters to diverse needs
Update System Repositories
Before delving into the installation of Zoom on Ubuntu 22.04, it’s crucial to ensure that your system is up-to-date to prevent potential conflicts during the installation process. One effective way to achieve this is by executing these commands in your terminal:
$sudo apt update && sudo apt upgrade -y
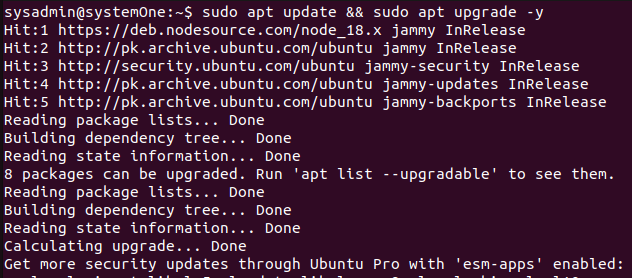
This tandem of commands fetches the latest package information from the repositories and upgrades the installed packages to their latest versions, all while bypassing the need for manual confirmation with the “-y” flag. This preemptive system update is instrumental in maintaining compatibility and resolving any dependencies that might arise when you later proceed to install Zoom on Ubuntu. By incorporating this step into your preparatory routine, you create a solid foundation for a seamless and trouble-free experience as you embark on the journey to install Zoom on Ubuntu 22.04.
Method 1: Install Zoom through the official .deb Package
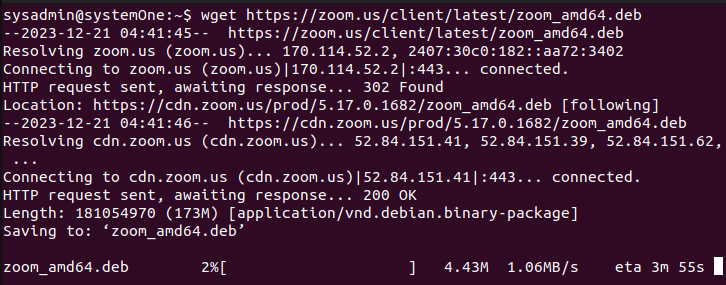
Unfortunately, Zoom is not available through the default repositories so you can install. You’ll have to obtain the package or use the other methods if you want it on your Ubuntu. If you follow this process, you’ll have the benefit of getting the installation package through the official Zoom website. You can run the following to obtain the latest package:
$wget https://zoom.us/client/latest/zoom_amd64.deb
With the .deb file downloaded; you can run the following to install Zoom:
$sudo apt install ./zoom_amd64.deb -y
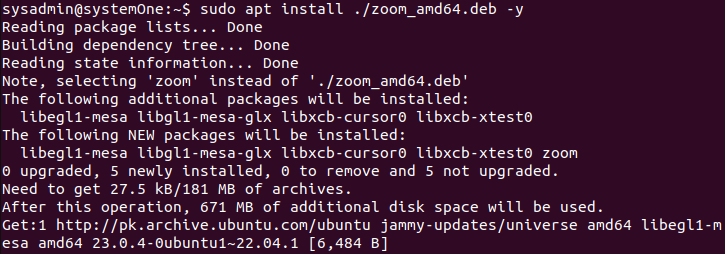
You will see the progress as the installation proceeds and once it is done, you will be able to enter commands again. If you want to explore other ways of installing the .deb file, you can explore our detailed guide on different ways for installing .deb files.
Uninstall zoom through this method
If you decide to install Zoom through this method, you can easily remove it from your computer by executing the following in your terminal:
$sudo apt purge zoom -y
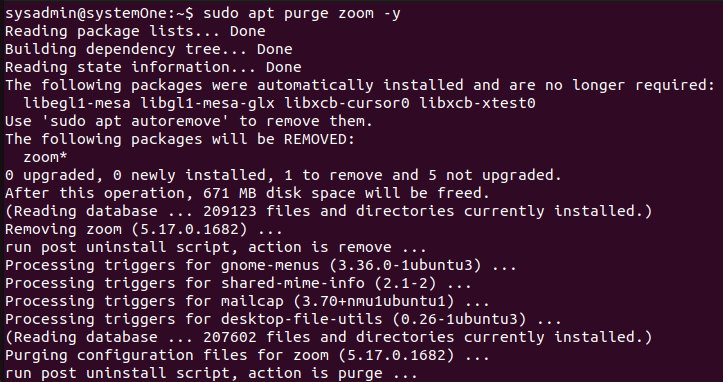
You will be prompted to input your sudo password to authenticate the process and then Zoom will be promptly uninstalled from the computer.
Method 2: Install Zoom through the Snap Store
Before you can proceed with this method, make sure that you have Snapcraft installed on your computer. You can see that it is not installed on my computer here:
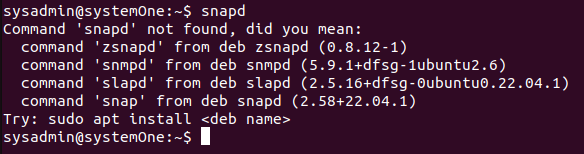
You can simply run the following to install it:
$sudo apt install snapd
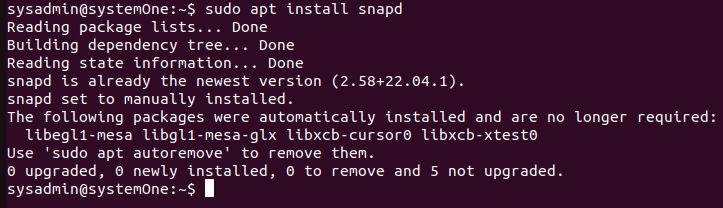
If it’s already installed, the output will show you.
Now you can easily install Zoom on Ubuntu effortlessly using the Snap package manager, which provides numerous advantages. Through Snap, the installation becomes simplified as it includes the Zoom client along with its dependencies in an isolated and secure environment. The Snap package also facilitates easy updates, allowing users to stay current with the latest Zoom features and security patches effortlessly. To initiate the installation, open a terminal on your Ubuntu system and execute the command
$sudo snap install zoom-client

Uninstall Zoom through Snap
Like the last method, you can simply remove the Zoom snap from your computer directly by using:
$sudo snap remove zoom-client

Launch Zoom
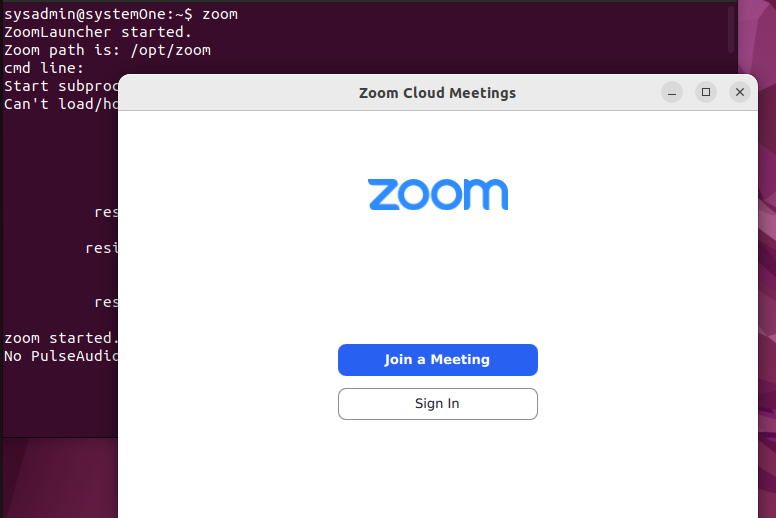
Like with any other tool, you can launch Zoom both through the terminal and through the Activities panel. Launch your terminal and type:
$zoom
If you installed it through the snap, you can launch it through:
$zoom-client

On the other hand, if you want you can launch it by going into applications and typing in “zoom” and then clicking on the icon to launch the application.
Update Zoom
Now that we’ve explored some methods for installing and removing Zoom on your Ubuntu computer, let’s talk about updating the Zoom client.
For the APT method, you’ll simply need to follow the whole process again. Download the latest deb package and install it again.
For the snap method, you will need to run the following:
$sudo snap refresh zoom-client
Conclusion
As we explored how to install Zoom on Ubuntu, it is a straightforward and efficient process, especially when utilizing the Snap package manager. By following these instructions, users not only gain access to a powerful video conferencing tool but also ensure easy updates and enhanced system security. Whether for professional meetings, virtual collaboration, or staying connected with friends and family, installing Zoom on Ubuntu through Snap provides a reliable and user-friendly solution, enhancing the overall experience of online communication on the Ubuntu platform. If you want to learn more about Zoom, you can check their official website for a detailed understanding.