
Navigating through the plethora of Remote Desktop Solutions, TeamViewer stands tall as a versatile and user-friendly tool for seamless collaboration. In this guide, we will guide you through the straightforward process and teach you how to install TeamViewer on Ubuntu 22.04.
Whether you’re a business professional seeking efficient remote meetings or an individual aiming for remote assistance, our step-by-step instructions will empower you to harness the full potential of TeamViewer within the Ubuntu 22.04 environment. Join us as we simplify the installation process, ensuring you can quickly integrate TeamViewer into your Ubuntu system for enhanced connectivity and productivity.
Updating System Repositories
Before starting on the installation journey of TeamViewer on Ubuntu 22.04, it is crucial to ensure that your system repositories are up to date. Updating the repositories involves refreshing the package information stored on your Ubuntu system, providing the latest versions and dependencies necessary for seamless installations. Open the terminal and execute the following command combination:
$sudo apt update && sudo apt upgrade -y
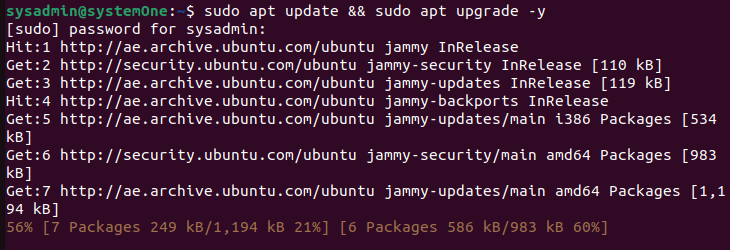
The first part of this command will tell your Ubuntu to synchronize your system with the latest package information. The next part will perform any pending updates. This preparatory step is essential for a smooth TeamViewer installation, as it guarantees that you have access to the most recent software versions and security updates, enhancing the overall stability and compatibility of your Ubuntu system.
Install TeamViewer
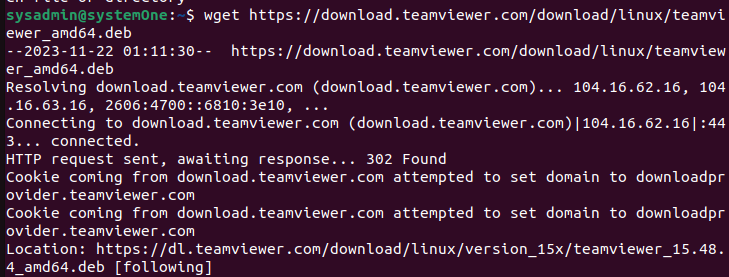
Unfortunately, TeamViewer is no longer available through the official Ubuntu repositories. To install it on Ubuntu, you first need to obtain the deb package from the official website. You can either download it from the website in your web browser.
Alternatively, you can obtain the deb package for the latest version through the terminal using:
$wget https://download.teamviewer.com/download/linux/teamviewer_amd64.deb
After the package is successfully downloaded, you will then need to install it using:
$sudo apt install ./teamviewer_amd64.deb
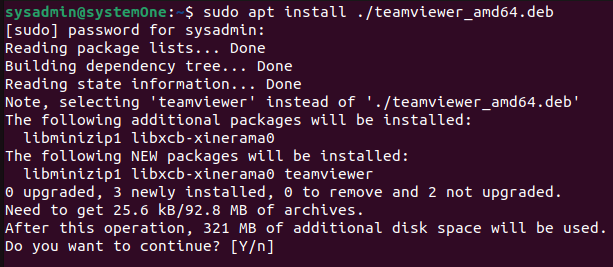
Press Y when prompted and it will install TeamViewer on your computer.
Launching TeamViewer
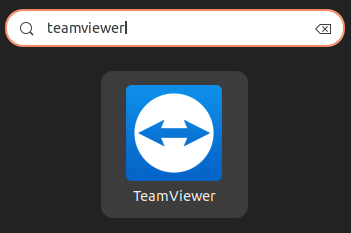
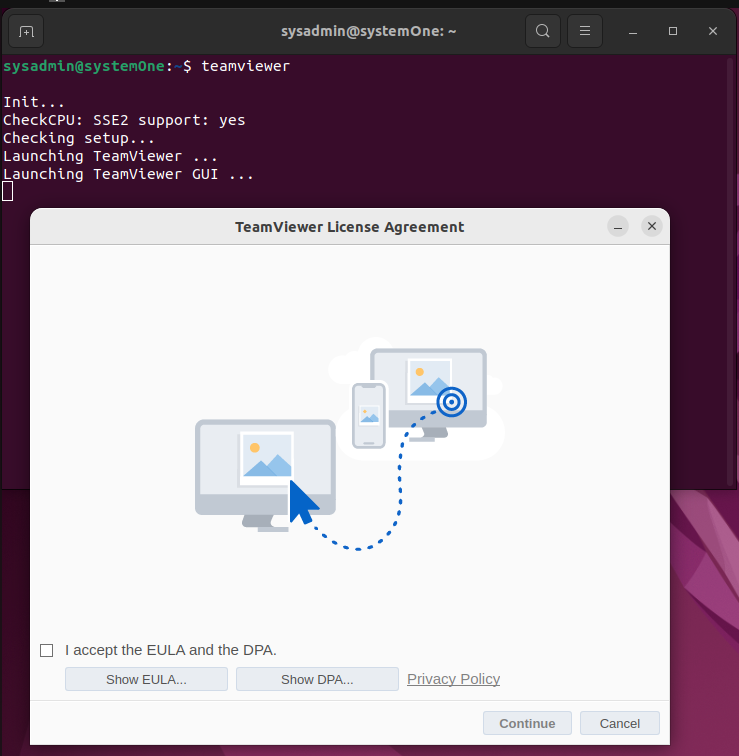
Launching TeamViewer on Ubuntu 22.04 is a simple and swift process. After a successful installation, you can access TeamViewer through the application menu by looking for it through the search bar and typing “teamviewer”
Alternatively, you can open the terminal and type ‘teamviewer’ to launch the application.
$teamviewer
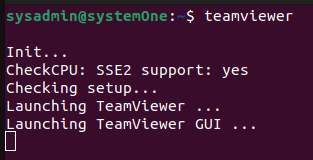
Press Enter, and TeamViewer will initiate, presenting you with a user-friendly interface ready for remote desktop connections.
Uninstalling TeamViewer
Removing TeamViewer from your Ubuntu 22.04 system is an uncomplicated process. If you ever need to uninstall TeamViewer, open the terminal and input the following command:
$sudo apt purge teamviewer -y
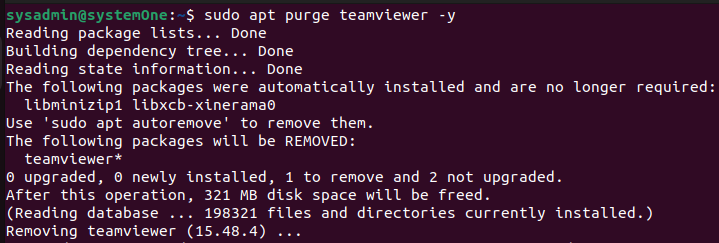
Confirm the action by entering your password if prompted. This will remove TeamViewer along with its configuration files from your Ubuntu 22.04 system.
Conclusion
This guide walked you through the seamless process and taught you how to install TeamViewer on Ubuntu 22.04. From updating your system repositories to executing the installation command and launching the application, each step has been carefully outlined to ensure a smooth and efficient experience. TeamViewer not only provides a reliable solution for remote desktop access but also enhances collaborative efforts and facilitates remote support. With its intuitive interface, TeamViewer has a whole list of features that can help address your remote connection needs.
Whether you’re navigating virtual meetings or extending assistance across distances, the successful integration of TeamViewer into your Ubuntu system opens up a world of connectivity and productivity.