In the world of digital document management, efficient file size is key, and for Ubuntu users seeking to optimize their PDFs, mastering the art of compression becomes paramount. Whether you’re aiming to save storage space, expedite file transfers, or enhance online sharing, understanding how to compress a PDF file in Ubuntu operating system is a valuable skill. In this article, we will delve into the various methods and tools available, providing a comprehensive guide to streamline your PDFs without compromising on quality.
In this guide, we’re going to explore a command line tool called Ghostscript to help you compress PDF files in Ubuntu 22.04. We’ll explore the installation, usage, and removal of this tool for your computer.
Installing Ghostscript
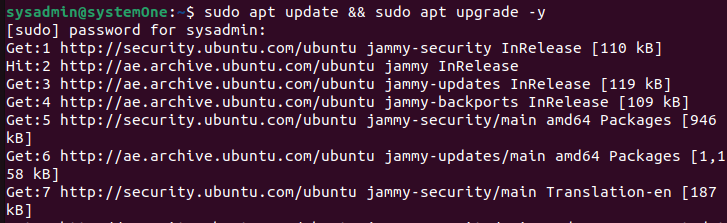
Like with any other tools, it’s highly recommended that you update your apt packages to avoid any conflicts or issues during the installation process. For that, you can run the following in your terminal:
$sudo apt update && sudo apt upgrade -y
After the process completes, you can now install the tool using:
$sudo apt install ghostscript -y
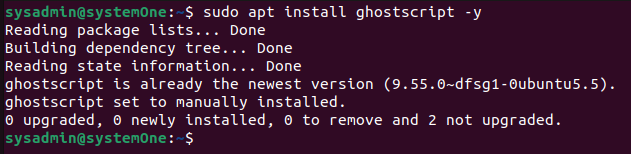
Here you can see that the tool is already available on my Ubuntu. if it wasn’t already installed, you will see the installation process take place. After the installation successfully completes, you will be ready to compress PDFs through your terminal.
Compress a PDF through the terminal
Now, you can simply run the following command to compress your desired PDF file:
$ gs -sDEVICE=pdfwrite -dCompatibilityLevel=1.4 -dPDFSETTINGS=/screen -dNOPAUSE -dQUIET -dBATCH -sOutputFile=output.pdf input.pdf
Option Details
Out of all the options, you can need to understand the -dPDFSETTINGS setting and its various options to compress your PDFs according to your needs.
-dPDFSETTINGS=/screen: for lower quality and smaller size output.
-dPDFSETTINGS=/ebook: better quality with slightly larger file size.
-dPDFSETTINGS=/prepress: high quality output and size.
-dPDFSETTINGS=/printer: output ideal for printer quality.
Example – how to compress a PDF
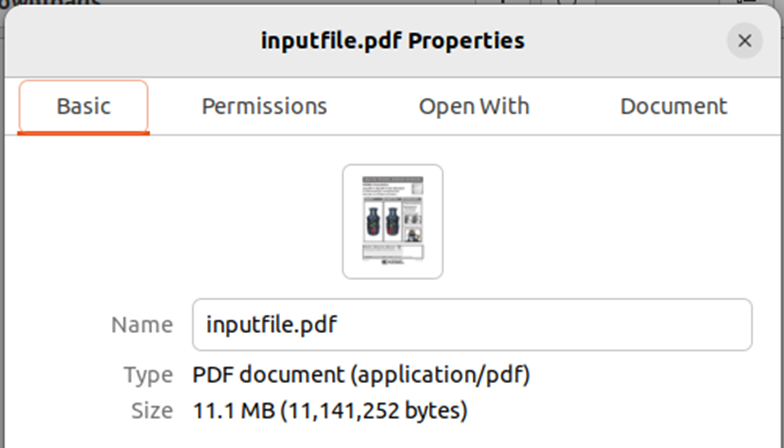
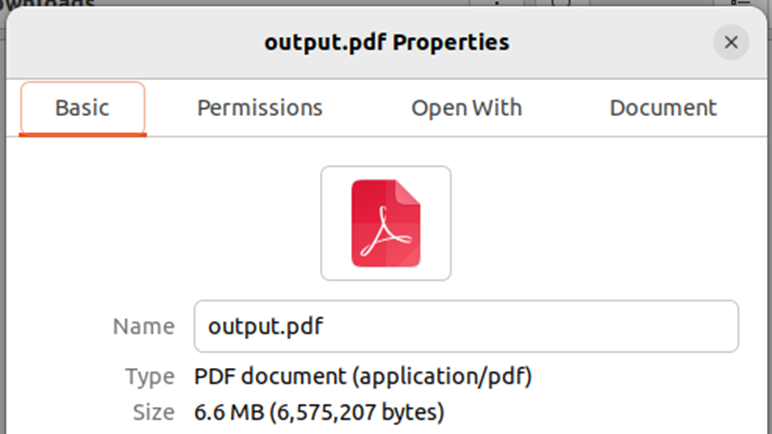
Let’s try to compress a simple PDF. The input file is going to be named “inputfile.pdf” and the compressed file will be named “inputfile_compressed.pdf”
$ gs -sDEVICE=pdfwrite -dCompatibilityLevel=1.4 -dPDFSETTINGS=/screen -dNOPAUSE -dQUIET -dBATCH -sOutputFile=output.pdf inputfile.pdf

Here you can see that your desired PDF has been compressed and the file size has been reduced.
Uninstalling Ghostscript
Now that we know how to install and use Ghostscript, if for any reason you want to remove the tool, you can simple run the following:
$sudo apt autoremove ghostscript --purge -y
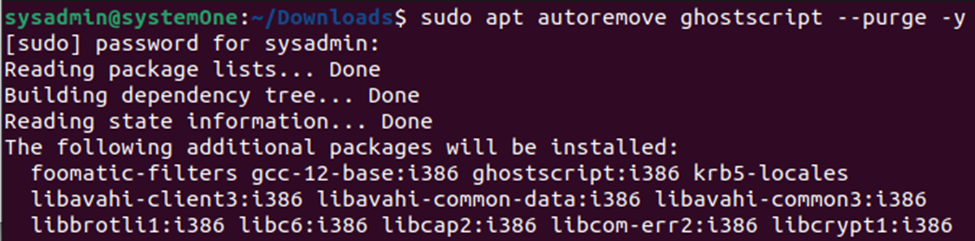
This will remove the tool and any dependencies along with configuration files installed with it.
Conclusion
This is a simple yet very powerful tool. You can use this tool to quickly and effectively compress your PDF files. You can learn more about Ghostscript on their official website.
If at any time, you face any issue, you can reach out to us through the comments below and we’ll guide you through it.