Today we are talking about LVM or Logical Volume Manager. We are covering the following topics:
1. What is LVM and its example
2. Advantage of LVM
3. Possibilities of LVM
4. Real-time LVM example
5. Adding new space/disk using LVM
6. Extending the new space using LVM
LVM is used to manage volume and disk on the Linux server. Logical Volume Manager allows disks to be combined. Like disk partitions in Windows C, D, and E, we can do the same in Linux. A single disk can be divided into different partitions. If the disk is running out of space, you can add a new disk without breaking partitions of your file system.
Using LVM new space can be created on a server for a new project. In case of low disk space, you can increase the space. If an extra space is allocated to a partition, capacity can be reallocated
We need to deploy two new applications app1 and app2 on our server and need separate partitions and 1 GB space for each application.
Steps of LVM for adding new space
We need to follow the steps of LVM for adding new space.
1. Install a new hard disk drive
2. Make a partition to use it
3. Designate physical volume (PV)
4. Manage volume group (VG)
5. Manage logical volume (LV)
6. Apply a file system
7. Set a mount point
1. Install a new hard disk drive
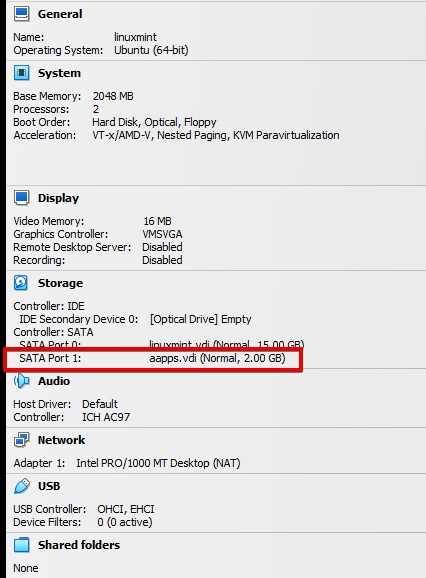
The first step is to attach a new hard disk drive to your system. We do not have actual Linux servers. We are using Oracle Virtualbox and we have added a hard disk drive of 2GB and named it aapps as you can see from the screenshot.
Let us verify this newly added hard disk. Open the terminal and run the below command.
fdisk -l

2. Make a partition to use it
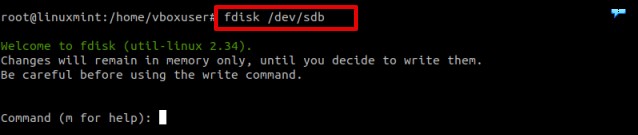
Now we will be using this disk /dev/sdb to create a partition.
fdisk /dev/sdb
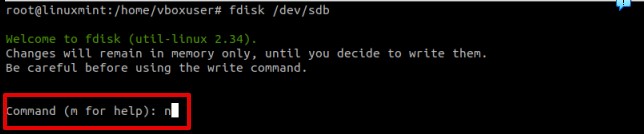
Press n and create a new partition.
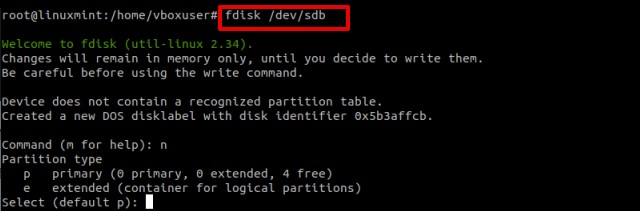
The system will prompt you to create an extended or primary partition. We have a fresh disk so we will be going with the primary partition. Default is primary so leave it as it is and press the Enter key.
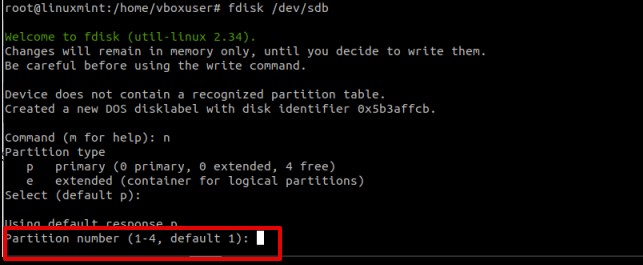
Set the partition number. Go for default 1 and press the Enter key.
Choose the default first and last sectors and press the Enter key.

At this point, a new partition is created of type Linux. You can also notice from the below screenshot.

Since we are dealing with LVM, we need to change the type from Linux to Linux LVM. press t and provide the code 8e. When ready, press the Enter key.

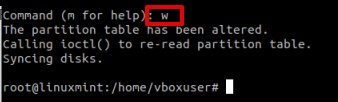
Press w and save the changes made to the disk.
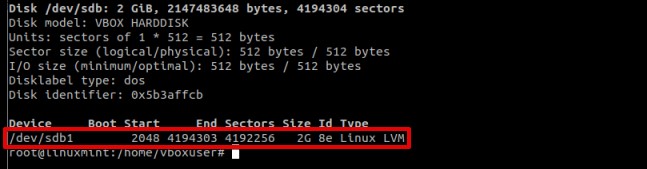
We can confirm the new partition by running the command. You will notice a new partition of size 2 GB and type Linux LVM.
fdisk -l
3. Designate physical volume (PV)
Now, we can create physical volume from the above partition. Run the following:
pvcreate /dev/sdb1

We will get a message upon the successful creation of the physical volume.
4. Manage volume group (VG)
After the physical volume creation, the next step is to create a volume group named vgaapps. Run the following on the terminal.
vgcreate vgaapps /dev/sdb1

5. Manage logical volume (LV)
Finally, we can create two Logical volumes aapps1-lv and aapps2-lv of size 1GB each. Run the commands on the terminal.
lvcreate -L 1000M -n aapps1-lv vgaaps
lvcreate -L 1000M -n aapps2-lv vgaaps

6. Apply a file system
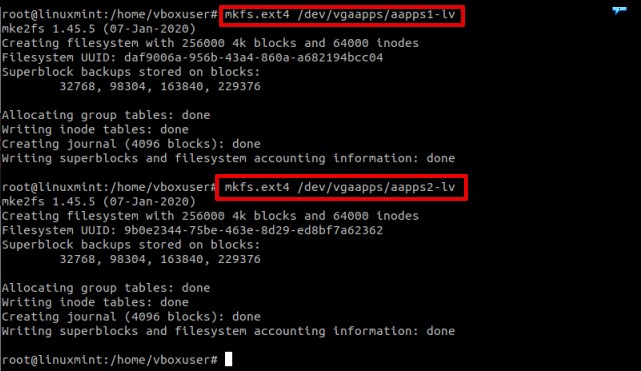
The last tasks are applying a file system and setting a mount point. Open up the terminal and run the following command to apply a file system to newly created logical volumes.
mkfs.ext4 /dev/vgaapps/aapps1-lv
mkfs.ext4 /dev/vgaapps/aapps2-lv
7. Set a mount point
Make two directories aapps1, aapps2 in the root folder.
mkdir /aapps1 /aapps2
Create a mount point between logical volumes and directories.
mount /dev/vgaapps/aapps1-lv /aapps1
mount /dev/vgaapps/aapps2-lv /aapps2

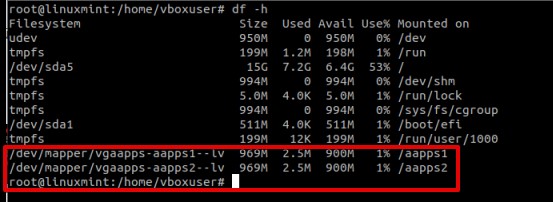
You can confirm the mount points by running the command on the terminal.
df -h
The mount points are temporary. That means when a system is rebooted the mount points will be removed. Let’s make an entry in /etc/fstab so the mount points are permanent and are not removed when a system is rebooted.
Copy the last two lines from the following file.
cat /etc/mtab

Slightly change the lines and paste them in the following file.
nano /etc/fstab
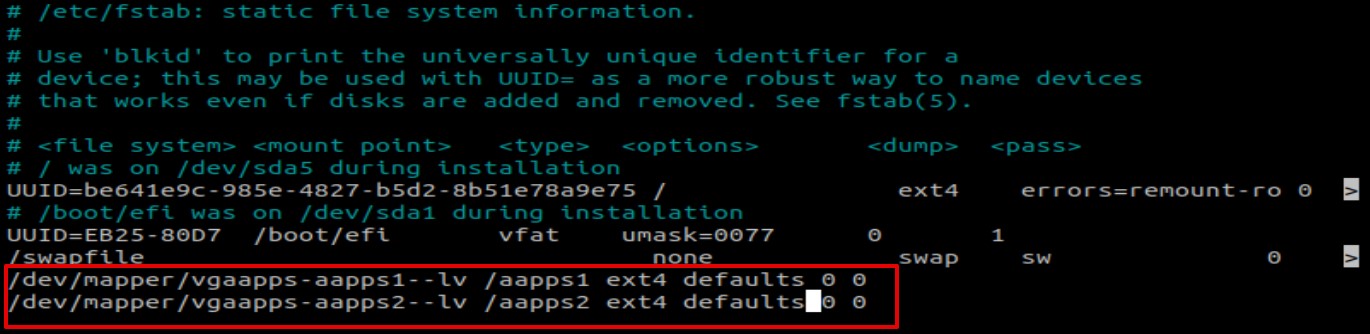
Save the changes and close the file.
Conclusion
In this article, you have read what is LVM, its examples, and use cases. In the end, we have also shown you how you can work with LVM.
Thank you for reading the article. Keep visiting Linux World.