Are you eager to elevate your development experience on Ubuntu 24.04 LTS? With Node.js, you can utilize the power of a versatile JavaScript runtime to build high-performance web applications, develop APIs, and create real-time services. Installing Node.js on Ubuntu is a key step to unlocking these capabilities and enhancing productivity. However, the installation process can sometimes be tricky, especially if you want to ensure everything runs smoothly.
Ubuntu 24.04 LTS, known for its stability and performance, provides several ways to install Node.js, each with its advantages. In this guide, we’ll walk you through multiple methods to install Node.js on your system, from using the package manager to managing multiple versions with Node Version Manager (nvm). Whether you’re a novice or an experienced developer, these methods will help you get up and running with Node.js quickly.
Methods to Install Node.js on Ubuntu 24.04 LTS
In this guide, we’ll simplify the process of installing Node.js on Ubuntu 24.04 LTS by breaking it down into three clear stages, making it easy for you.
1. Prerequisite: Essential step to prepare your system before installation.
2. Installation Methods: Different approaches for installing Node.js on your system.
- Using the Ubuntu Package Manager: Quickly install Node.js with a single command.
- Using NodeSource Binary Distributions: Get the latest version directly from the source.
- Using Node Version Manager (nvm): Manage multiple versions of Node.js effortlessly.
3. Verification: Steps to confirm that Node.js and npm are installed correctly.
Let’s start by ensuring your system is ready with the necessary prerequisites.
Prerequisite
Before starting the installation, make sure you have the following:
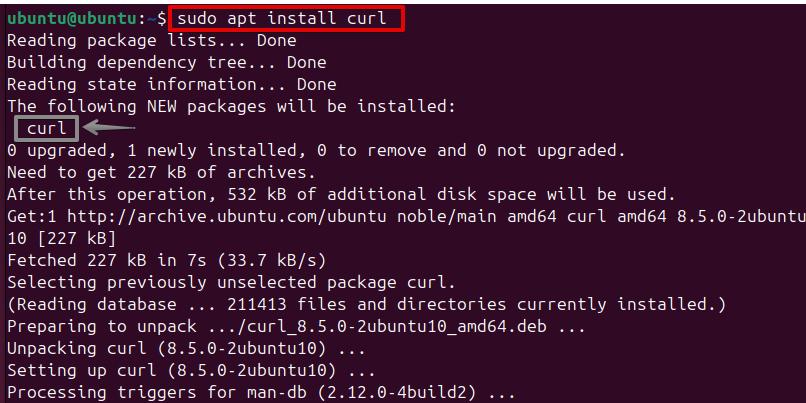
curl: This tool is essential for obtaining installation scripts. If it’s not already on your system, you can install it by running:
sudo apt install curl
Once you’ve completed these steps, you’re ready to move on to the installation stage.
Method 1: Using the Ubuntu Package Manager
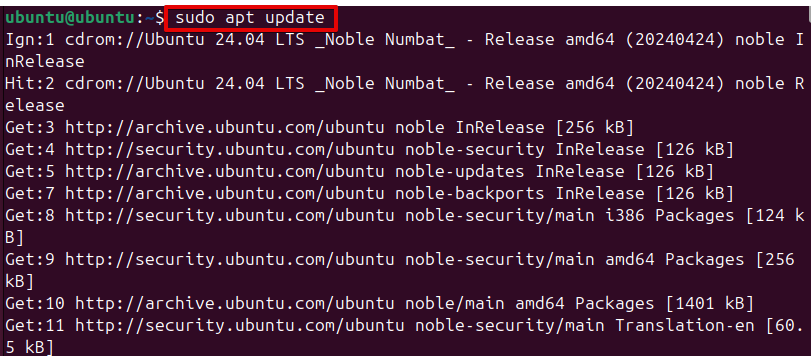
Step 1: Update Package Index
First, update the package index to ensure that your package lists are up-to-date, allowing you to install the latest versions of software available in the repositories:
sudo apt update
Step 2: Install Node.js
Install Node.js from the default Ubuntu repositories:
sudo apt install nodejs
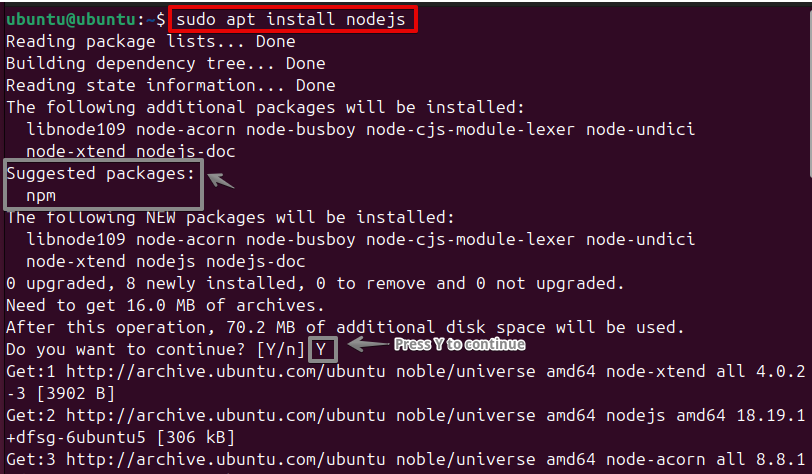
The default Ubuntu repositories include a stable release of Node.js. This method is straightforward and ensures compatibility with the system’s package management. It is ideal for users who prefer a straightforward installation with minimal setup.
Step 3: Install npm
Node.js typically requires npm (Node Package Manager) to manage packages:
sudo apt install npm
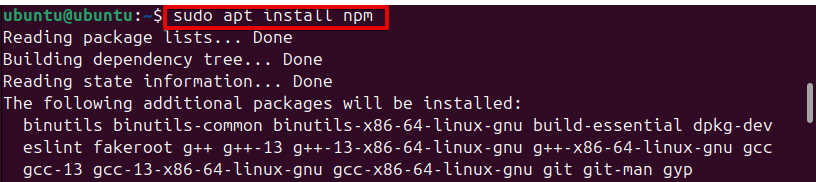
Note: npm is essential for installing and managing libraries and packages needed for your Node.js applications. It allows you to easily install and update project dependencies.
Method 2: Using NodeSource Binary Distributions
Step 1: Add NodeSource Repository
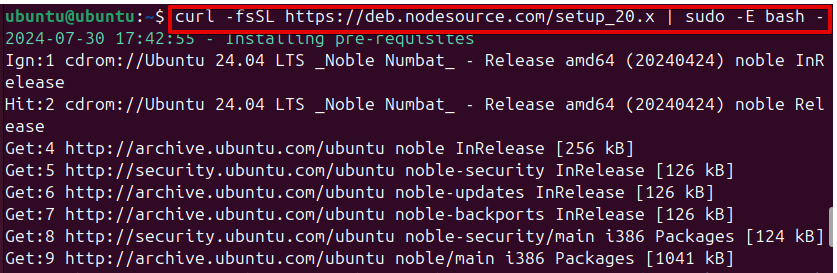
NodeSource maintains an up-to-date repository of Node.js. Add the repository for the desired Node.js version:
curl -fsSL https://deb.nodesource.com/setup_20.x | sudo -E bash –
The curl command downloads a setup script and executes it, which adds the NodeSource repository to your system. This repository often provides newer versions of Node.js compared to the default Ubuntu repositories.
Step 2: Install Node.js
Now, install Node.js using the following command:
sudo apt install -y nodejs
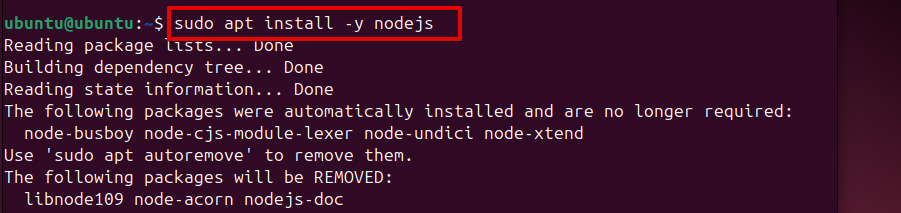
Note: This command installs both Node.js and npm, ensuring you have the latest version directly from NodeSource.
Method 3: Using Node Version Manager (nvm)
Step 1: Install nvm
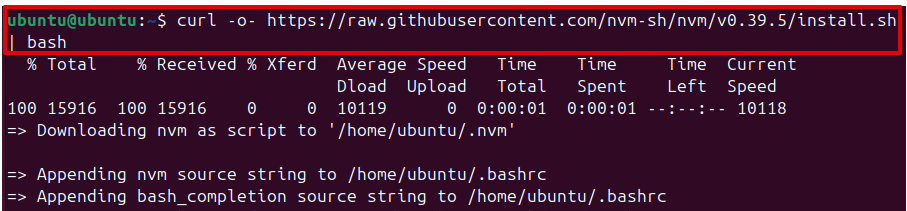
Node Version Manager (nvm) lets you manage various versions of Node.js. Download and install nvm:
curl -o- https://raw.githubusercontent.com/nvm-sh/nvm/v0.39.1/install.sh | bash
Here, the curl command downloads the nvm installation script and pipes it to bash to execute it.
To make nvm available in your current terminal session, update your shell profile by running:
source ~/.bashrc

Running source ~/.bashrc ensures that nvm is available in your current terminal session, allowing you to use nvm commands immediately.
Step 2: Install Node.js with nvm
List available Node.js versions and then install the one you need:
nvm ls-remote
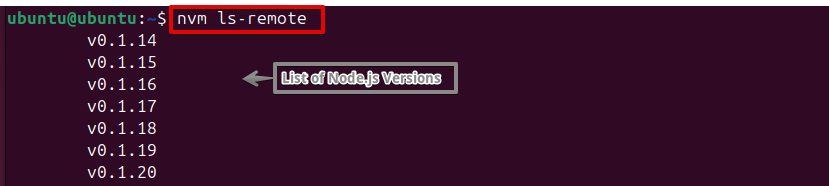
nvm install <version>

With nvm, you can switch between different installed versions as needed by using the following command:
nvm use <version>

Verification
After installing Node.js using any method, verify the installation:
Step 1: Check Node.js Version
node -v

This command shows the installed Node.js version.
Step 2: Check npm Version
npm -v

This checks the npm version, confirming that both Node.js and npm are correctly installed and ready for use.
Conclusion
Installing Node.js on Ubuntu 24.04 LTS can be done in several ways, each tailored to different needs. The Ubuntu package manager offers a straightforward method, while NodeSource ensures you get the latest version. Using nvm provides flexibility in managing multiple Node.js versions. With Node.js now installed on your Ubuntu 24.04 LTS system, you’re ready to start building both simple and complex applications. This setup combines the stability and performance of Ubuntu with the versatility of Node.js, providing a strong foundation for your development projects. Begin exploring the potential of this powerful combination and start creating innovative applications. Happy coding!
You may also like How to install Node.js on Ubuntu 22.04.