Node.js is a popular open-source, cross-platform JavaScript runtime environment that lets developers build fast and scalable web applications. If you’re an aspiring developer or seasoned professional looking to leverage the power of Node.js on your Ubuntu 22.04 system, this comprehensive guide is for you! In this tutorial, we’ll walk you through the step-by-step process to install Node.js on Ubuntu 22.04, ensuring you have the necessary tools to kickstart your web development journey.
Why Node.js?
Before diving into the installation process, let’s explore why Node.js has become a developer’s favorite:
- JavaScript Everywhere: Node.js utilizes JavaScript, a familiar and widely used language, for both server-side and client-side scripting. This eliminates the need to learn multiple languages, streamlining development.
- Speedy and Scalable: Node.js is renowned for its event-driven architecture, making it incredibly fast and efficient. This translates to high-performing applications that can handle heavy workloads.
- Rich Ecosystem: Node.js boasts a vibrant and ever-growing community, contributing to a massive repository of open-source packages. These packages offer pre-built functionalities, saving developers time and effort.
Prerequisites
This guide is specifically for Ubuntu 22.04. To follow along, you’ll need a non-root user with sudo privileges.
The 3 Methods for Installing Node.js on Ubuntu 22.04:
Installing Node.js on Ubuntu 22.04 is surprisingly straightforward. This guide will walk you through three different methods, catering to your preferences and technical expertise:
- Using the Official Ubuntu Repositories: This is the simplest method, utilizing the built-in package manager for a quick and hassle-free installation.
- Leveraging NodeSource PPA: This method offers access to the latest Node.js versions, ideal for developers seeking cutting-edge features.
- Installing from Source: For those who prefer manual control, this method provides complete installation customization.
Updating installed packages and repositories
Before proceeding with the installation of Node.js on Ubuntu 22.04 with any of the three methods, it’s crucial to ensure that your system is up to date with the latest packages. To achieve this, use the command in your terminal
$sudo apt update && sudo apt upgrade -y
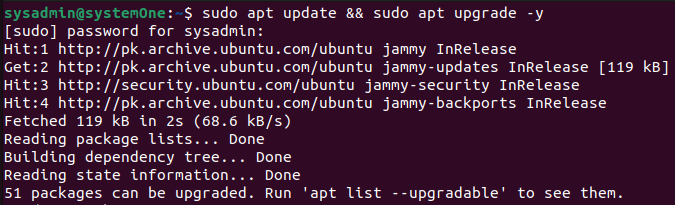
This command initiates an update of the package lists and subsequently upgrades installed packages on your system. Keeping your packages current is essential for a smooth installation process and avoiding any conflicts during the installation.
Once you’ve completed the update and upgrade process, you’ll be well-prepared to choose and execute one of these methods for installing Node.js on Ubuntu 22.04.
Method 1: Installing Node.js with the APT Package Manager
The APT package manager in Ubuntu contains a Node.js package that you can conveniently install across multiple systems. Note that at the time of writing this guide, the latest version included in the repositories is 12.22.9. It’s not the latest version, but it will be supported till the release of Ubuntu 24.04.
After the update process completes, run the following command in your terminal:
$sudo apt install nodejs -y
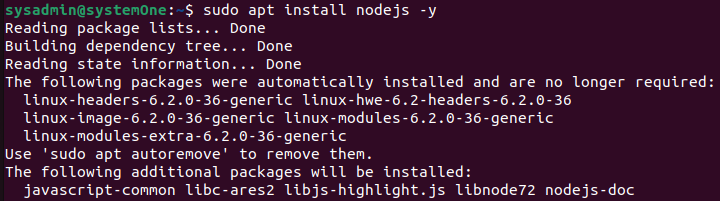
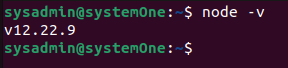
Adding the the “-y” option will make sure that you are not prompted to confirm the operation during the installation. After you get your prompt back, you can verify the installation by running:
$node -v
Installing npm
If the package available in the repositories meets your requirements, setting up Node.js is as simple as that. In many instances, you’ll likely want to install npm, the Node.js package manager, as well. Achieving this involves installing the npm package using apt:
$sudo apt install npm
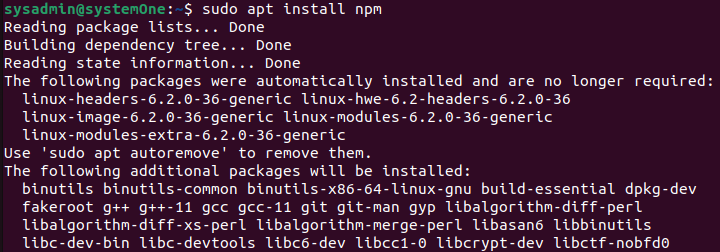
After installing npm, you’ll be able to install modules and packages to use with Node.js
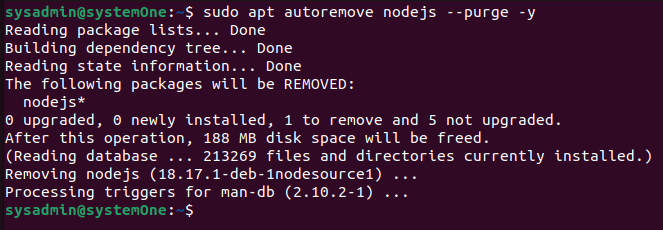
Uninstalling Node.js
If you want to uninstall it using the same method, you can easily do so using:
$sudo apt autoremove nodejs --purge -y
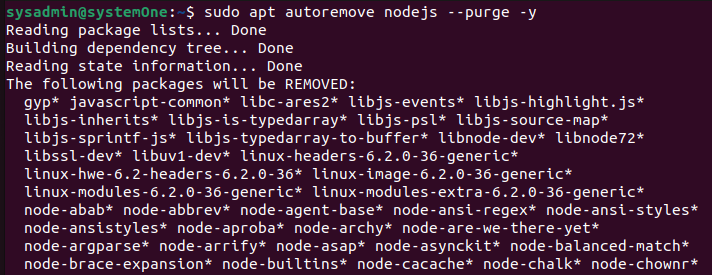
This will help you remove nodejs along with all the local configuration files since the installation.
Method 2: Installing Node.js using the NodeSource PPA
While the official Ubuntu repositories offer a stable version of Node.js, sometimes you need more. Enter PPAs (Personal Package Archives)! These community-maintained repositories unlock a wider range of Node.js versions, giving you greater flexibility for your projects.
NodeSource, a trusted name in the Node.js world, maintains excellent PPAs with a fantastic selection of Node.js versions. As of today, you can access:
- Node.js v14: A mature LTS (Long-Term Support) release, ideal for production environments.
- Node.js v16: Another LTS option, offering newer features than v14.
- Node.js v18: The latest and greatest, packed with cutting-edge capabilities but with less long-term support.
You can install your preferred Node.js version:
- Grab the Installation Script:
Open a terminal in your home directory and use curl to download the script for your chosen version. Remember to replace 18.x with your preferred version string:
$curl -fsSL https://deb.nodesource.com/setup_`YOUR_VERSION`.x | sudo -E bash -

- Update and Install:
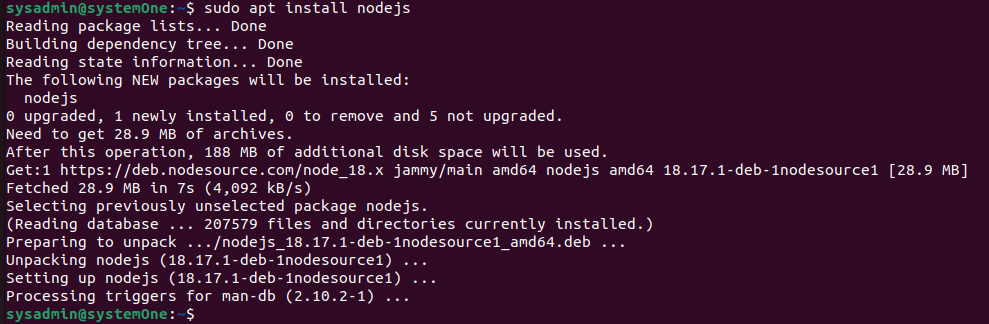
Once the script runs, refresh your package list and install Node.js with the specific version you chose:
$sudo apt update
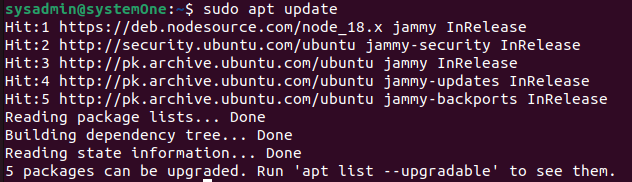
$sudo apt install nodejs
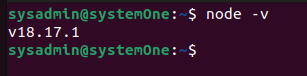
- Verify Success:
Celebrate your achievement! Check your installed Node.js version with:
$node -v
That’s it! You’ve successfully unlocked the power of a different Node.js version thanks to PPAs. Remember, newer versions can offer exciting features, but LTS releases might be better for critical projects. Choose wisely and enjoy the flexibility!
Uninstalling Node.js
You can use the same command as the last method to uninstall Node.js from your computer.
Method 3: Installing Node.js using the Node Version Manager
In case you want more control over the installation process, you can use the Node Version Manager to install your desired version of Node.js. You can install different and independent versions of Node.js along with their packages, at the same time.
For installing NVM on your Ubuntu 22.04 system, navigate to the project’s GitHub page. Copy the curl command provided in the README file visible on the main page to obtain the latest version of the installation script.
Prior to executing the command in bash, it’s prudent to review the script to ensure it aligns with your preferences. You can accomplish this by excluding the “| bash” segment at the end of the curl command.
$curl -o- https://raw.githubusercontent.com/nvm-sh/nvm/v0.39.1/install.sh
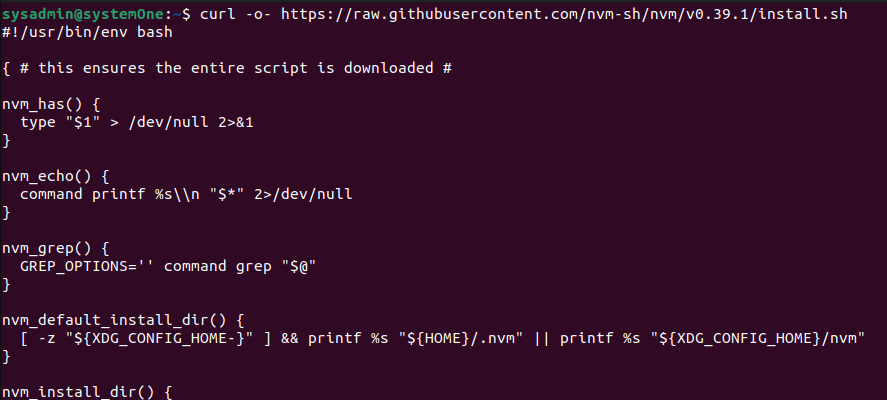
Examine the contents and ensure that you are at ease with the alterations. Once you are content, re-run the command, adding “| bash” at the end. Note that the URL may vary based on the current version of nvm; however, at present, you can download and execute the script by typing:
$curl -o- https://raw.githubusercontent.com/nvm-sh/nvm/v0.39.1/install.sh | bash
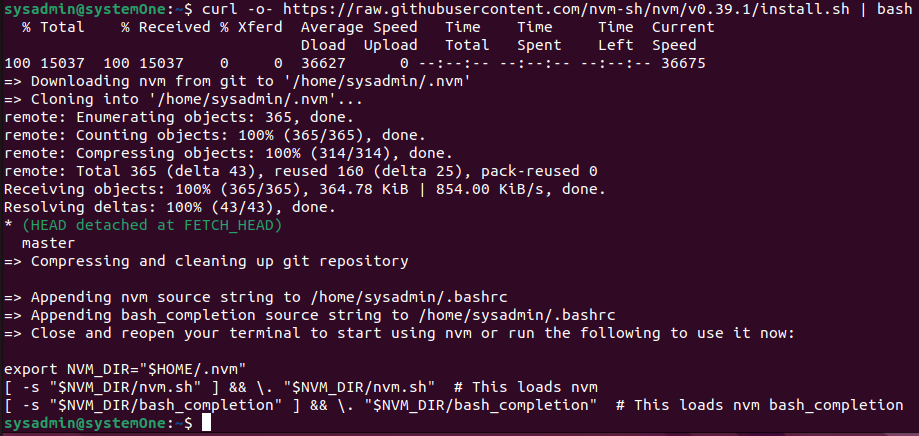
Once the nvm script is installed on your user account, you’ll need to source your .bashrc file to start using it.
$source ~/.bashrc

Now you can query NVM which versions of NodeJS are available. You can use the following:
$nvm list-remote
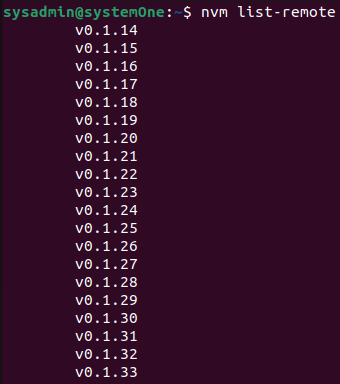
It’s quite an extensive list! You can easily install a Node version by entering any of the release versions listed. For example, if you want to get version v16.14.0 (which is another LTS release), simply type:
$nvm install v16.14.0

Now that you have a version of NodeJS installed, you can run the following to see which versions you have installed:
$nvm list

The first line displays the currently active version (-> v16.14.0), followed by a list of named aliases and the corresponding versions they point to.
Uninstalling NodeJS
You can uninstall NodeJS by following through the steps below. Run the following to get a list of the installed versions:
$nvm current
If the version you want removed is not the current active version, you can directly target it using:
$nvm uninstall [node_version]
If you want to uninstall the current active version of NodeJS, you can use the following to deactivate it first and then uninstall it:
$nvm deactivate

$nvm uninstall

Removing NVM
- Remove the nvm installation script:
$sudo rm

- Remove the nvm configuration from your shell profile:
$rm -rf ~/.bashrc ~/.zshrc

3. Verify that NVM is uninstalled:
$nvm --version
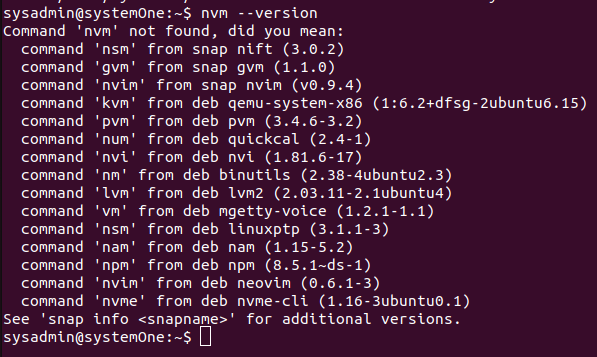
If the nvm –version command fails to return any output, then NVM has been successfully uninstalled.
NOTE: If you get an error similar to the following:

You can run the following to fix this issue:
- Create a new empty
~/.bashrcfile:
sudo touch ~/.bashrc

2. Resource your shell using:
$source ~/.bashrc

Finally, reboot for the changes to be applied.
Conclusion
In conclusion, installing Node.js on Ubuntu is a straightforward process that opens the door to a world of powerful web development tools and frameworks. By following the steps outlined in this guide, users can seamlessly integrate Node.js into their Ubuntu environment, enabling them to harness the full potential of this versatile JavaScript runtime. Whether you’re a seasoned developer or just getting started, having Node.js on your Ubuntu system empowers you to build scalable and efficient applications. Embrace the opportunities that Node.js brings to the table and embark on your journey to a more robust and dynamic development experience.