Jenkins has become a cornerstone for teams aiming to streamline their development processes through automation. As an essential tool for Continuous Integration (CI) and Continuous Deployment (CD), Jenkins helps automate repetitive tasks, ensuring faster, more reliable software delivery. By integrating Jenkins into your workflow, you can enhance collaboration, speed up development cycles, and maintain high-quality code. Setting up Jenkins on Ubuntu 24.04 LTS takes this efficiency to the next level. Ubuntu 24.04 LTS provides a stable and secure environment for Jenkins, allowing you to leverage its full potential without worrying about system reliability. This guide will walk you through the methods to install Jenkins on Ubuntu 24.04 LTS and show you how this setup can optimize your CI/CD workflows, enhancing both speed and accuracy in your development projects.
How to Install and Configure Jenkins for CI/CD on Ubuntu 24.04 LTS
In this guide, we’ll break down the process into clear stages to make it easy for you to follow:
2. Installing Jenkins on Ubuntu 24.04 LTS
3. Configuring Firewall
4. Verification
5. Initial Configuration of Jenkins
- Unlocking Jenkins
- Installing Suggested Plugins
- Creating the First Admin User
- Configuring Global Settings
6. Setting Up Your First Jenkins Job
7. Securing Jenkins
8. Conclusion
Let’s start by preparing your system for Jenkins installation.
Prerequisites
Make sure you have the following prerequisites before installing Jenkins on Ubuntu 24.04:
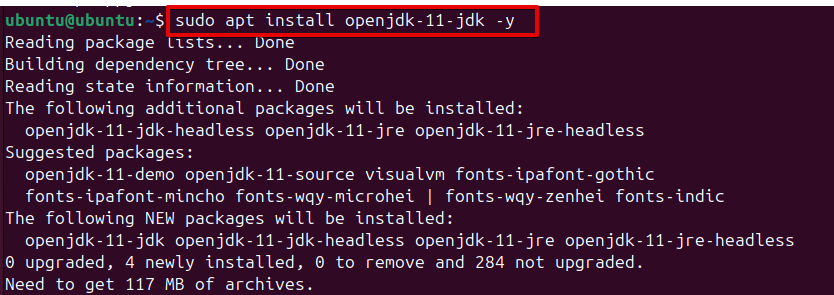
JDK, or Java Development Kit: Java is needed for Jenkins to function. You can add it if it’s not already installed by running the following commands:
sudo apt update
sudo apt install openjdk-11-jdk -y
Verify the Java installation with:
java -version

Installing Jenkins on Ubuntu 24.04 LTS
Unlike some software, Jenkins is not included in the default Ubuntu repositories, so you must add its repository to your system. Here’s how to do it:
Step :1 Add the Jenkins Repository
So, before installing Jenkins, add the Jenkins repository to your system. This ensures that you’re installing the latest version directly from the source. Follow these steps:
Import the GPG Key
First, add the GPG key for the Jenkins repository:
wget -q -O - https://pkg.jenkins.io/debian-stable/jenkins.io.key |sudo gpg --dearmor -o /usr/share/keyrings/jenkins.gpg
Add the Jenkins Repository
Once the key is imported, add the Jenkins repository to your system’s sources list:
sudo sh -c 'echo deb [signed-by=/usr/share/keyrings/jenkins.gpg] http://pkg.jenkins.io/debian-stable binary/ > /etc/apt/sources.list.d/jenkins.list'
![sudo sh -c 'echo deb [signed-by=/usr/share/keyrings/jenkins.gpg] http://pkg.jenkins.io/debian-stable binary/ > /etc/apt/sources.list.d/jenkins.list'](https://linuxworld.info/wp-content/uploads/2024/08/word-image-2960-4.png)
This command ensures that your system recognizes the Jenkins repository and trusts its packages.
Step 2: Install Jenkins
Now that the repository has been added, Jenkins can be installed. Follow these steps:
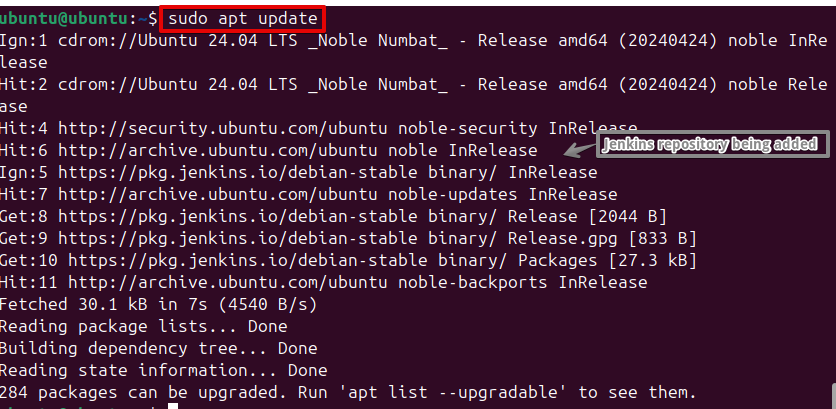
Update Package Index
Update the package index to include the Jenkins repository:
sudo apt update
This step is crucial to ensure that your package manager fetches the latest information about available packages.
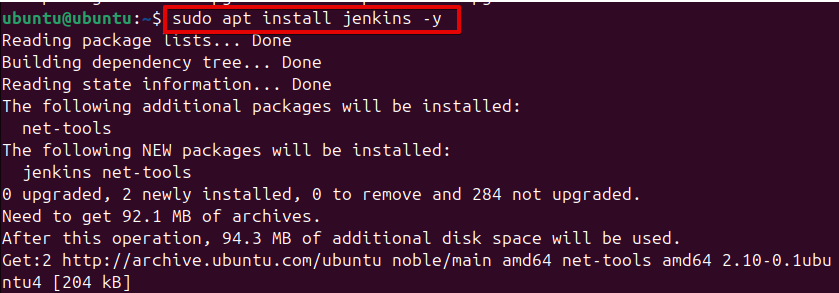
Install Jenkins
Proceed to install Jenkins with the following command:
sudo apt install jenkins -y
The -y flag automatically confirms the installation, allowing the process to complete without additional prompts.
Step 3: Check Version
After installation, you should verify that Jenkins is correctly installed on Ubuntu 24.04 and check its version:
jenkins –-version

Step 4: Start Jenkins
Finally, start Jenkins service to activate the application:
sudo systemctl start jenkins.service

Tip: If Jenkins does not start, you may need to check if the required ports are open or if there are other underlying issues.
Configuring Firewall
If you are using a firewall, allow traffic on port 8080 (the default Jenkins port):
sudo ufw allow 8080

sudo ufw reload

Verification
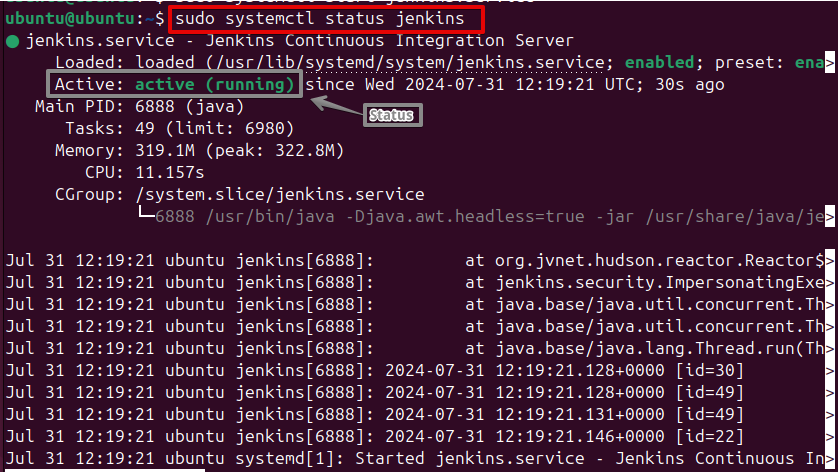
Checking Jenkins Status
Ensure Jenkins is running correctly:
sudo systemctl status jenkins
Verifying Jenkins Access
Launch your web browser and check that Jenkins is reachable by navigating to:
http://your_server_ip_or_domain:8080

Congratulations! Jenkins is now installed and accessible.
Initial Configuration of Jenkins
After installation, Jenkins requires some initial setup.
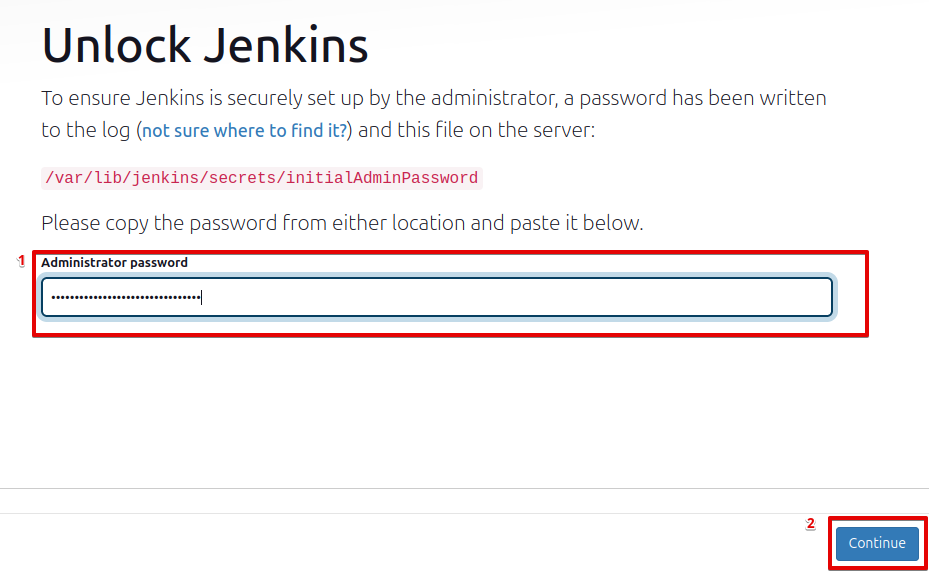
Step 1: Unlocking Jenkins
Open your web browser and navigate to:
http://your_server_ip_or_domain:8080
Retrieve the initial admin password:
sudo cat /var/lib/jenkins/secrets/initialAdminPassword

For first-time access to Jenkins, you’ll require the initial admin password. So, paste this password into the Jenkins setup wizard to unlock Jenkins.
Step 2: Installing Suggested Plugins
During the setup wizard, select Install suggested plugins to automatically install essential plugins needed for a basic Jenkins setup.
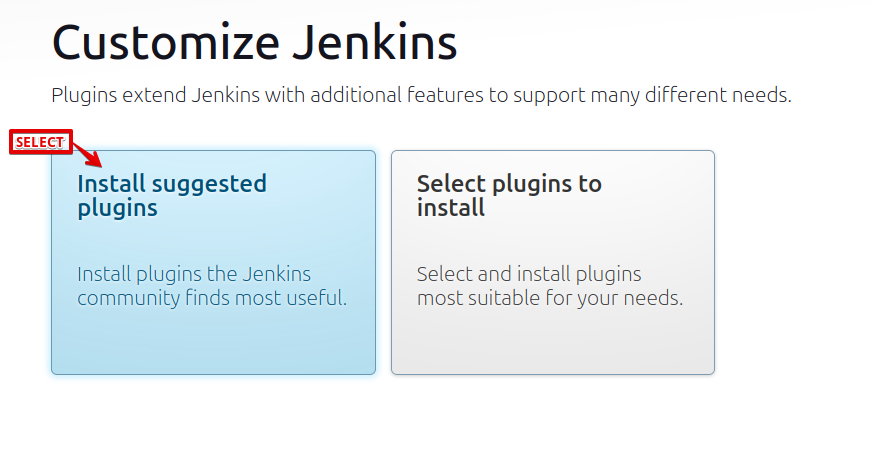
Complete the installation process before moving to the next stage otherwise you may face issues.

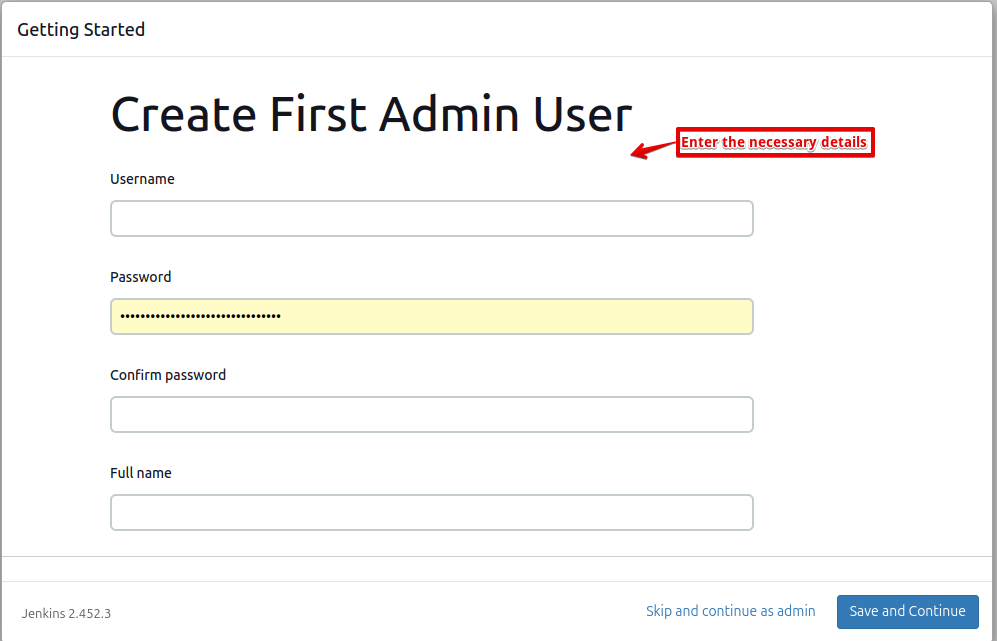
Step 3: Creating the First Admin User
Provide the required information to create your Jenkins admin account, including username, password, and email.
Step 4: Configuring Global Settings
Navigate to Manage Jenkins > Configure System to adjust global settings according to your needs such as setting up email notifications, global tool configurations, and more.
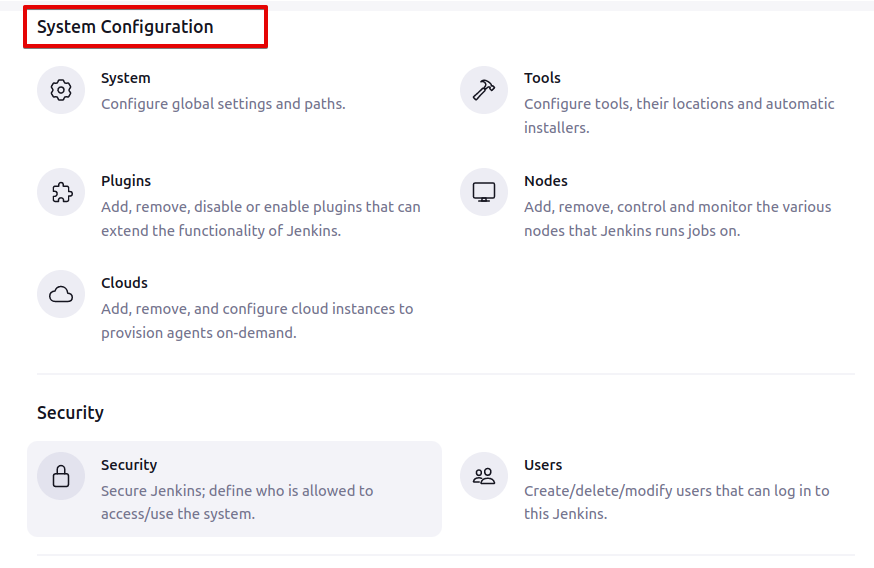
s 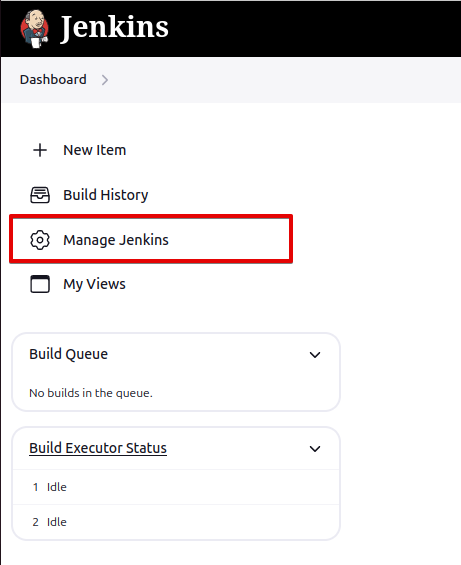
Scroll down to get access to System Configuration.
Setting Up Your First Jenkins Job
Freestyle projects offer a simple and effective method for creating Jenkins jobs designed to build, test, and deploy your code.
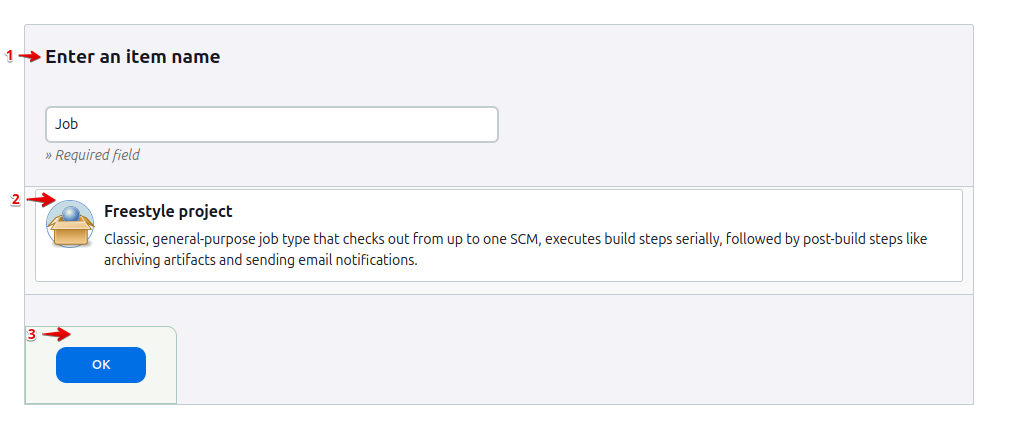
Step 1: Creating a Freestyle Project
On the Jenkins dashboard, click New Item, enter a name for your job, and select Freestyle project. Click OK.
Step 2: Configuring Job Settings
Configure your freestyle project by setting up:
Build Triggers: Conditions under which the job will be triggered.
Source Code Management: Repository where your source code is stored.
Build Steps: Commands or scripts executed during the build process.
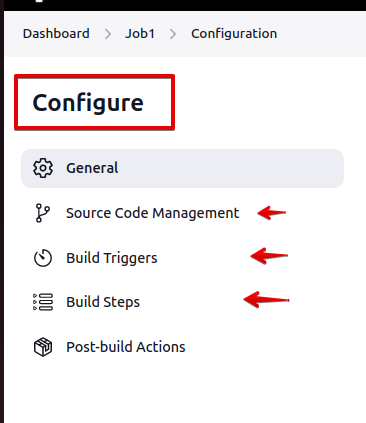
Proper configuration ensures that your Jenkins jobs are executed correctly and efficiently, according to your development and deployment requirements.
With these steps completed, you’ve successfully set up your first Jenkins job. You’re now ready to automate your build, test, and deployment processes, marking a significant milestone in streamlining your development workflow!
Securing Jenkins
Regularly update Jenkins and its plugins to safeguard against security vulnerabilities.
Conclusion
By following this guide, you’ve successfully installed Jenkins on Ubuntu 24.04 LTS, configured it for your development environment, and created jobs to automate your CI/CD workflows. Leveraging Jenkins on a stable and secure platform like Ubuntu 24.04 LTS enhances your development process, ensuring faster, more reliable software delivery. Consistent updates and accurate configuration are key to ensuring a secure and effective CI/CD pipeline. Embrace the power of Jenkins and Ubuntu 24.04 LTS to optimize your development efforts and achieve high-quality software faster. Enjoy a smoother development journey!
Keep visiting Linux World.