
In the realm of Linux systems, the DNS cache is a temporary database maintained by the computer’s operating system which contains records of all the recent and attempted visits to websites and other internet domains. For users and administrators, knowing how to flush this cache is an essential skill, as it can resolve a host of connectivity issues and ensure that your system accesses the most up-to-date information without the interference of outdated cache entries.
This tutorial will explain all possible methods to flush local DNS cache on the Linux system.
Table of Content
- Why Flush the DNS Cache?
- How to Flush Local DNS Cache on Linux
- Method 1: Using resolvectl Command
- Method 2: Using Signal
- Conclusion
Why Flush the DNS Cache?
The DNS cache exists to speed up internet browsing by reducing the load on DNS servers, which would otherwise have to process every single request for a domain name resolution. However, there are times when the information in the cache can become outdated due to changes in the DNS records of the websites you visit.
This can lead to problems such as:
- Inability to connect to a website
- Accessing an old version of a website
- Internet security risks due to cached malicious domain entries
Before we dive into the methods, it’s essential to understand why you might need to flush your DNS cache. This is typically done when:
- A website or service is not resolving correctly
- You’ve changed DNS servers
- You’ve updated a domain’s DNS records
How to Flush Local DNS Cache on Linux
The method to clear the DNS cache on Linux depends on which service is being used to manage DNS queries. The most common service is resolvectl. Here’s how to manage the cache for both:
Prerequisite: Check DNS Cache
To determine if your system is using a local DNS cache, you can use the systemctl command with the is-active option. This will tell you if services like systemd-resolved is active and caching DNS requests:
systemctl
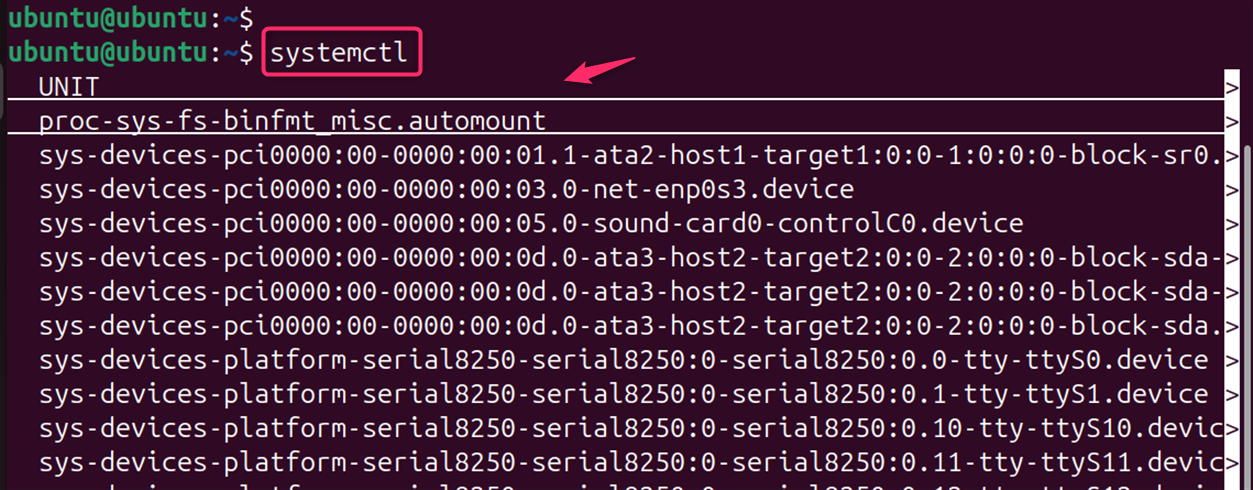
Note: If you find that your system is not using a local DNS cache, then there’s no need to flush it.
DNS Configuration File
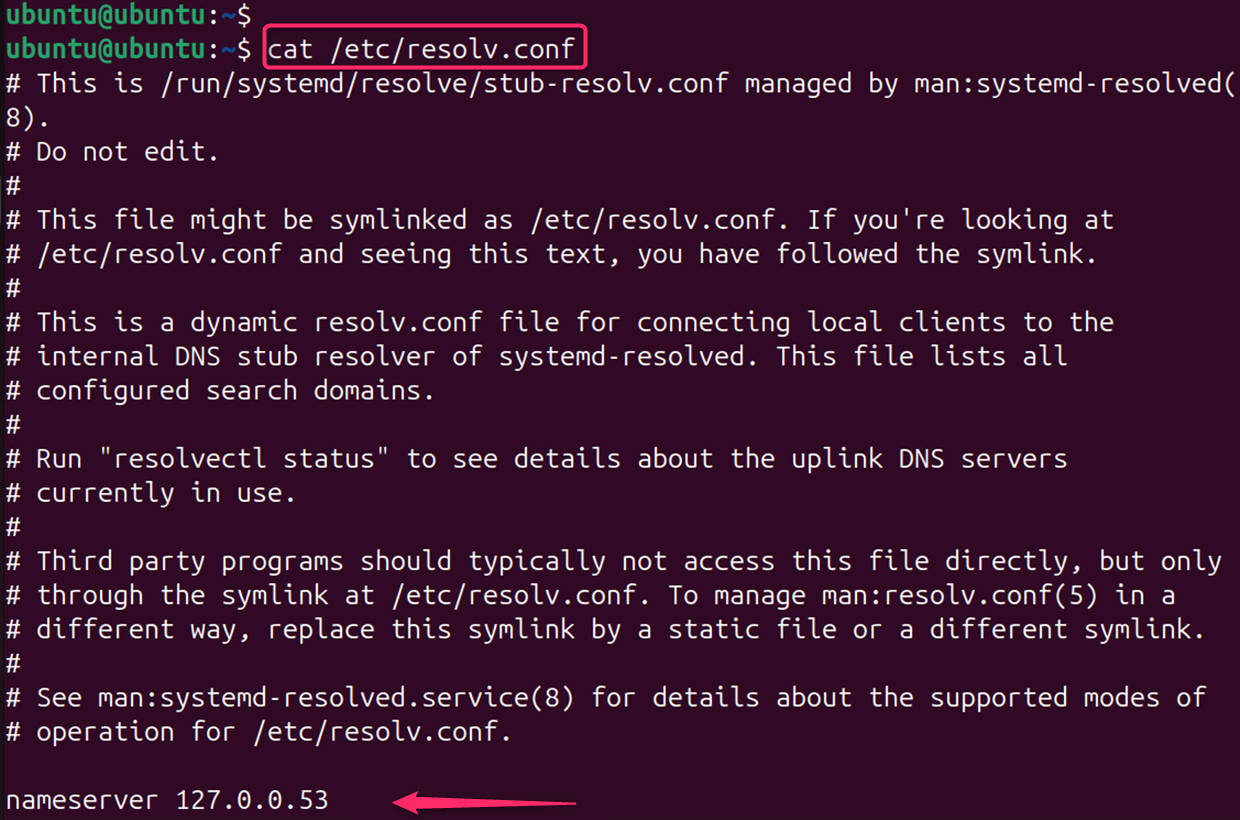
It’s essential to consider your specific Linux distribution and DNS configuration. If you’re unsure about which method to use, you can check the output of cat /etc/resolv.conf to see which DNS resolver is being used:
cat /etc/resolv.conf
By following these steps and considering the specific details of your system, you would be able to effectively flush your local DNS cache and resolve any DNS-related issues.
Method 1: Using resolvectl Command (Common on Modern Linux Distributions)
Flushing the local DNS cache on Linux systems is a crucial task for network administrators and users who want to ensure that their system’s DNS queries are up to date.
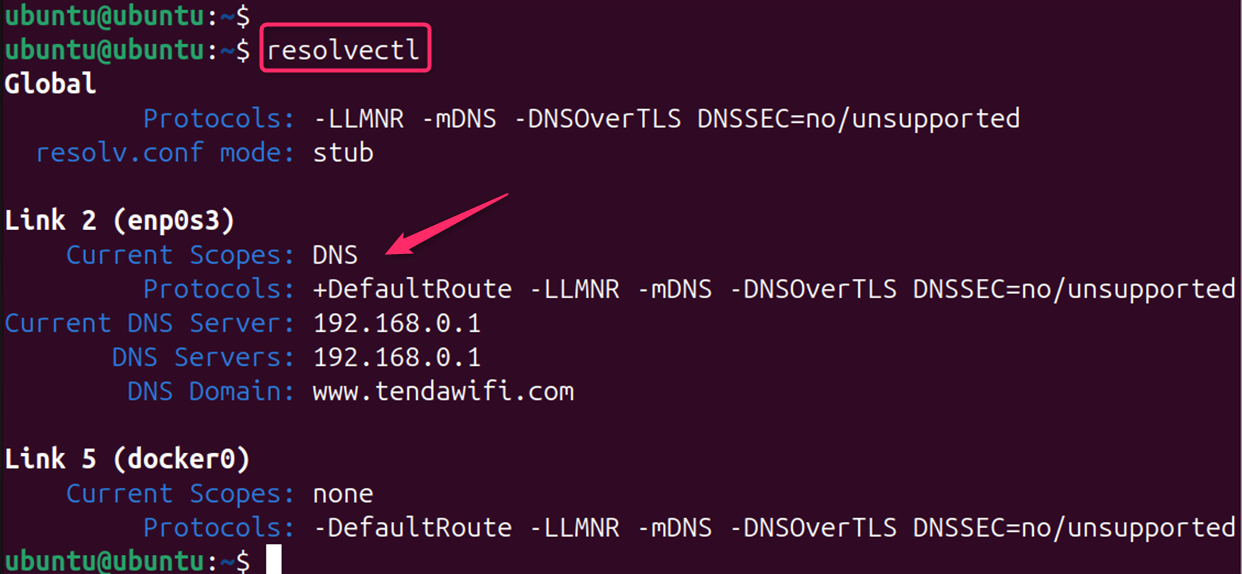
If you’re using a systemd-based Linux distribution, you can flush the DNS cache using the resolvectl command. First check the command is working properly:
resolvectl
Flush Local DNS Cache
The DNS cache stores the locations (IP addresses) of web servers that contain web pages which you have recently viewed. The command clears the cache, ensuring that your system’s DNS queries are no longer relying on potentially outdated information:
sudo resolvectl flush-caches

Note: If the location of the web server changes before the entry in your DNS cache updates, you can no longer access the site.
Verify the Flush (Optional):
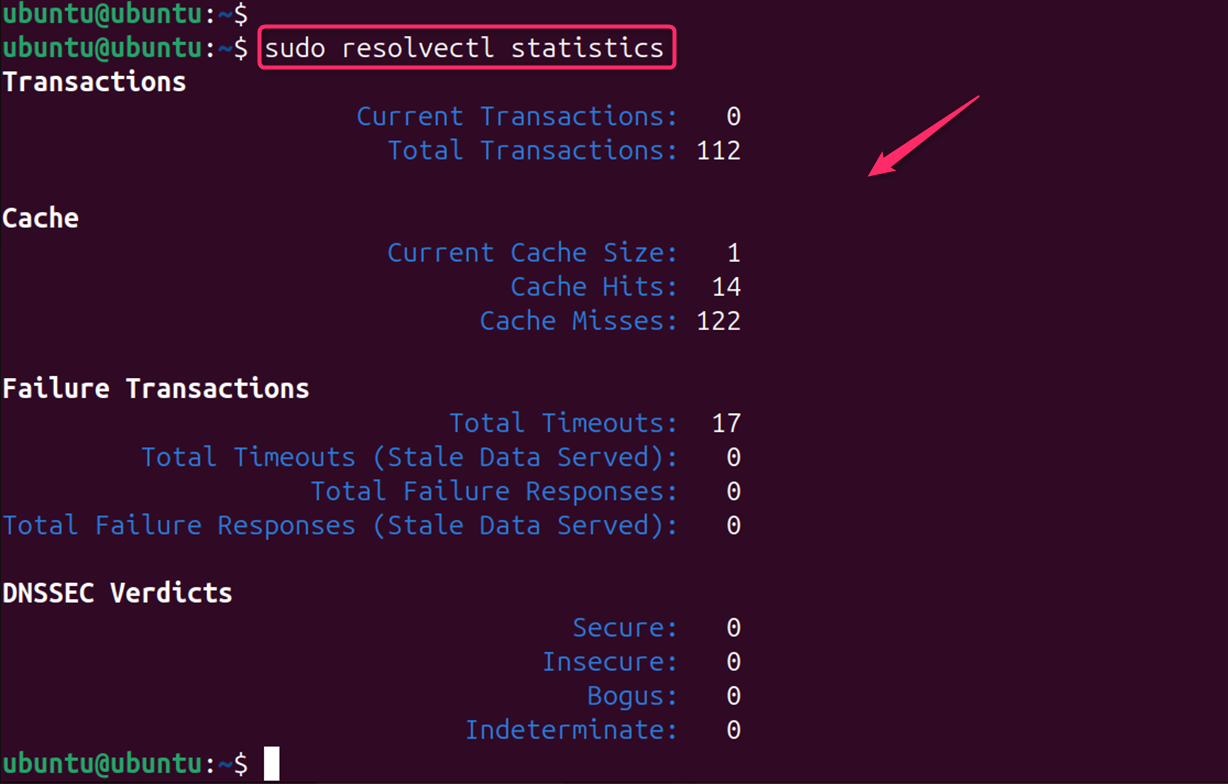
You can verify that the cache has been flushed by checking the cache statistics:
sudo resolvectl statistics
Alternatively, users can check its status. This process is particularly important when DNS records have changed, or when troubleshooting network connectivity issues. Let’s check its status:
sudo systemctl status systemd-resolved
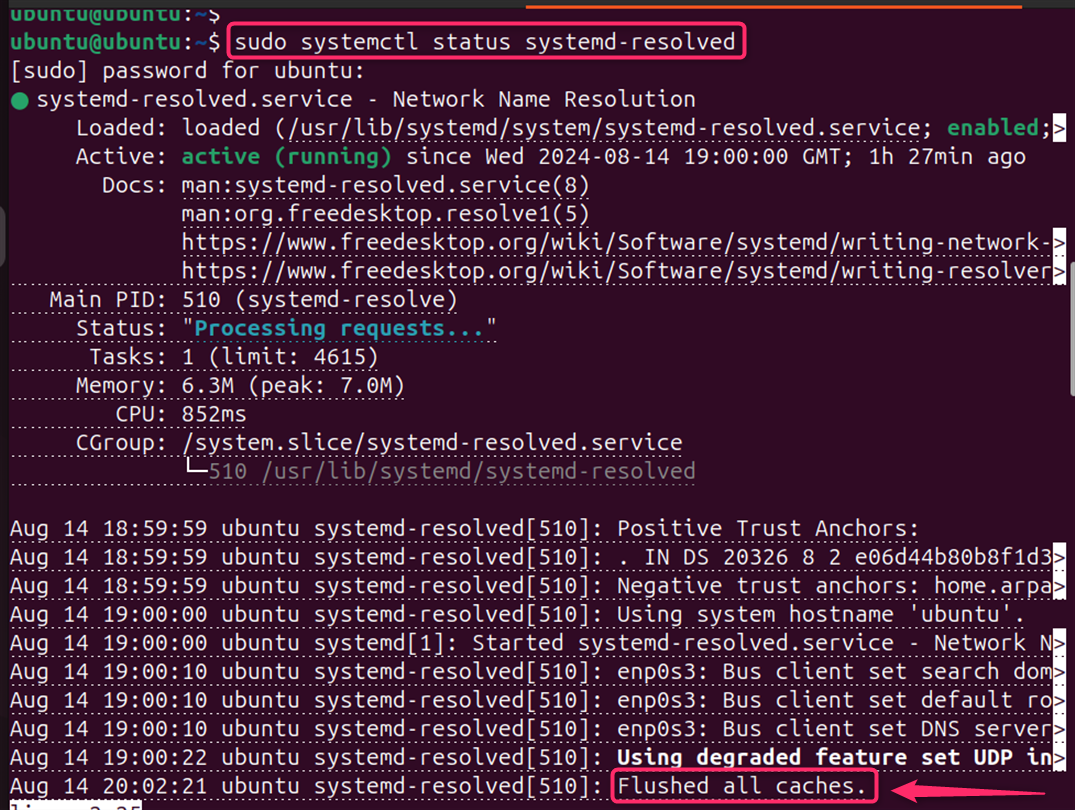
Note: Remember to check whether your system is using a local DNS cache before proceeding, as this will save you time and ensure that you’re not performing unnecessary operations.
Method 2: Using Signal
Flushing the DNS cache on Linux is a straightforward process that can be performed with a few simple commands.
Clear the DNS Cache
To clear the DNS cache, you would use the signal. It sends a signal. For this, you send a -USR2 signal to systemd-resolved to flush the cache:
sudo killall -USR2 systemd-resolved

This sends a signal to the process to flush its cache without restarting the service.
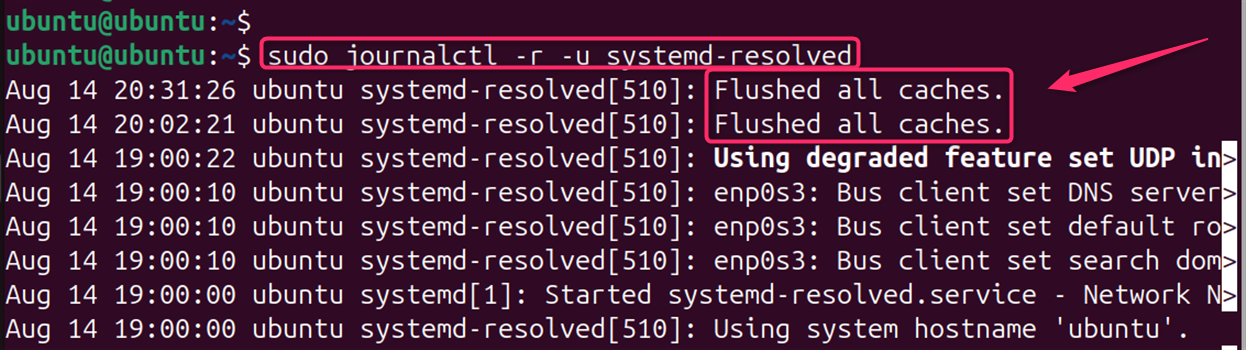
Verify the DNS Cache
It’s essential to check whether your system is actually using a local DNS cache before attempting to flush it. Let verify the empty cache:
sudo journalctl -r -u systemd-resolved
Note: It’s worth noting that not all Linux systems use local DNS caching by default. For example, some distributions may have this feature turned off, or they might rely on external DNS services provided by an ISP or a third-party provider like OpenDNS or Google DNS.
Bonus Tip: Check Network Manager’s Settings
Some network managers might have a GUI option to flush DNS cache. Check your network manager’s settings.
- Specific DNS Servers: If you’re using a specific DNS server like BIND, you might need to restart the service or use specific commands.
- Temporary DNS Changes: For temporary DNS changes, consider using the dig or nslookup tools to query DNS directly without relying on the cache.
Conclusion
Flushing the DNS cache on Linux is a straightforward process that can be accomplished with a few simple commands. Whether you’re using systemd-resolved, the steps outlined above will help you clear your DNS cache and ensure that your system’s network connections are as fresh as possible. It’s a useful troubleshooting step that can resolve various network-related issues and is an essential part of maintaining the security and efficiency of your system’s network operations.
Keep following LinuxWorld for more guides.