
Gogs is a self-hosted Git service that allows you to create your personal platform for managing code versions. It works similarly to GitHub, but it runs on your own server, allowing you to have full control over all your repositories and manage them privately without relying on others. It is a lightweight tool that is an ideal choice for Linux users, including Ubuntu 24.04. The reason is it provides them the opportunity to set up and run a stable and extensible Git service most painlessly. In this guide, we present methods so that you can learn to install gogs git on Ubuntu 24.04 LTS also known as Noble Numbat.
Read this guide to find:
How to Install Gogs Git on Ubuntu 24.04
For installing Gogs on Ubuntu 24.04, follow the below steps-by-step instructions:
Step 1: Install Database Server on Ubuntu 24.04
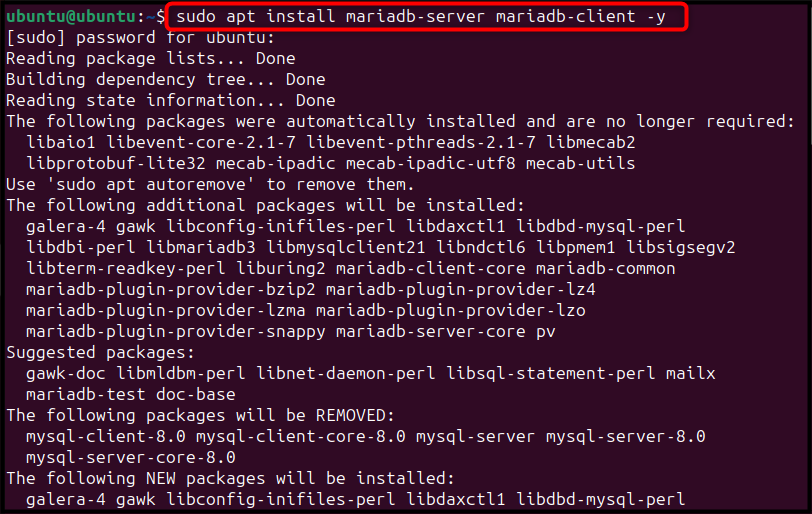
Gogs support different database servers like MySQL, MariaDB, PostgreSQL, and MySQLite3. Thus, you must ensure installing one of those database servers on your system. As an example, we are going with installing MariaDB server on the Ubuntu system from the following command:
sudo apt install mariadb-server mariadb-client -y |
|---|
Step 2: Create Gogs Database
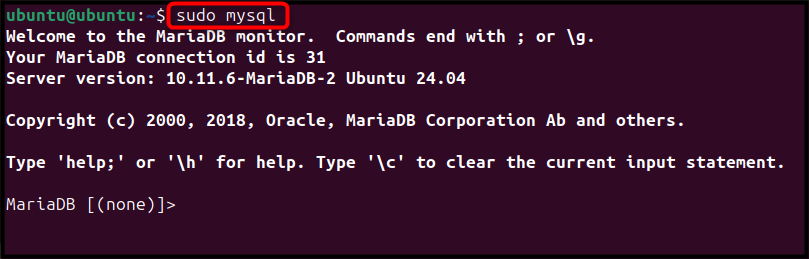
After installing the MariaDB server, it’s time to create a Gogs database on Ubuntu. Users can perform it by executing the MariaDB monitor via the below command:
sudo mysql |
|---|
Then use the below-given command to change the storage behavior of the InnoDB tables to improve the performance and easy management of disk space:
SET GLOBAL innodb_file_per_table = ON; |
|---|

Once done, ensure there is no database exit previously with the name gogs to avoid conflicts with the newly created gogs database. You can run the below-given command to drop the database that existed previously with the name gogs:
DROP DATABASE IF EXISTS gogs; |
|---|

After that, use the provided command below to create a database having name gogs and desired character set and collation:
CREATE DATABASE IF NOT EXISTS gogs CHARACTER SET utf8mb4 COLLATE utf8mb4_general_ci; |
|---|

Once the database is created, you can configure its permission by setting a password for the created database on MySQL, you can do this through the below-given command:
GRANT ALL PRIVILEGES ON gogs.* TO 'gogs'@'localhost' IDENTIFIED BY "password"; |
|---|

Note: Ensure to replace the database password with a strong password.
Then flush the privilege table using the below-given command:
FLUSH PRIVILEGES; |
|---|

Once everything is done, exit your database using the following command:
EXIT |
|---|

Step 3: Download and Extract the Gogs Source File
Next, navigate to the Gogs GitHub release page, and find the latest version of Gogs tar.gz source file. Then download it on the Ubuntu system, either directly or through the wget command from the terminal. Ensure downloading the tar.gz source file according to your architecture (i386 or amd64). Here, at the time of writing, the latest version of Gogs was 0.13.0, which can be downloaded directly on the amd64 system through the following command:
wget https://github.com/gogs/gogs/releases/download/v0.13.0/gogs_0.13.0_linux_amd64.tar.gz |
|---|
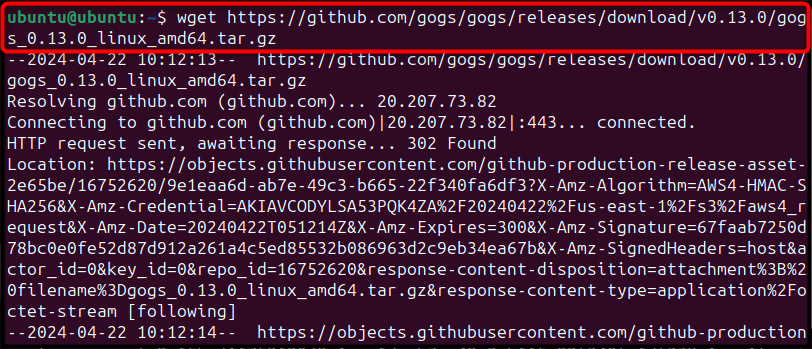
The above command will download the Gogs source file in the current directory of your system:

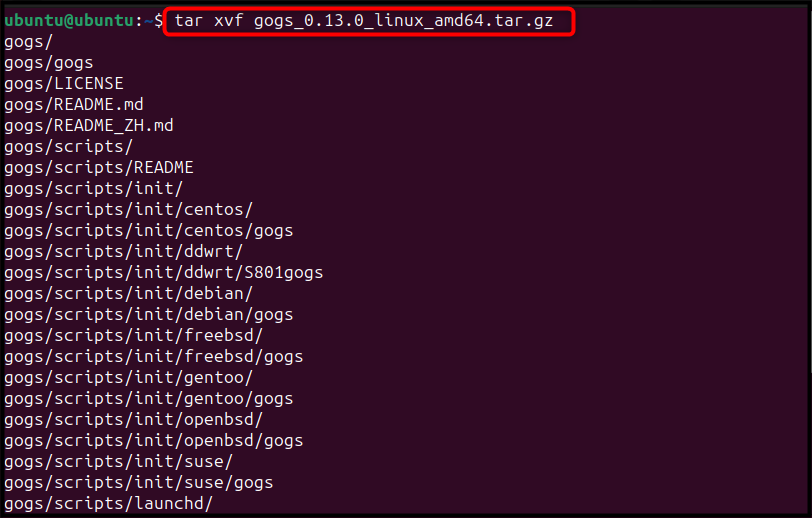
Now extract the content of the source file using the tar command with the desired flags and source file name:
tar xvf gogs_0.13.0_linux_amd64.tar.gz |
|---|
Note: Ensure to replace the Gogs source file name if you have downloaded Gogs another version on Ubuntu.
Step 4: Add a User Git to Ubuntu
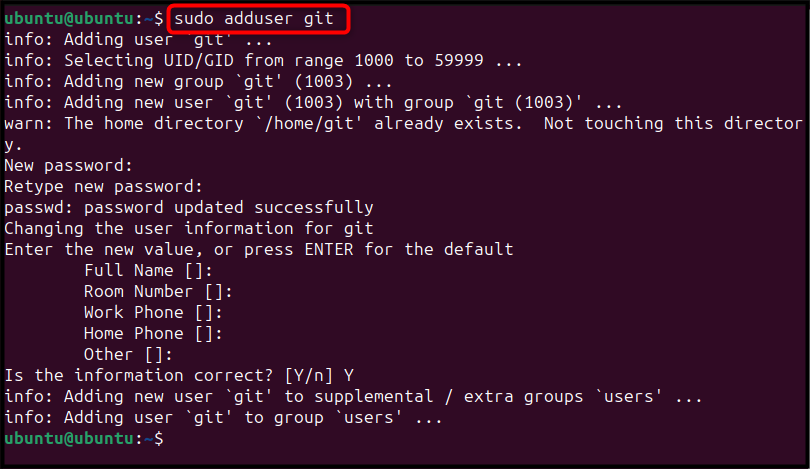
To run the Gogs service on Ubuntu, you are required to create a user git on Ubuntu, it can be done through the below-given command:
sudo adduser git |
|---|
When you run the above adduser command, it will ask you to set up a password for your created user. Do it, then choose the new values for your created user, such as add Full Name, Room Number, and more. You can skip these values by using the Enter button, then reply with Y to confirm the information you provided is correct:
Step 5: Setting Up Gogs Service on Systemd
Now, to set up the Gogs service on systemd, first create a directory for Gogs logs using the following command:
sudo mkdir /var/log/gogs |
|---|

After that, change the ownership of the Gogs logs folder to the git user as well as group via the below command:
sudo chown -R git:git /var/log/gogs/ |
|---|

Once done, copy the Gogs service script to systemd directory on Ubuntu using the following command:
sudo cp gogs/scripts/systemd/gogs.service /etc/systemd/system |
|---|

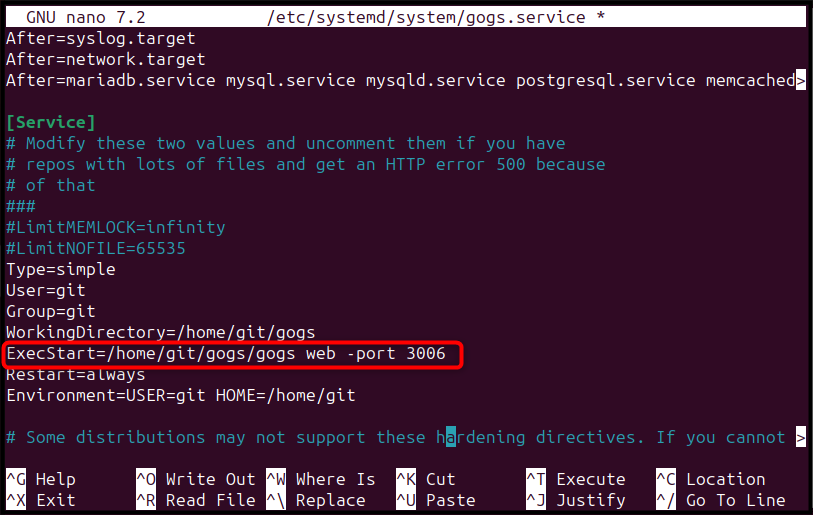
By default, Gogs uses port 3000 for HTTP communication, however, you can change the port by first opening the gogs.service file using the below-given command:
sudo nano /etc/systemd/system/gogs.service |
|---|

Then add -port followed by your desired port number in front of the ExecStart=/home/git/gogs/gogs web line inside the file. Here, we are changing the default port number of Gogs for HTTP communication to 3006:
ExecStart=/home/git/gogs/gogs web -port 3006 |
|---|
After that, save the Gogs service file using CTRL+X, add Y and press Enter to exit. Once done, move the gogs source directory to /home/git location using the following command:
sudo mv gogs /home/git/ |
|---|

After that, modify the ownership of the git source directory along with all of its components to the user git as well as group git through the below command:
sudo chown -R git:git /home/git/ |
|---|

Step 6: Initializing and Enabling Gogs Service
Once you set up the Gogs service, it’s now time to reload the service daemon through the following command:
sudo systemctl daemon-reload |
|---|

Then start the Gogs service on Ubuntu through the below-given command:
sudo systemctl start gogs |
|---|

Ensure enabling the Gogs service at system startup by executing the following command:
sudo systemctl enable gogs |
|---|

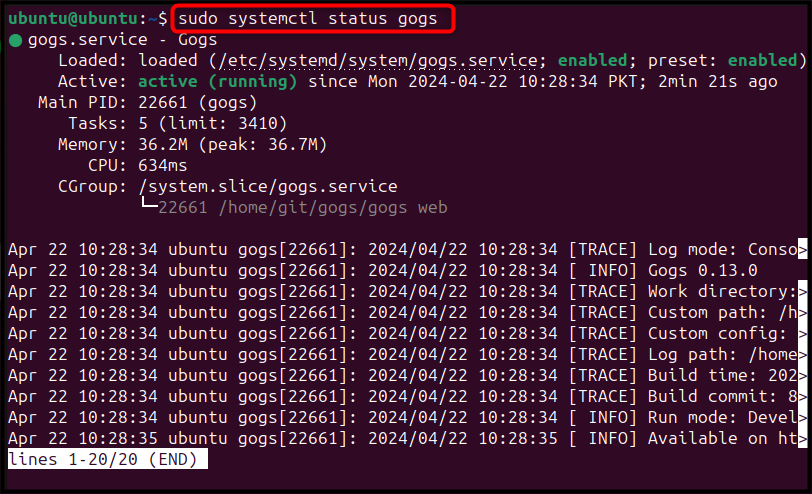
Now, users can verify the Gogs service status through the below command:
sudo systemctl status gogs |
|---|
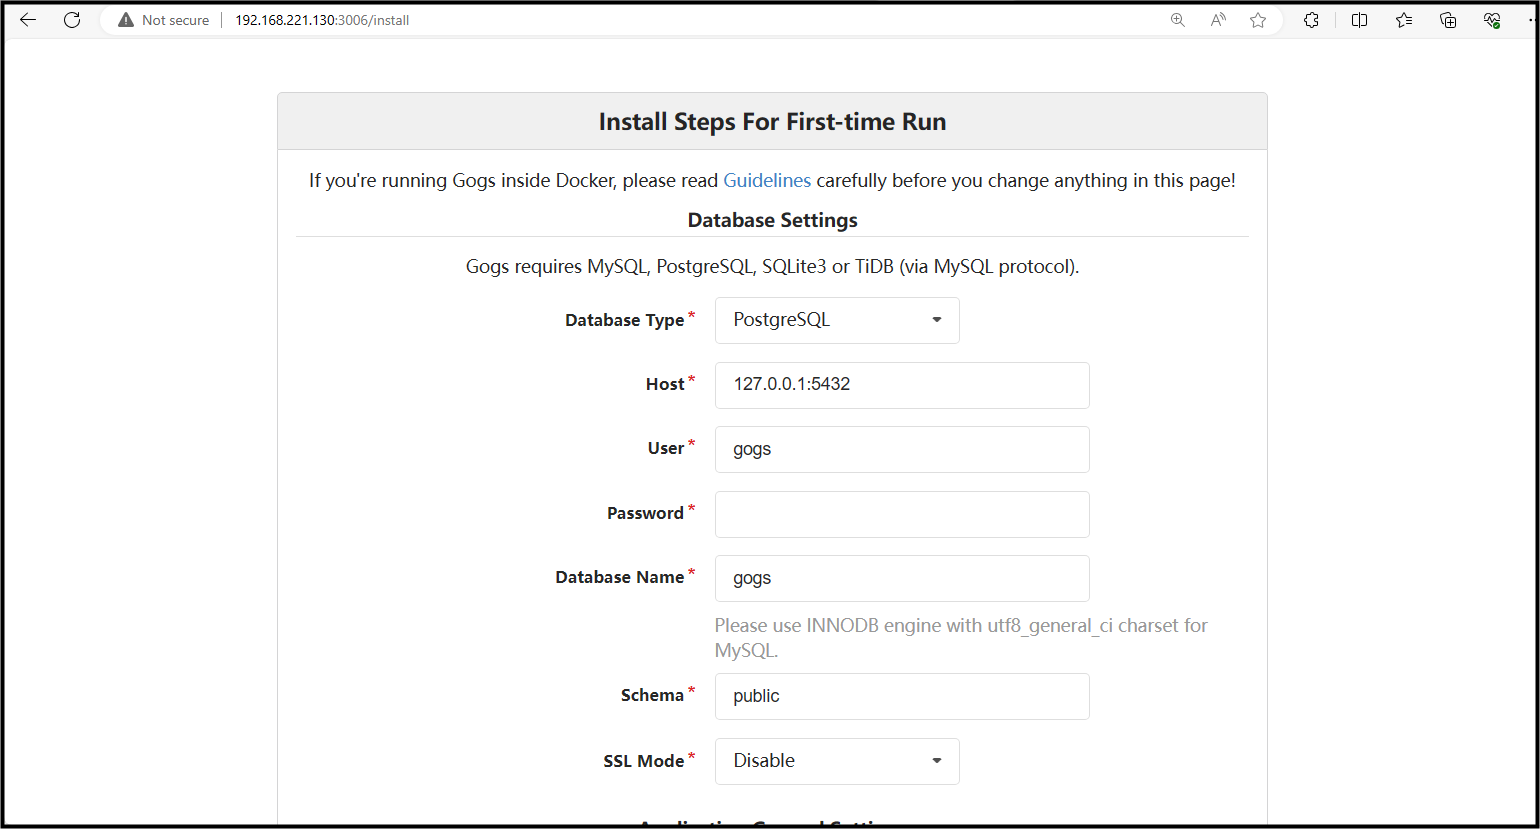
Step 7: Finish the Gogs Installation
Now, open the web browser on any system and enter the following address:
http://ubuntu-ip:3000/install |
|---|
Ensure to replace the ubuntu-ip with the IP address of your Ubuntu system, and change the port number if you have set up a different port number.
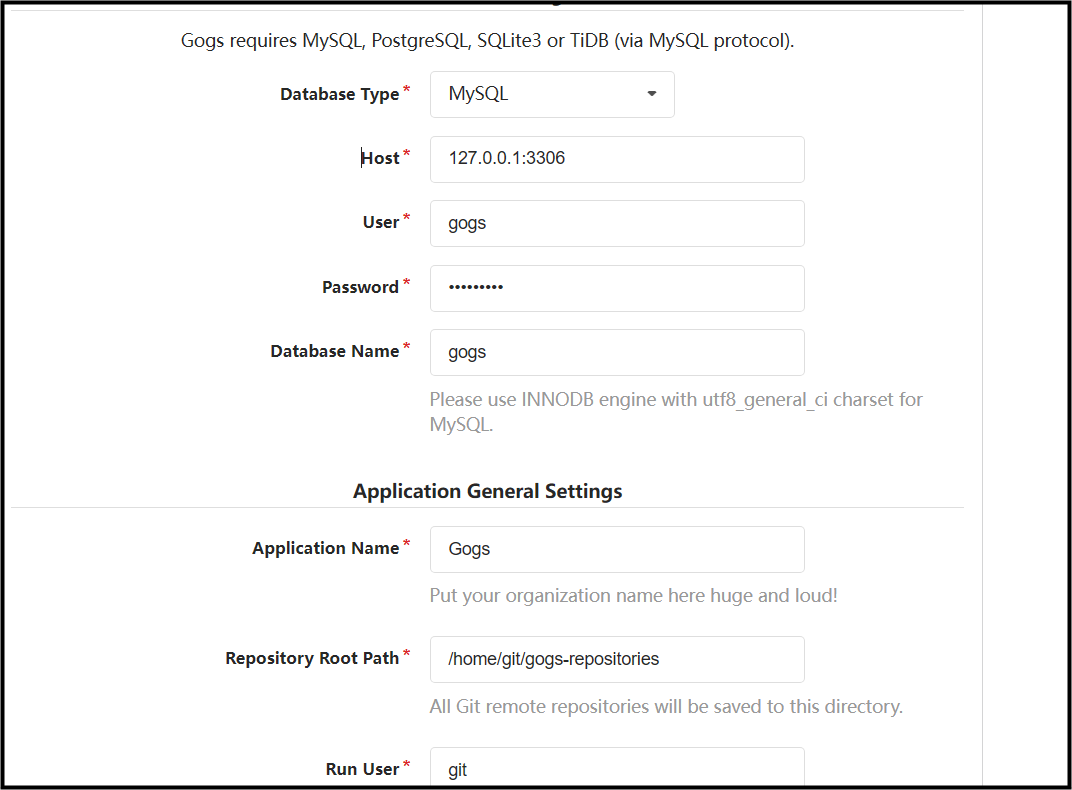
Note: You can find the Ubuntu IP address via hostname -I command; also, make sure that you use the Database type according to the database server you have used in the previous steps. If you have followed the previous steps, choose MySQL database as Database type:
Additional Tips: If you fail to access the Gogs interface after entering the following address in another browser, then allow the connection to a specific port using Firewall. You must install Firewall on Ubuntu first using the following command:
sudo apt install ufw -y |
|---|
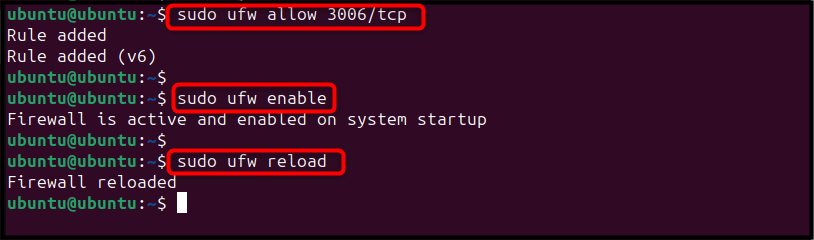
Then allow the connection to a specific port using the following command:
sudo ufw allow port/tcp |
|---|
After that, enable the UFW and reload it using the below-given commands one at a time:
sudo ufw enable sudo ufw reload |
|---|
Then reload the address again to access the Gogs web interface outside the Ubuntu server.
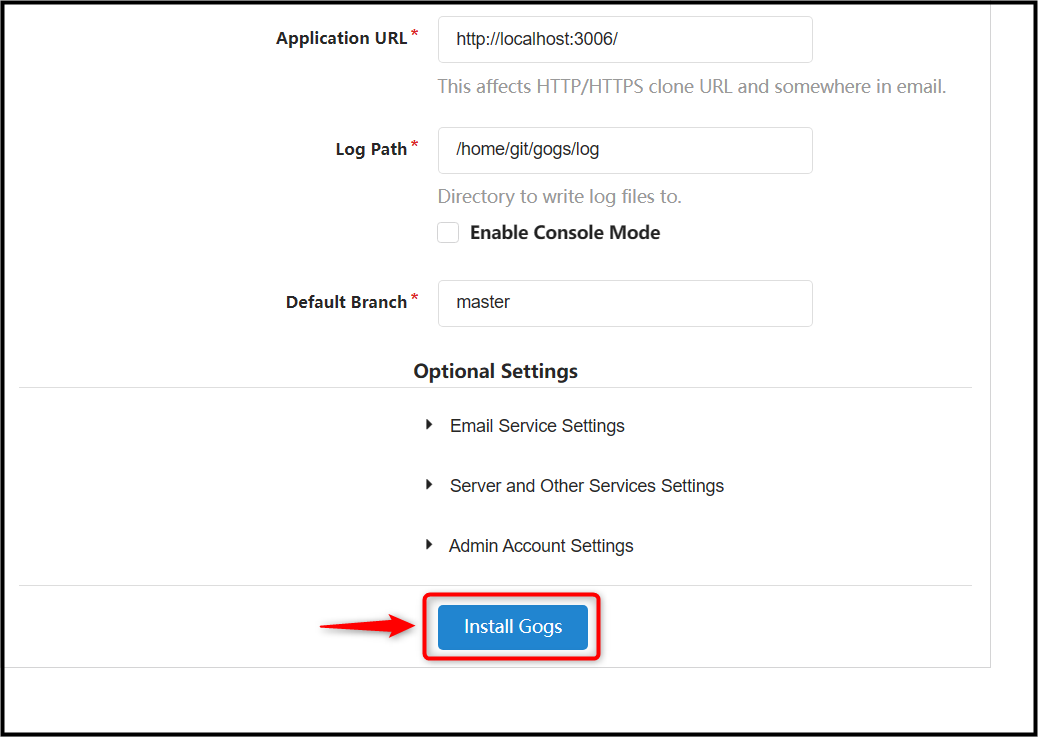
After accessing the Gogs web interface, fill in the required information like Database Type, gogs database password, and keep the other settings the same. Once done, simply click on the Install Gogs button:
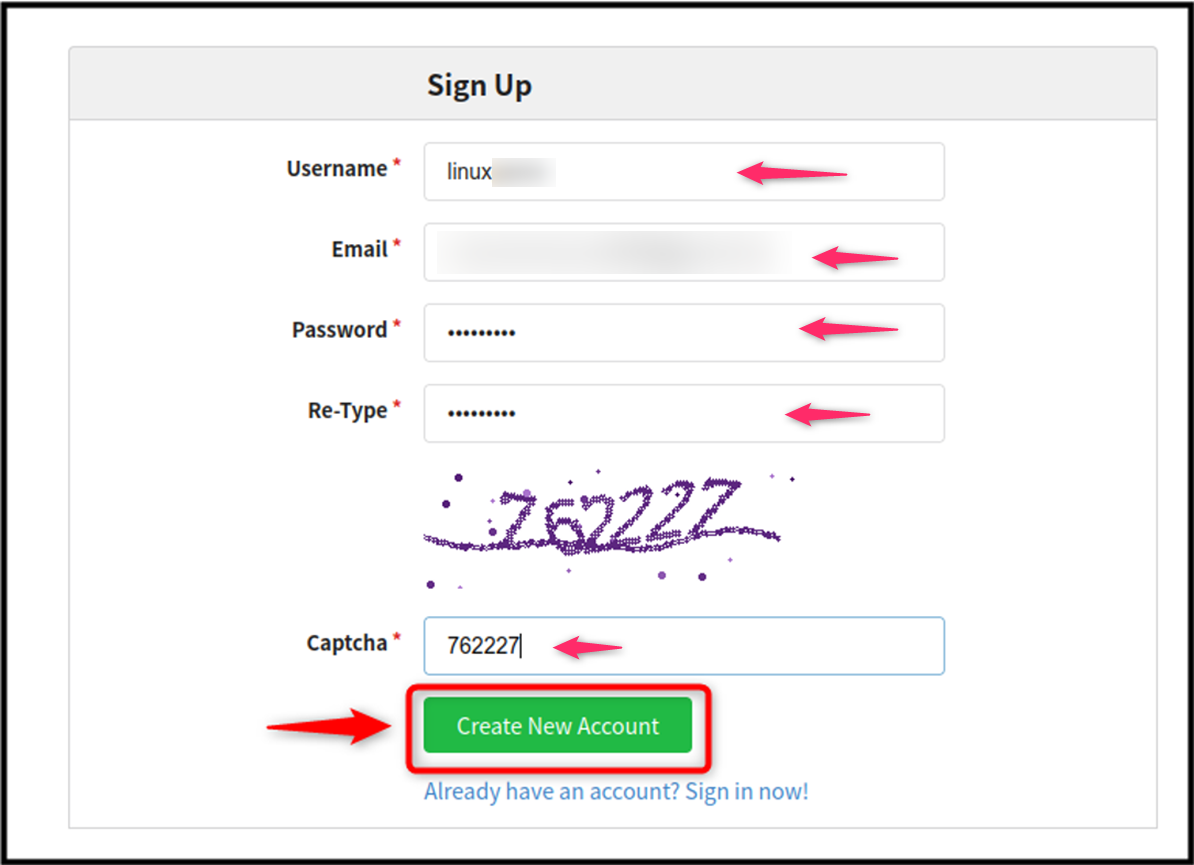
You may experience a 404 Not Found error, but don’t worry go ahead and register yourself on Gogs, and complete the Sign-Up details:
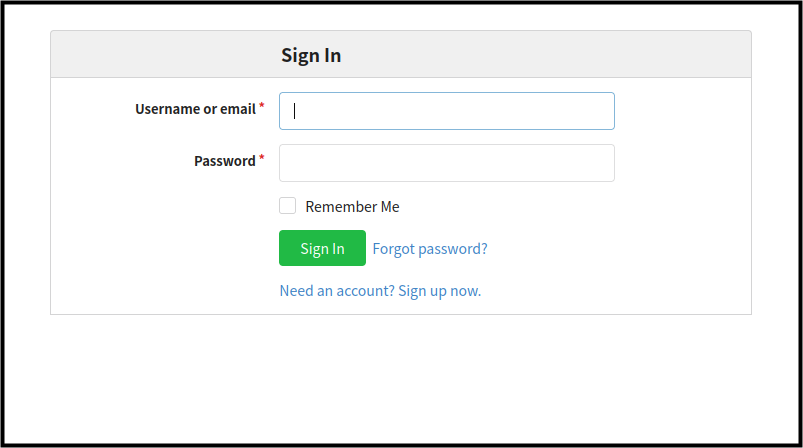
Then Sign In to the account you created earlier:
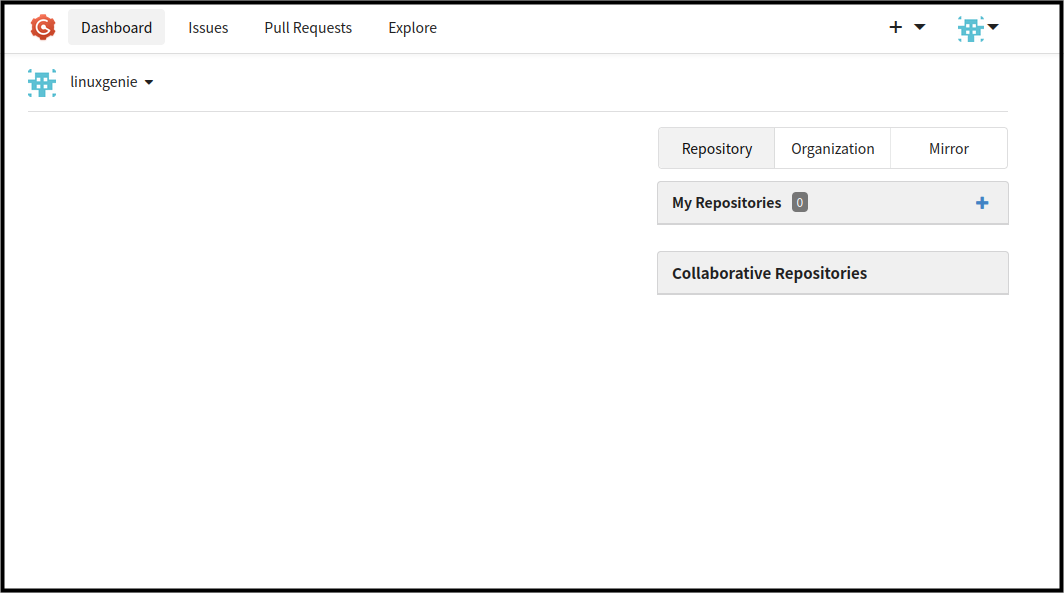
If everything goes fine, you will be able to access the Gogs dashboard on the browser:
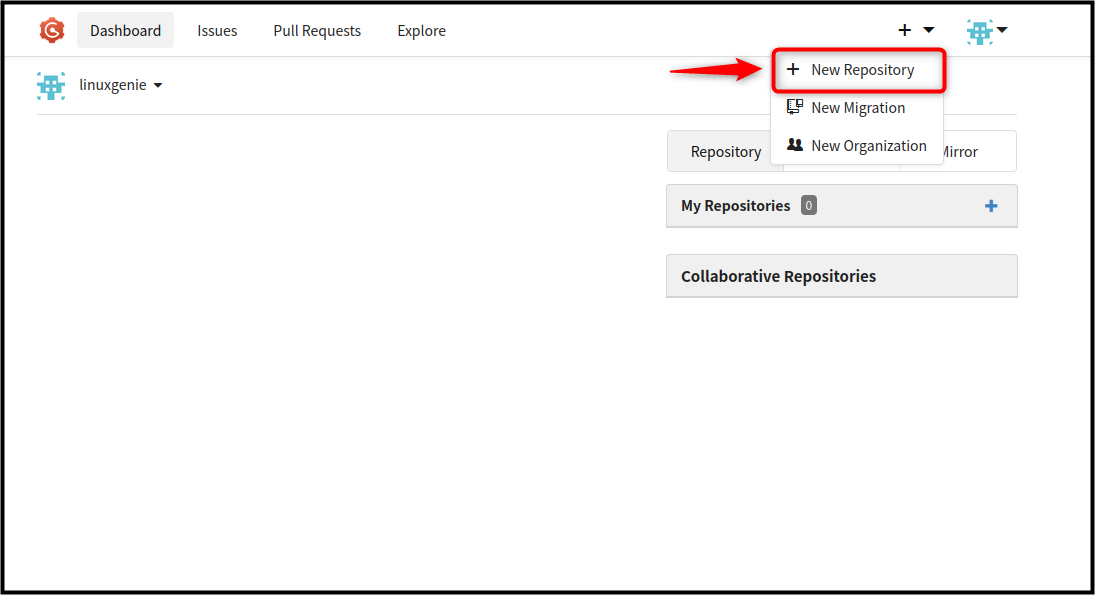
Step 8: Test Gogs Self-Hosted Service
To ensure Gogs is running perfectly, let’s create a sample repository using the New Repository option:
Add your repository name:

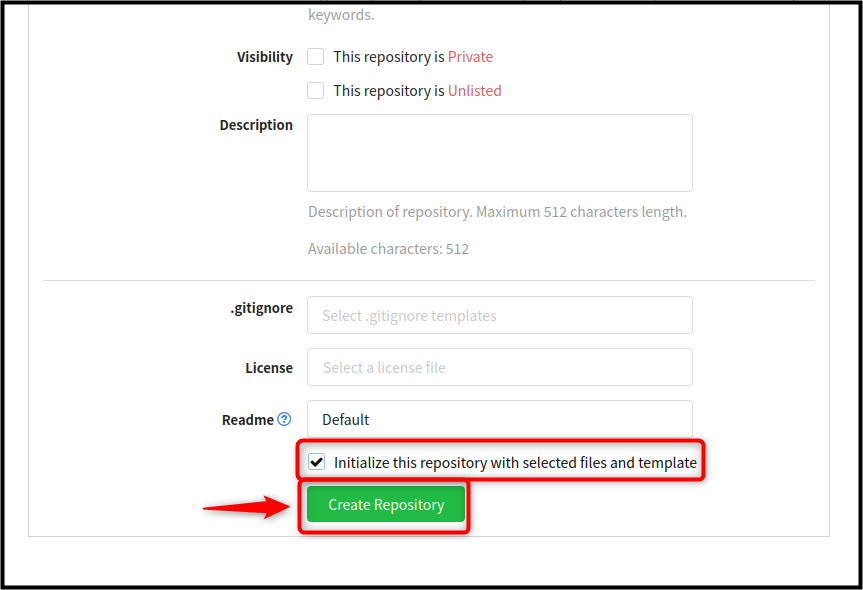
Scroll down and ensure that you select the option Initialize this repository with the selected files and templates, then click the Create Repository button:
You can then add a new file or upload your file from the system to the GitHub repository:

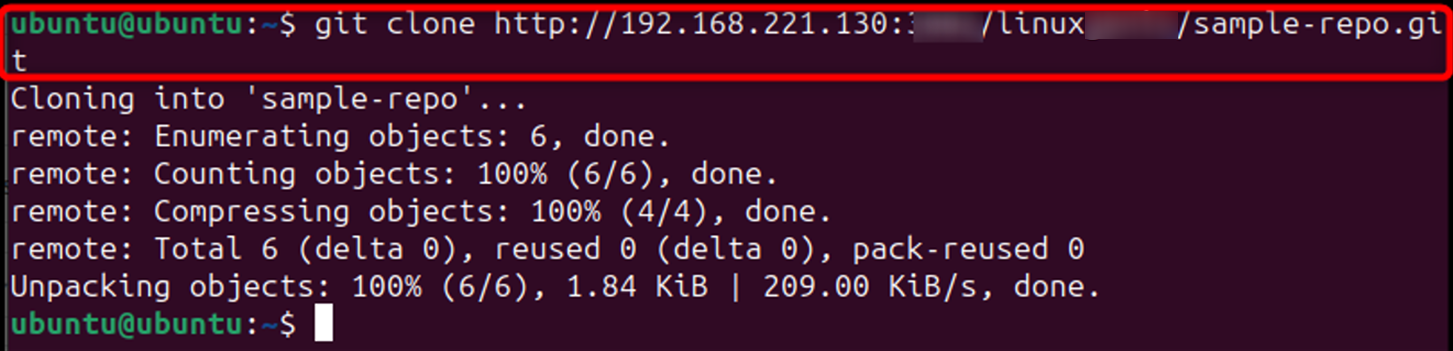
After that, you can clone the created sample-repo using the git clone command followed by the URL to your created Git repository:
git clone http://192.168.221.130:3000/linux/sample-repo.git |
|---|
Note: Don’t forget to change the port number if you have used a different port number for running Gogs on Ubuntu.
In this way, you can work with Gogs on Ubuntu 24.04.
Conclusion
Gogs is a robust service for creating your personal Git repositories and having full control over data and repositories. You can install Gogs on Ubuntu 24.04 by first installing database servers like MariaDB, MySQL, PostgreSQL, or MySQLite3. After that, create your database for Gogs using the database name and a password; then add a user git, create a logs’ folder, change the ownership of the logs directory, provide full ownership to the directory, and copy the Gogs service file to systemd. Additionally, move the gogs source directory to /home/git, and change the ownership to git user and group.
Once everything is done, initiate the daemon, start and enable the Gogs service, and access the Gogs web page using the IP address of your Ubuntu system. Ensure adding the default port number 3000 with the IP address, in case you haven’t changed it from the Gogs service file.