In the digital age, remote access and collaboration have become integral aspects of our work and personal lives. TeamViewer, a versatile and widely-used software, facilitates seamless remote connectivity across various platforms. For Ubuntu users, learning to install TeamViewer on their systems can enhance efficiency and streamline communication. In this guide, we’ll delve into the step-by-step process of installing TeamViewer on Ubuntu 24.04, ensuring that users can harness its full potential to connect, collaborate, and troubleshoot with ease.
Update your repositories to install TeamViewer
Before diving into the installation of TeamViewer on Ubuntu 24.04, it’s imperative to ensure that your system is up-to-date and primed for seamless integration. To kick start the process, execute the following :
$sudo apt update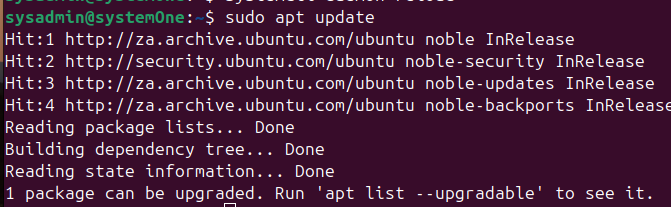
And then follow it with this command:
$sudo apt upgrade -y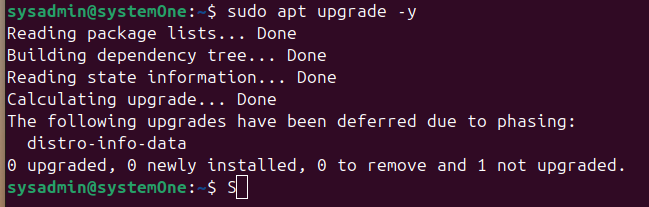
This process not only refreshes the package lists, ensuring you have access to the latest software versions and security patches but also upgrades installed packages to their most recent versions. By preemptively resolving conflicts and errors that may arise due to outdated dependencies, this proactive approach paves the way for a smooth and successful installation of TeamViewer, minimizing disruptions and optimizing performance.
Installing TeamViewer on Ubuntu
Since, TeamViewer is no longer available through the default package repository, you cannot simply install it using “sudo apt install teamviewer”.If you try, you will get the following error.
You will need to download the deb package from the official website. You can use the wget command to do this as such:
$wget https://download.teamviewer.com/download/linux/teamviewer_amd64.deb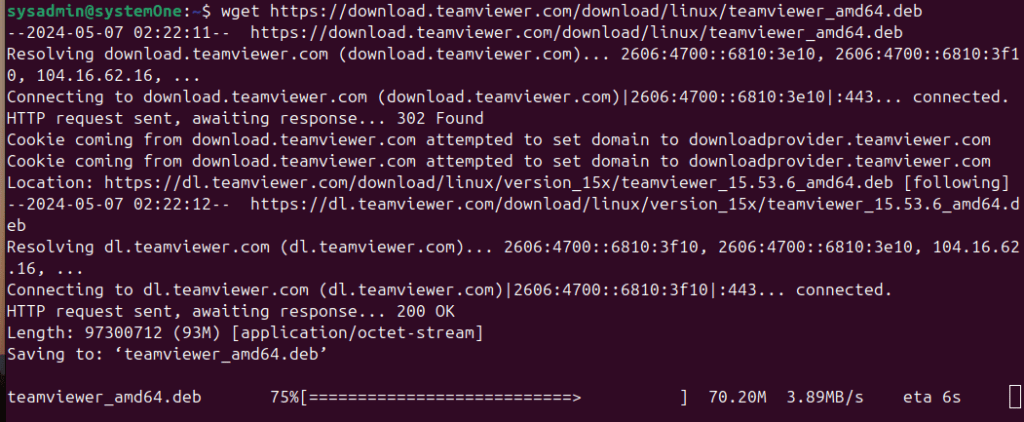
Once you have successfully downloaded the package, you can run the following to install it on your Ubuntu:
$sudo apt install ./teamviewer_amd64.deb -y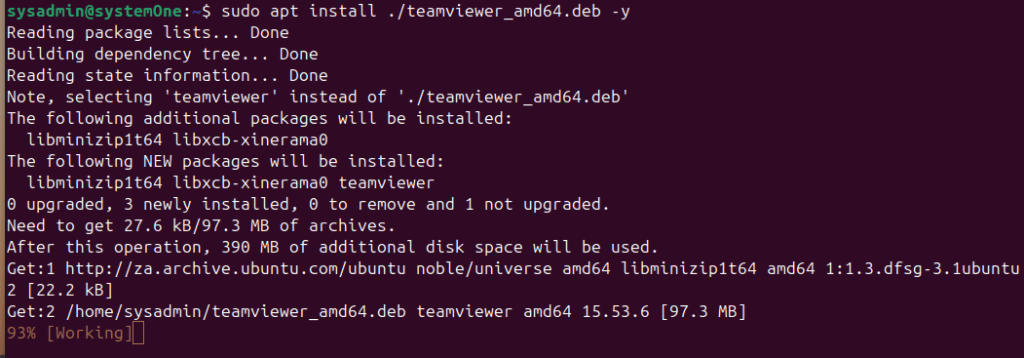
If you see the prompt returned to you without any errors, you will have successfully installed TeamViewer.
Launching TeamViewer
Launching TeamViewer in Ubuntu is a breeze, offering quick access to its robust remote access and collaboration features. Simply open a terminal window and type the following command:
$teamviewer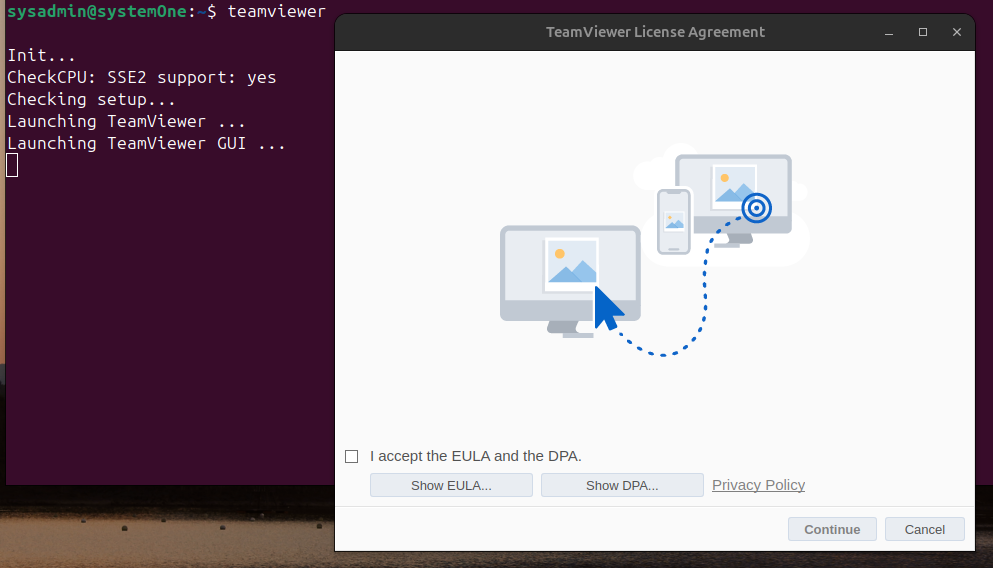
Press Enter, and TeamViewer will initiate, providing you with its intuitive interface and allowing you to connect to remote devices or host remote meetings.
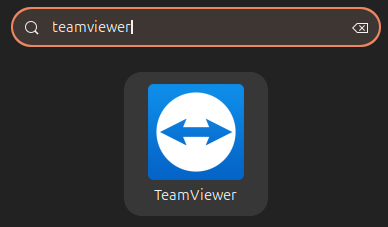
Alternatively, you can go into applications and type “teamviewer” in the search box to pull up the icon and then just click on the icon to launch it.
Whether you’re troubleshooting technical issues or conducting virtual presentations, TeamViewer on Ubuntu ensures seamless connectivity and productivity at your fingertips.
Uninstalling TeamViewer
Removing TeamViewer from your Ubuntu 24.04 system is an simple process. If you ever need to uninstall TeamViewer, open the terminal and input the following command:
$sudo apt autoremove teamviewer --purge -y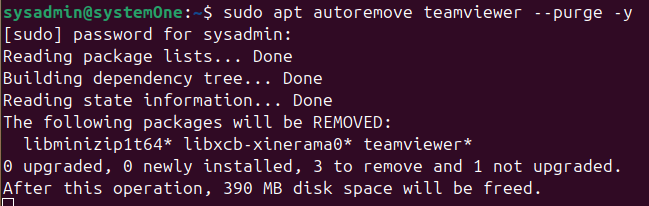
Confirm your decision by providing your password. This will remove TeamViewer along with any of its configuration files from your Ubuntu 24.04 system.
Conclusion
In summary, installing TeamViewer on Ubuntu is a straightforward process, offering users versatile remote access capabilities and seamless collaboration opportunities. Whether opting for the terminal-based installation method or utilizing the apt install utility, ensuring up-to-date system repositories is crucial for a smooth installation experience. By following these steps, you can install TeamViewer on Ubuntu to unlock a realm of remote connectivity and collaborative potential.
Once installed, launching TeamViewer is as simple as typing a single command in the terminal. With TeamViewer at your disposal, navigating remote work, troubleshooting tasks, or conducting virtual meetings becomes more efficient and effective than ever before. Embrace the power of TeamViewer on Ubuntu 24.04 to streamline your workflow and enhance your productivity.
If you want to learn more about TeamViewer, you can check out their official website and all the features.