Linux, known for its stability and security, is not immune to viruses and malware. As such, it’s essential to have a reliable antivirus solution in place. ClamAV is a free, open-source antivirus engine and malware scanner. It’s widely used on Linux systems. It is a powerful as well as versatile open-source antivirus engine designed to detect trojans, viruses, malware, and other malicious threats.
This blog post will guide you through the steps to install, configure, and scan for viruses on Linux using ClamAV.
Table of Content
- How to Install, Configure, and Scan for Viruses on Linux with ClamAV
- Installation of ClamAV
- Configuration of ClamAV
- Scanning for Viruses on Linux with ClamAV
- Conclusion
How to Install, Configure, and Scan for Viruses on Linux with ClamAV
ClamAV is a robust antivirus solution for Linux users. By following these steps, you can ensure your system is better protected against various cyber threats.
Let’s move towards installing, configuring, and scanning for viruses on Linux with ClamAV.
Installation of ClamAV on Linux
The installation process for ClamAV varies depending on the Linux distribution you are using.
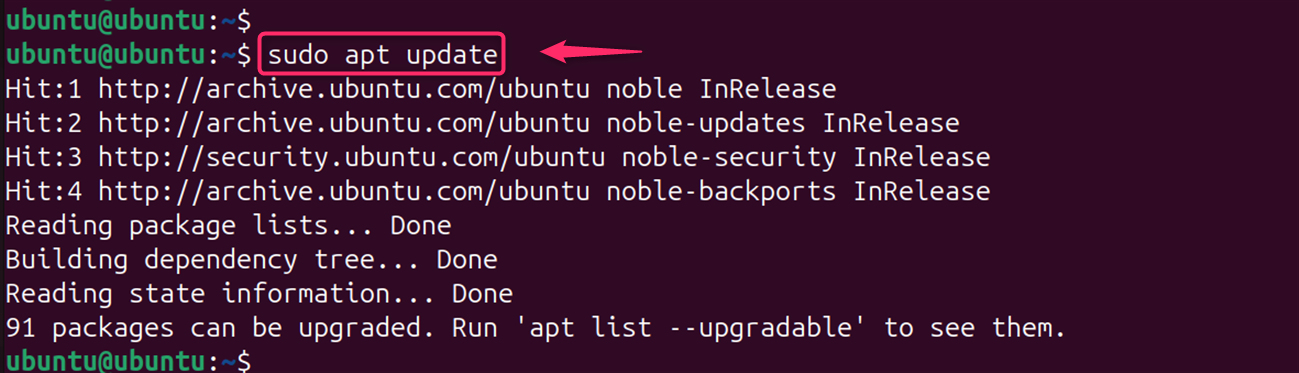
Update Package Lists
sudo apt update # For Debian/Ubuntu
sudo yum update # For CentOS/RHEL
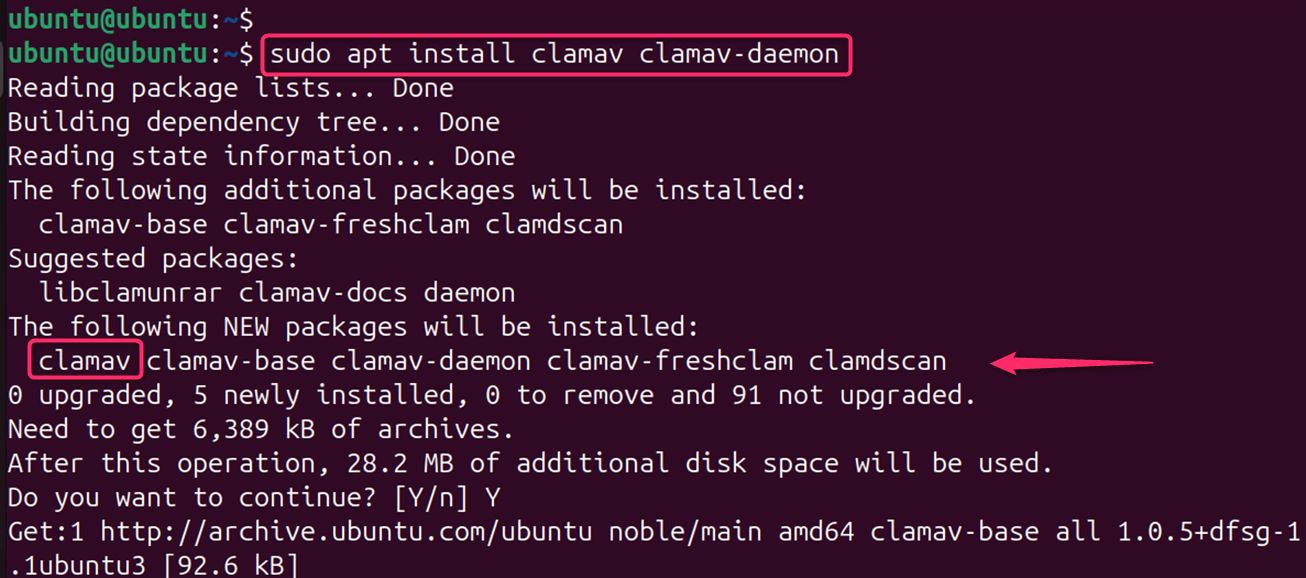
Install ClamAV
For Debian-based systems like Ubuntu, you can install ClamAV using the APT package manager:
sudo apt install clamav clamav-daemon # For Debian/Ubuntu
sudo yum install clamav clamav-daemon # For CentOS/RHEL
For RPM-based systems such as Fedora or CentOS, you first need to install the EPEL repository, then install ClamAV using the DNF package manager:
sudo dnf install epel-release
sudo dnf install clamav
Note: The exact commands might vary slightly based on your Linux distribution.
Configuration of ClamAV on Linux
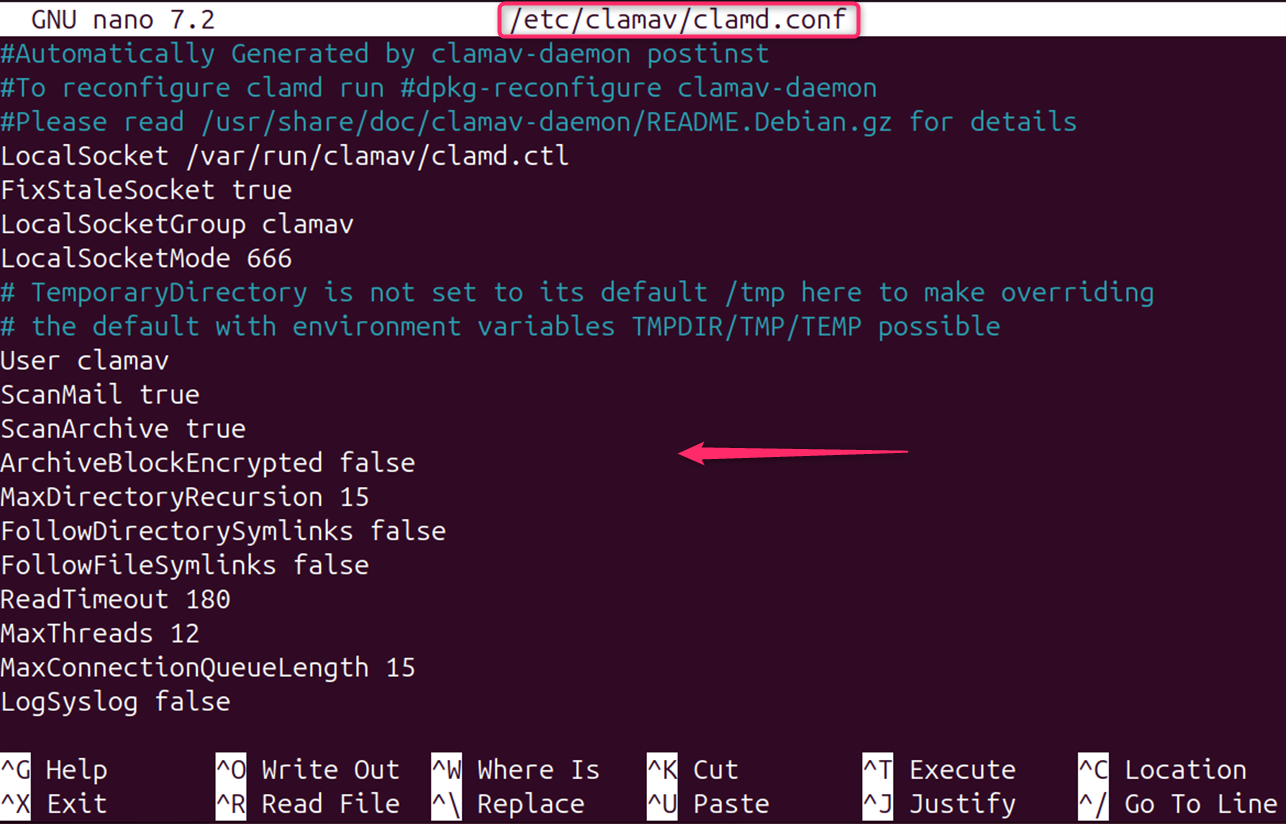
After installation, the next step is to configure ClamAV. You will need to edit the freshclam.conf and clamd.conf files to set up the virus database updater and the antivirus daemon. These configuration files are typically located in /etc/clamav/:

For freshclam.conf, you may need to remove the Example line and set up the database mirror. For clamd.conf, you should specify the user and group under which the daemon will run, and configure various scanning options according to your needs:
Common Configuration Options:
Users can configure several options according to their needs:
- DatabaseDirectory: Specifies the location of the virus definition database.
- LogFile: Sets the path for the ClamAV log file.
- LogSeverity: Controls the level of detail in log messages.
- ScanOnAccess: Enables on-access scanning (requires ClamAV daemon).
- ExcludePath: Specifies directories to exclude from scanning.
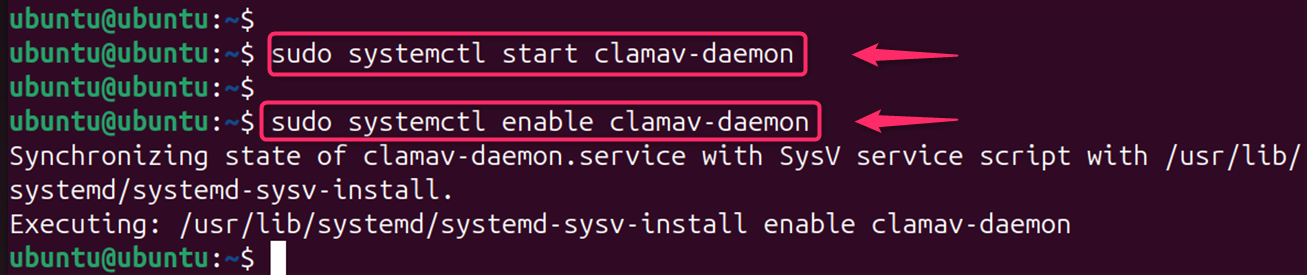
To run ClamAV as a daemon for on-access scanning:
sudo systemctl start clamav-daemon
sudo systemctl enable clamav-daemon # To start on boot
Scan for Viruses on Linux with ClamAV
Before running a scan, ensure that the virus database is up-to-date. ClamAV relies on updated virus definitions to effectively detect threats:
sudo clamscan
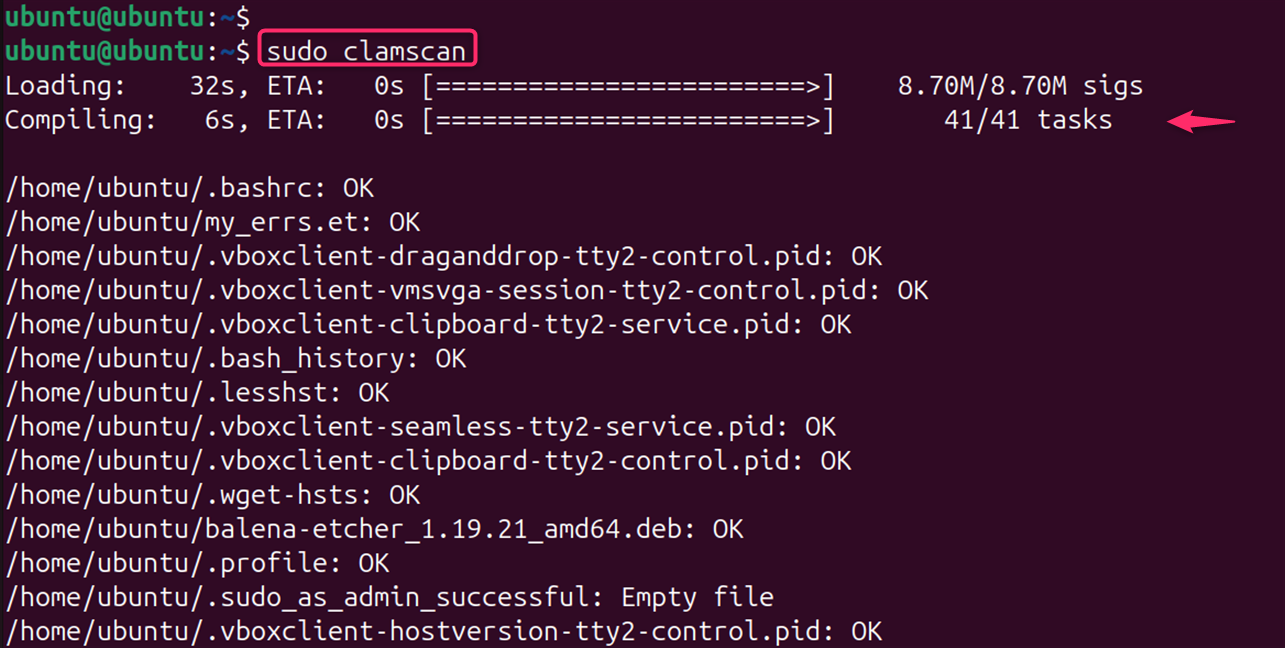
At the end of the command, see a summary of the scan:
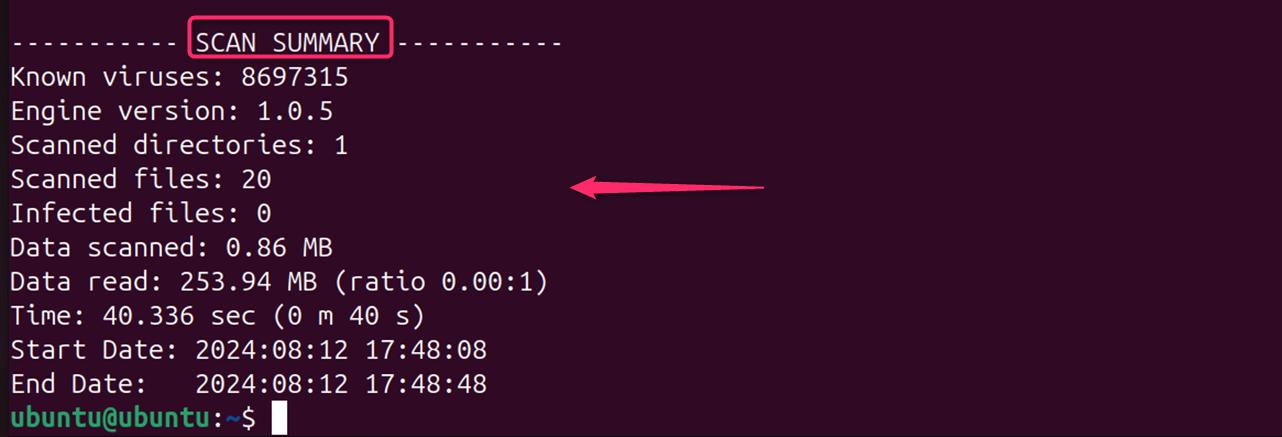
This command downloads the latest virus signatures from ClamAV’s database, which is crucial for detecting the most recent threats.
Running a Scan for Viruses on Linux with ClamAV
With ClamAV installed and configured, you can now run a scan. To scan a specific directory, use the below command. Here, -r represents recursive scan, scans subdirectories.
To scan the entire system (not recommended for large systems), use:
sudo clamscan --infected --recursive /home/ubuntu/LinuxWorld
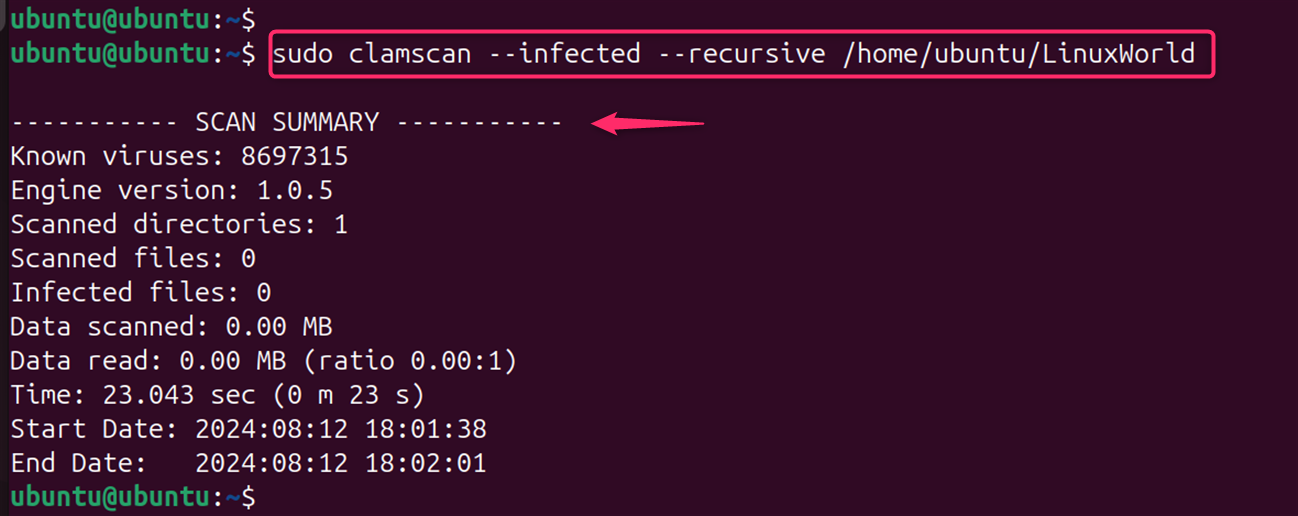
This command recursively scans every file on your system and outputs a list of infected files. If you want to scan a specific directory, replace / with the directory path.
Handling Detected Threats
If ClamAV detects any threats, you will need to decide how to handle them. You can either manually remove the infected files or use ClamAV’s options to automatically take action. For example:
sudo clamscan --infected --remove --recursive /path/to/scan
It removes any infected files found during the scan automatically.
Bonus Tip: Automating Scans
For ongoing protection, you can automate the scanning process by creating a cron job that runs ClamAV scans at regular intervals. This ensures that your system is regularly checked for viruses without manual intervention.
Additional Commands
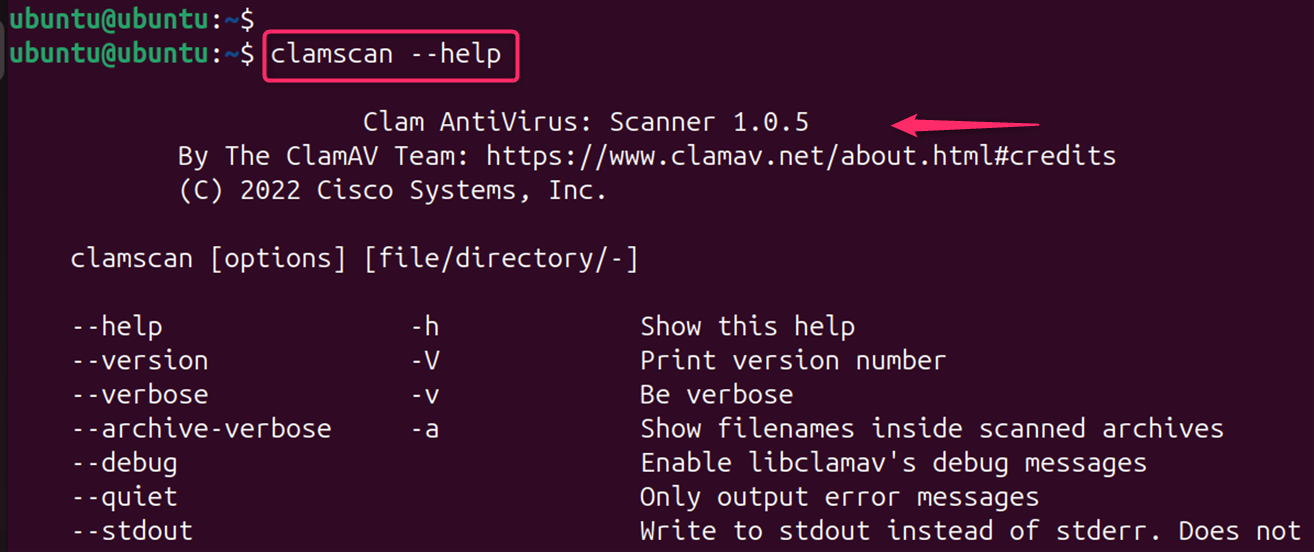
Users can display available options via clamscan –help and freshclam –help displays options for updating virus definitions:
clamscan --help
Note: Linux systems are generally more secure than Windows due to their architecture. Good security practices, such as keeping software up-to-date, using strong passwords, and being cautious about downloads, are essential.
Conclusion
ClamAV is a robust antivirus solution for Linux systems. By following the steps outlined in this guide, you can install, configure, and use ClamAV to protect your Linux environment from various security threats. Regular updates and scans will help maintain the integrity of your system. ClamAV’s configuration file is usually located at /etc/clamav/clamav.conf. Users can also modify it with a text editor like Nano or Vim. For automatic updates, you can configure `freshclam` by editing the freshclam.conf file, usually located in /etc/clamav/.
For more detailed instructions on installing and configuring ClamAV, you can refer to the official ClamAV documentation. By following these steps and understanding the limitations of antivirus software, you can enhance your Linux system’s security.