XAMPP is an all-in-one software package that provides a comprehensive development environment for web developers. Comprising Apache, MariaDB, PHP, and Perl, XAMPP offers everything you need to set up a local server and database. This integration simplifies the setup process by providing a unified environment that replicates a production server, allowing developers to focus on building and testing their applications. Integrating XAMPP into your workflow can significantly enhance your productivity by providing a stable and powerful platform for web development. Ubuntu 24.04 LTS complements this setup with its robust security and long-term support, ensuring a reliable environment for your projects. This guide will walk you through the steps to install and configure XAMPP on Ubuntu 24.04 LTS, helping you create an efficient development environment for your web applications. Let’s get started!
How to Install XAMPP on Ubuntu 24.04 LTS
Getting XAMPP up and running on Ubuntu 24.04 LTS is easier than you might think. Follow this guide to set up your local development environment quickly and efficiently.
- Prerequisites
- Downloading XAMPP
- Installing XAMPP
- Starting XAMPP
- Verifying Installation
- Configuring XAMPP
- Troubleshooting Common Issues
- Uninstalling XAMPP
- Conclusion
Before we get XAMPP up and running, ensure your system is ready for a seamless installation.
Step 1: Prerequisites
Before you proceed with the installation, ensure your system fulfills these crucial prerequisites:
1. Administrative Privileges: To install software on Ubuntu, you need elevated permissions, which are typically granted through the sudo command. This allows you to execute commands with superuser access temporarily, ensuring system security while performing administrative tasks.
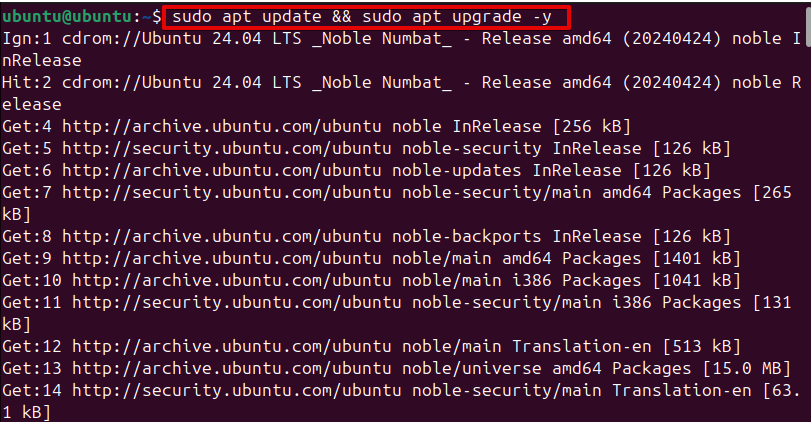
2. System Update: Make sure your system is up to date. Run the following commands:
sudo apt update && sudo apt upgrade -y
3. Internet Access: Necessary for downloading the XAMPP installer.
With these prerequisites in place, you can proceed with the XAMPP installation on Ubuntu 24.04 LTS.
Step 2: Downloading XAMPP
The first step in installing XAMPP is downloading the installer from the official website.
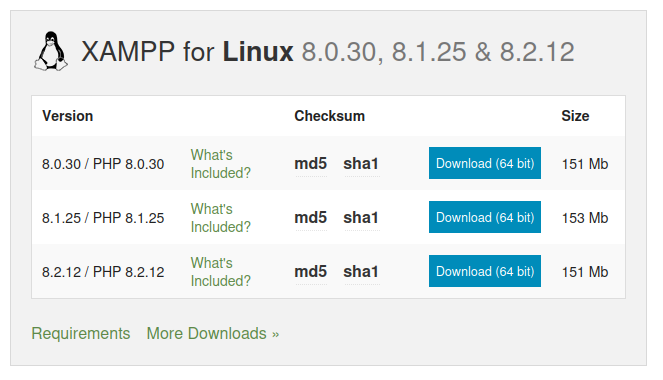
1. Open your web browser and navigate to the XAMPP official download page.
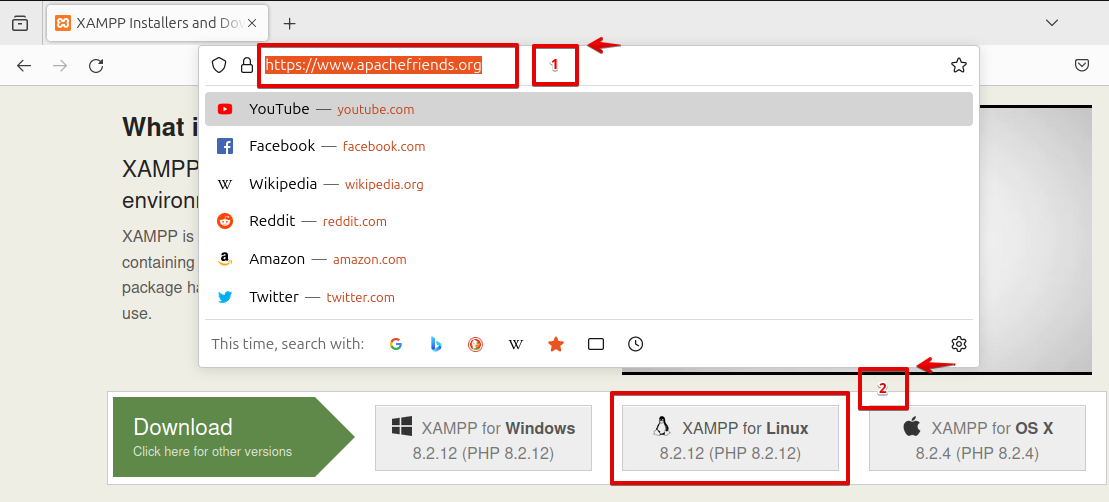
2. Select the version for Linux and download the installer.
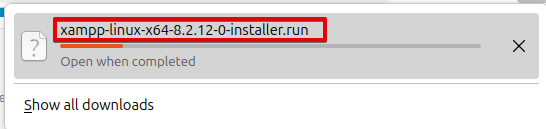
The file name should be something like
xampp-linux-x64-VERSION-0-installer.run.
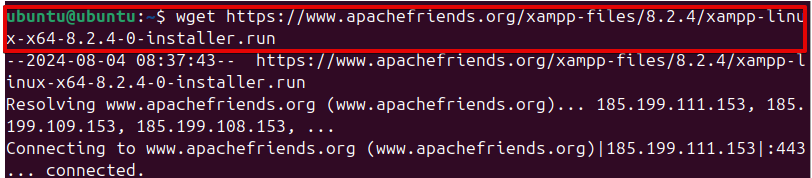
You can also download the installer using the terminal:
wget https://www.apachefriends.org/xampp-files/VERSION/xampp-linux-x64-VERSION-0-installer.run
Step 3: Installing XAMPP
Once the download is complete, follow these steps to install XAMPP on your Ubuntu 24.04 LTS system.
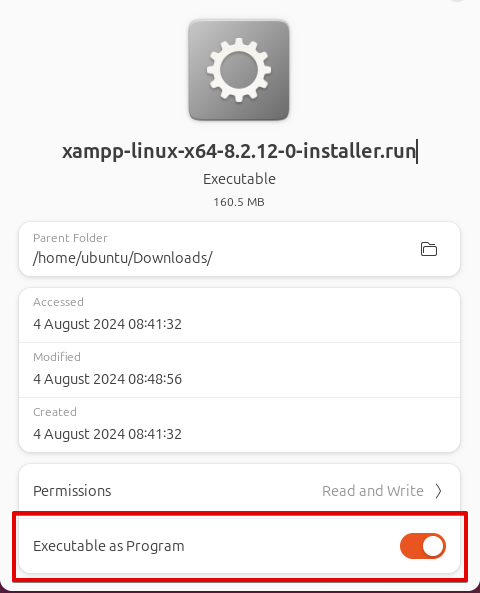
Making the Installer Executable
First, you need to make it executable.
You can use the GUI method: right-click the installer file, select Properties, and check Executable as program.
Alternatively, open your terminal and navigate to the directory where the installer is located.
chmod +x xampp-linux-x64-VERSION-0-installer.run

This command sets the necessary execution permissions, allowing the installer to run properly.
Running the Installer
Next, run the installer with administrative privileges:
sudo ./xampp-linux-x64-8.1.6-0-installer.run

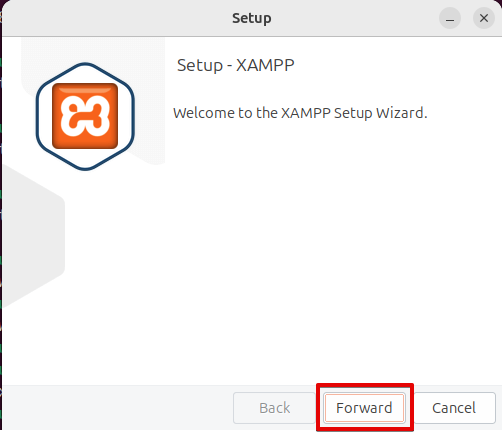
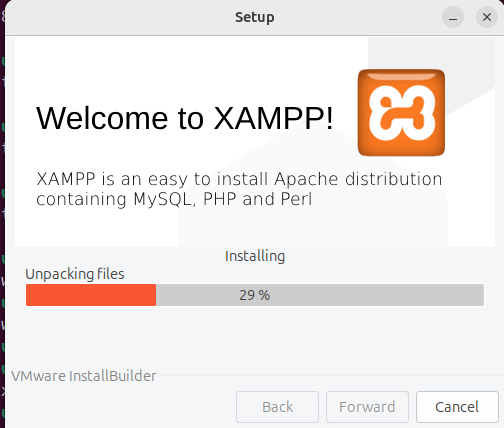
This command will launch the graphical installer. Follow these steps:
1. Welcome Screen: Click Forward.
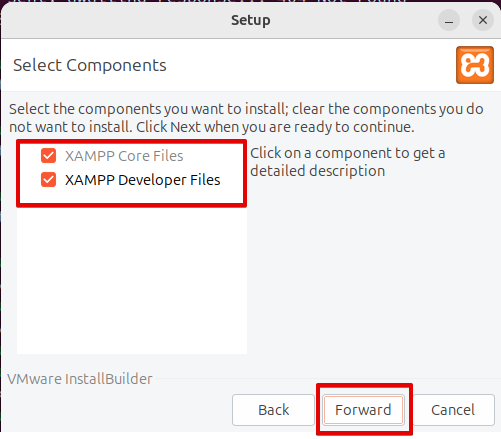
2. Select Components: By default, all components are selected. Click Forward.
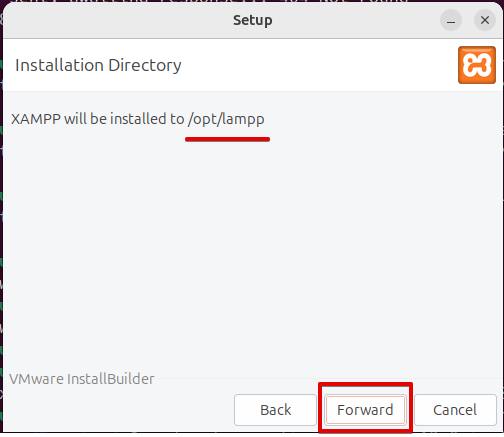
3. Installation Folder: The default installation directory is /opt/lampp. Click Forward.
4. Ready to Install: Click Forward to start the installation.
The installation process may take a few minutes. You can leave the installer by clicking Finish once the installation is finished.
Step 4: Starting XAMPP
With XAMPP installed, the next step is to start it.
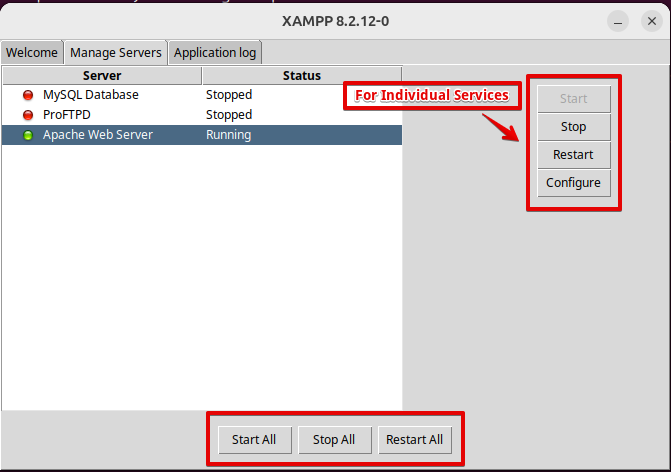
Managing XAMPP from GUI
XAMPP provides a graphical user interface (GUI) to manage its services.
Open the terminal and run the following command to start the XAMPP control panel:
sudo /opt/lampp/manager-linux-x64.run

In the control panel, you can start and stop individual services like Apache, MySQL (MariaDB), and others.
Managing XAMPP from the Command Line
Alternatively, you can manage XAMPP services directly via the terminal:
sudo /opt/lampp/lampp start

In addition to the graphical control panel, you can manage XAMPP services directly from the command line. Here are some useful commands:
Stop XAMPP:
sudo /opt/lampp/lampp stop

Restart XAMPP:
sudo /opt/lampp/lampp restart

Check the Status:
sudo /opt/lampp/lampp status

Step 5: Verifying Installation
To verify that XAMPP is installed and running correctly, open your web browser and navigate to
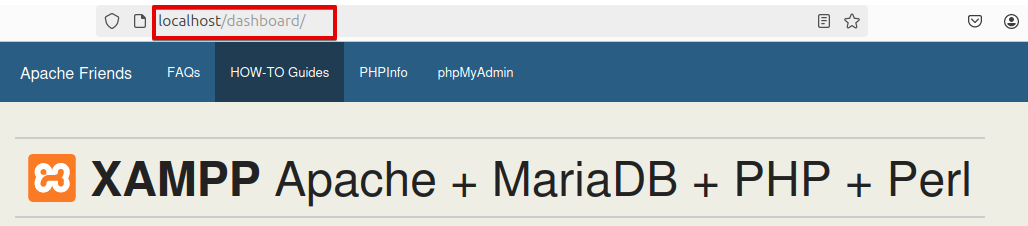
To check if MariaDB is running, you can access the phpMyAdmin tool by navigating to

Step 6: Configuring XAMPP
Configuring XAMPP involves setting up your environment to match your development needs and ensuring it’s secure.
Securing XAMPP
By default, XAMPP is not secure. You need to set passwords for MySQL and the XAMPP administration panel. Run the following command:
sudo /opt/lampp/lampp security

Follow the instructions to strengthen security and create passwords.

Possible Problem: Unable to set MySQL password.

Solution: Ensure MySQL is running before setting the password.
sudo /opt/lampp/lampp startmysql

Step 7: Troubleshooting Common Issues
While installing and using XAMPP, you may encounter some common issues. Here are a few troubleshooting tips:
Port Conflicts: If Apache or MySQL fails to start, it may be due to port conflicts. Ensure that ports 80 (Apache) and 3306 (MySQL) are not being used by other services.
Permission Issues: If you encounter permission errors, ensure that you are running commands with sudo privileges.
Firewall Settings: If you cannot access XAMPP from your browser, check your firewall settings to ensure that the necessary ports are open.
Step 8: Uninstalling XAMPP
If you ever need to uninstall XAMPP, you can do so by running the uninstaller script included in the installation directory.
Stop all XAMPP services and run the uninstaller.
Run the uninstaller:
sudo /opt/lampp/uninstall
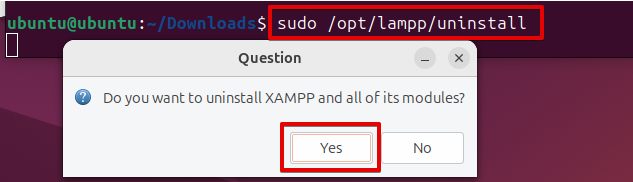
Following the command, you’ll receive a prompt asking for confirmation to proceed with the uninstallation. It will look something like this:

Remove the XAMPP directory:
sudo rm -rf /opt/lampp

Conclusion
By following this guide, you have successfully installed and configured XAMPP on Ubuntu 24.04 LTS. This setup provides a robust local web development environment, allowing you to manage web server tasks, databases, and more efficiently. This comprehensive guide also provides the necessary steps and solutions for common issues you might encounter, ensuring a streamlined and secure workflow. Regular updates and proper configuration are key to maintaining a secure and effective development environment. Enjoy a smoother development journey with XAMPP on Ubuntu 24.04 LTS, and take full advantage of its powerful features to enhance your web development capabilities.