PyTorch is known for its flexibility and ease of use in research and development. It is an open-source machine learning library utilized for applications such as natural language processing and computer vision. It is known for its flexibility and ease of use in research prototyping and production deployment. With the release of Ubuntu 24.04, users may be looking for ways to install PyTorch to influence its powerful capabilities.
This article will offer a comprehensive overview of the methods available for installing PyTorch on Ubuntu 24.04.
Table of Content
- How to Install PyTorch on Ubuntu 24.04
- Method 1: Using PIP
- Method 2: Using Anaconda
- How to Remove PyTorch on Ubuntu 24.04?
- Conclusion
How to Install PyTorch on Ubuntu 24.04
There are two primary methods for installing PyTorch on Ubuntu 24.04. Each method has its own set of advantages and may be preferred in different scenarios. For most users, installing via pip or Conda will be the most straightforward and efficient approach.
If you’re looking to install PyTorch on Ubuntu 24.04, this guide will walk you through the process step by step. Choose the installation based on your needs:
Method 1: Using PIP
Pip is a package manager for Python that allows you to install and manage additional libraries that are not part of the Python standard library. For installing PyTorch utilizing pip, follow these steps:
Step 1: Update Your System
Begin by updating the package list as well as upgrading the existing packages to their most recent versions:
sudo apt update
Step 2: Install Python 3 and PIP
If users don’t have installed Python 3, they can install it through the below command:
sudo apt install python3

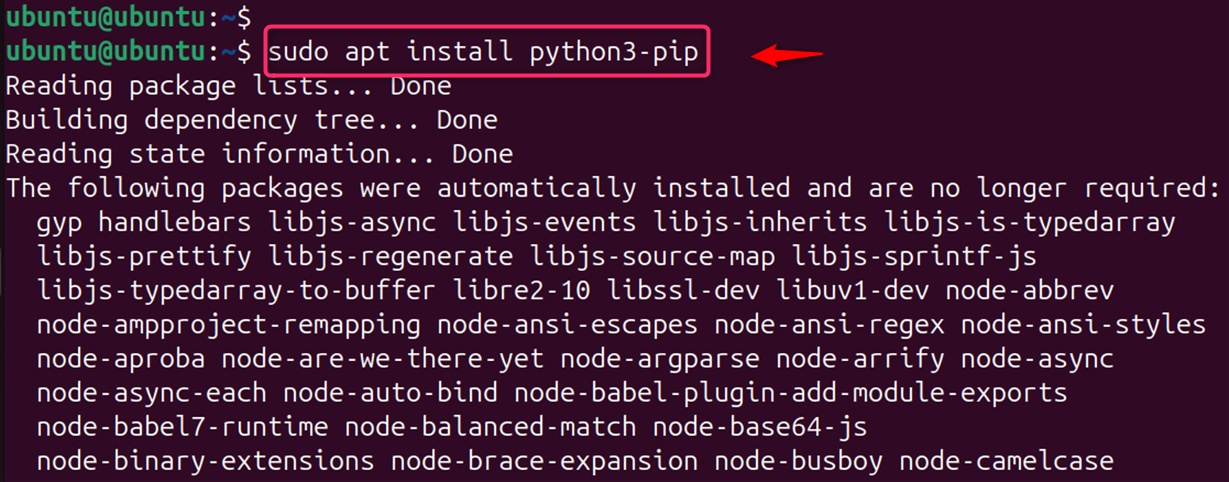
Next, install pip by running the below command:
sudo apt install python3-pip
Note: For project isolation, consider creating a virtual environment using the below steps.
Step 3: Install a Virtual Environment
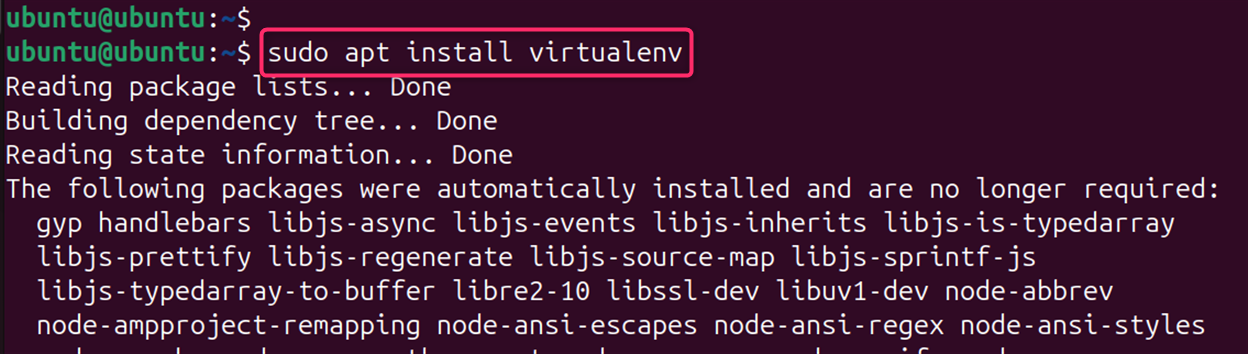
For creating the virtual environment, first, users need to install virtualenv utilizing apt:
sudo apt install virtualenv
Step 4: Create a Virtual Environment
Navigate to the directory where you want to set up your virtual environment and run the below command.
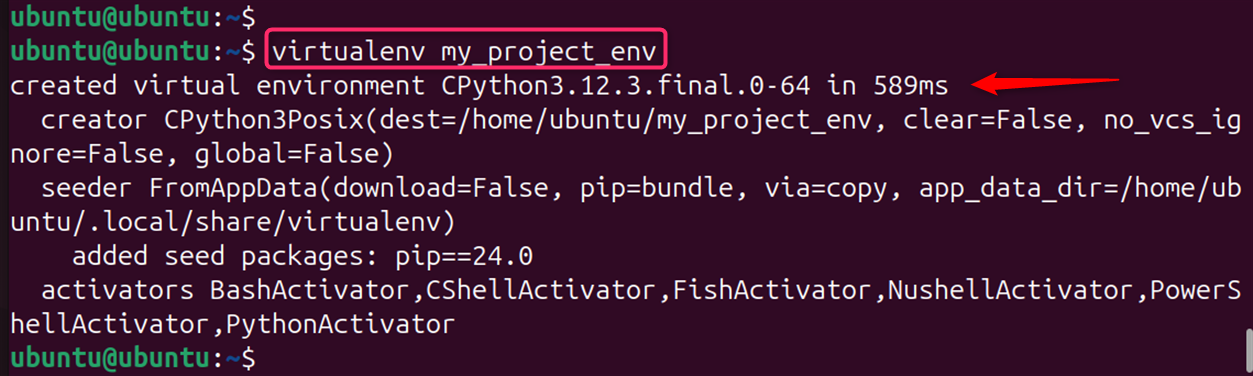
Let’s create a new environment for your project:
virtualenv my_project_env
Step 5: Activate the Virtual Environment
Activate the environment before installing new packages to ensure they are installed within this isolated space. To activate the virtual environment and use its settings, run:
source my_project_env/bin/activate

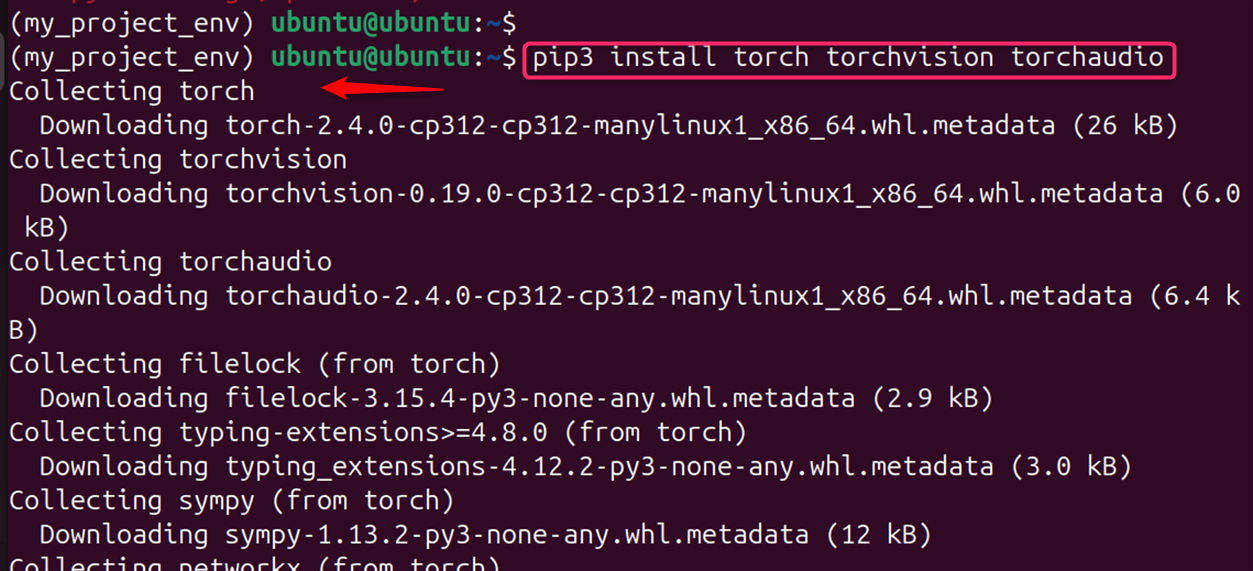
Step 6: Install PyTorch
With Python and pip ready, you can install PyTorch. It depends on the CPU-only version of PyTorch or the version that supports GPU acceleration:
pip3 install torch torchvision torchaudio
Step 7: Verify Installation
After installation, verify that PyTorch is installed correctly by running a simple Python script that imports the library and prints the version:
Open a Python interpreter (outside the virtual environment, if used) and type:
pythonimport torch
print(torch.__version__)

This prints the installed PyTorch version if successful.
Step 8: Test GPU Support (Optional)
If you installed the GPU version of PyTorch, you can test if it’s recognizing your GPU:
python
import torch
print(torch.cuda.is_available())
For detailed instructions, you can refer to the official PyTorch website or the NVIDIA documentation for optimized PyTorch installation. Always verify your installation by importing PyTorch in a Python shell and checking for CUDA availability if needed.
Method 2: Using Anaconda
Miniconda is a lightweight version of Anaconda, specifically designed for managing Python environments. It’s a popular choice for installing PyTorch.
For installing PyTorch on Ubuntu 24.04 using Anaconda, (minimal installer for conda), follow below.
Step 1: Download Anaconda Installer Script (Choose the latest version)
Visit the Anaconda website and download the appropriate installer for your system (Linux-x86_64 for most systems). Alternatively, use curl with the latest URL:
curl -O https://repo.anaconda.com/miniconda/Miniconda3-latest-Linux-x86_64.sh
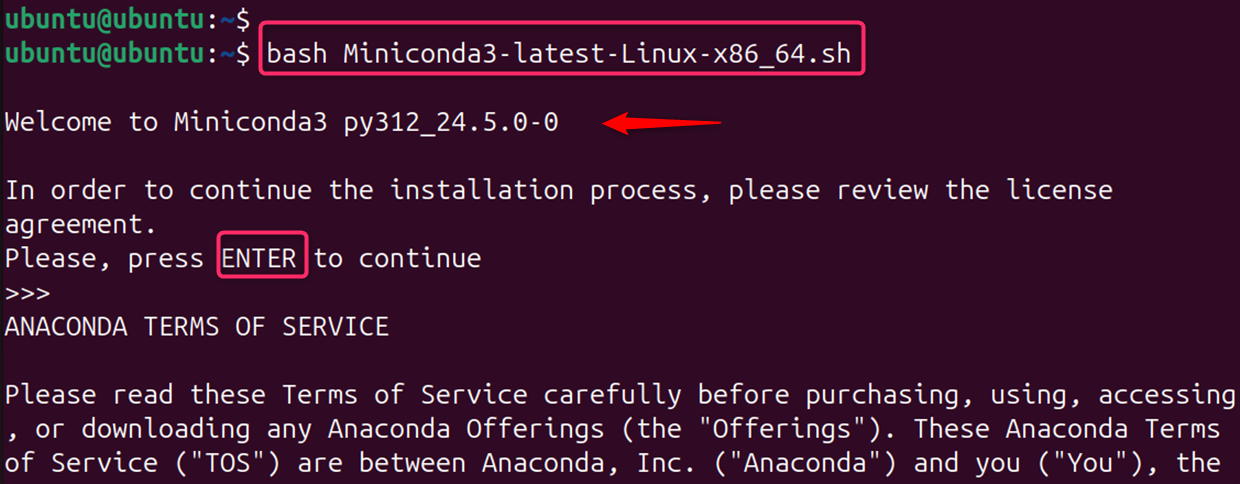
Step 2: Install Anaconda
Now, users need to install Anaconda on the system via the below command:
bash Miniconda3-latest-Linux-x86_64.sh
Step 3: Activate Anaconda
Now, users need to configure the installed anaconda by executing the below commands:
source ~/.bashrcconda config --set auto_activate_base false

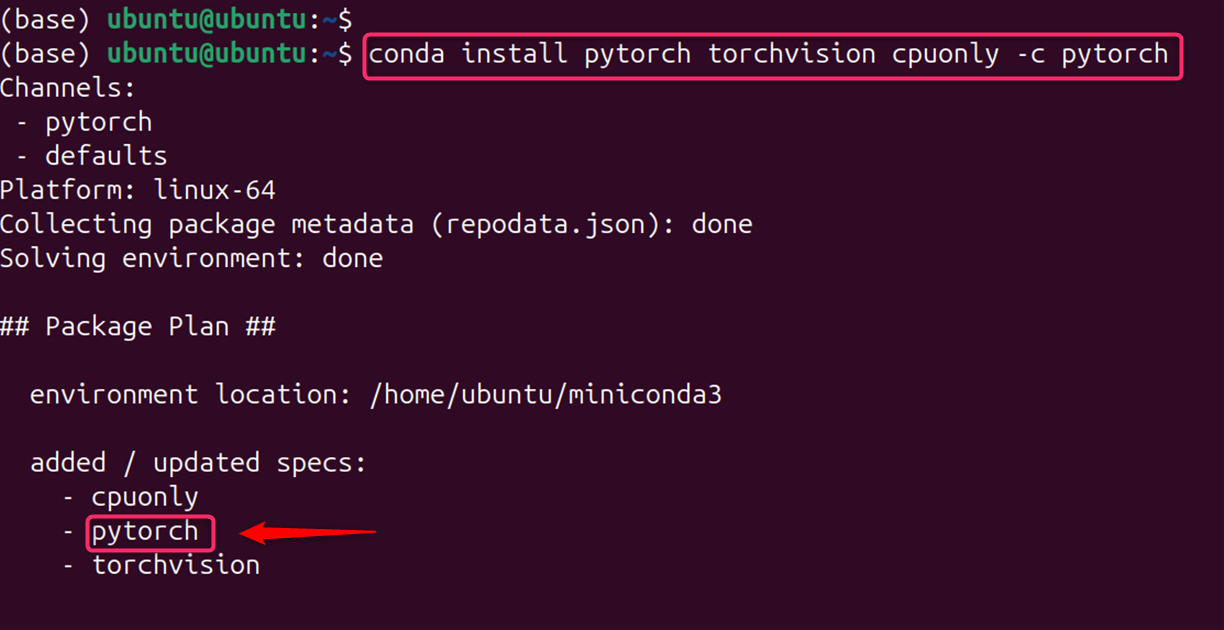
Step 4: Install PyTorch:
Finally, install Pytorch and dependent packages with the conda command:
conda install pytorch torchvision torchaudio cpuonly -c pytorch
Note: GPU support (requires compatible NVIDIA GPU and CUDA toolkit):
conda install pytorch torchvision torchaudio pytorch-cuda=11.7 -c pytorch -c nvidia
Replace pytorch-cuda=11.7 with the correct version for your CUDA installation.
Step 5: Verify Installation (Optional)
Users can also verify the installation by running a Python script that imports PyTorch, opening a Python interpreter, and typing:
python
import torch
print(torch.__version__)
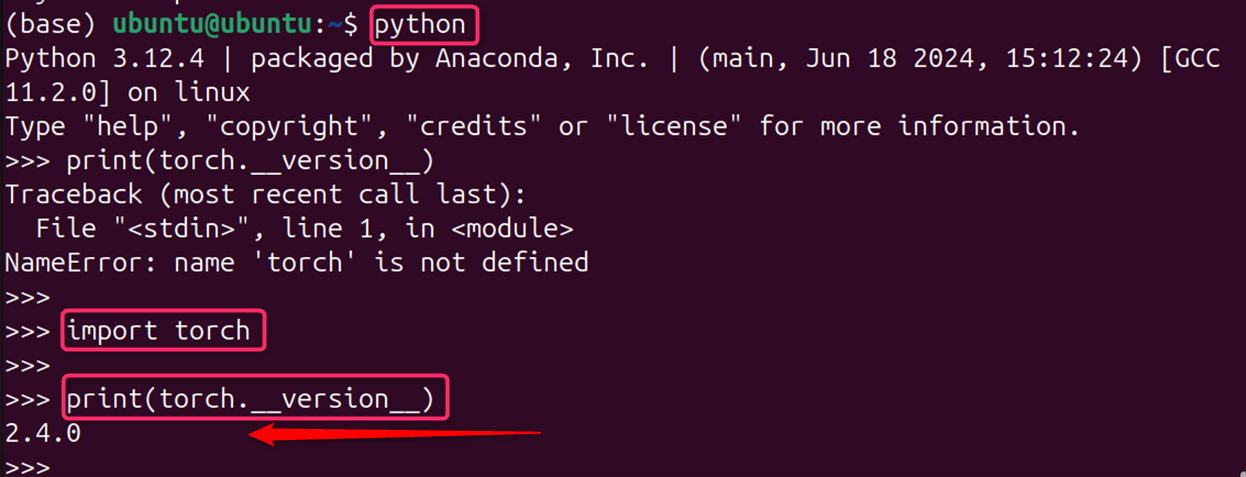
This prints the installed PyTorch version if successful.
You’ve now successfully installed PyTorch on your Ubuntu 24.04 system. With PyTorch installed, you can begin developing your machine-learning models or running existing projects.
How to Remove PyTorch on Ubuntu 24.04?
Whether you’re upgrading to a newer version, resolving compatibility issues, or simply freeing up space, uninstalling PyTorch can be done efficiently on Ubuntu 24.04 by following these methods.
Method 1: Uninstalling PyTorch Using pip
If you installed PyTorch using pip, you could uninstall it by opening your terminal and running the following command:
pip uninstall torch
This command removes PyTorch and its dependencies installed via pip.
If you have installed additional related packages like torchvision or torchaudio, you can uninstall them using similar commands:
pip uninstall torchvision
pip uninstall torchaudio
Method 2: Uninstalling PyTorch from a Conda Environment
For those who have used Conda to manage their PyTorch installation, the process is just as straightforward. First, activate the Conda environment from which you wish to remove PyTorch:
conda activate your_environment_name
Replace your_environment_name with the name of your Conda environment. Then, run the following command to uninstall PyTorch:
conda uninstall pytorch
Again, if you have installed torchvision or torchaudio, ensure to uninstall these as well:
conda uninstall torchvision
conda uninstall torchaudio
That is all from the guide.
Conclusion
To install PyTorch on Ubuntu 24.04, you can follow these general steps. First, ensure that Python 3.8 or later is installed on your system, as PyTorch requires it. Update your system packages using sudo apt update. Install Python’s package manager pip with sudo apt install python3-pip if it’s not already installed. Then, you can install PyTorch using pip with the command pip3 install torch torchvision torchaudio. If you require GPU support, ensure that you have the NVIDIA drivers and CUDA toolkit installed before installing PyTorch.
However, for those who require a custom setup, building from a source may be the way to go. Always ensure that you have the necessary hardware and software prerequisites before beginning the installation process.
Keep following LinuxWorld for more interesting guides.