
Do you want to install Jira on Ubuntu 24.04? We’ve got your back!
Jira is one of the top project management tools designed to help teams effectively plan, track, release, and support software of the highest quality. It acts as a central hub for managing the entire development lifecycle. Moreover, it permits teams to work autonomously while staying connected to broader business goals.
In this guide, we will cover the installation and configuration of Jira on Ubuntu 24.04 LocalHost.
So, let’s get started!
1. Installing Jira on Ubuntu 24.04
Follow the below steps to install Jira on Ubuntu 24.04:
First, download the Jira software file from the official Atlassian website with wget:
wget https://product-downloads.atlassian.com/software/jira/downloads/atlassian-jira-software-9.12.13-x64.bin

Note: This binary file will be later used to install Jira on your Ubuntu 24.04 system.
Now, make the Jira installation file executable using the below command:
sudo chmod +x atlassian-jira-software-9.12.13-x64.bin

Run the Jira Software installer to begin the installation process on the system:
sudo ./atlassian-jira-software-9.12.13-x64.bin
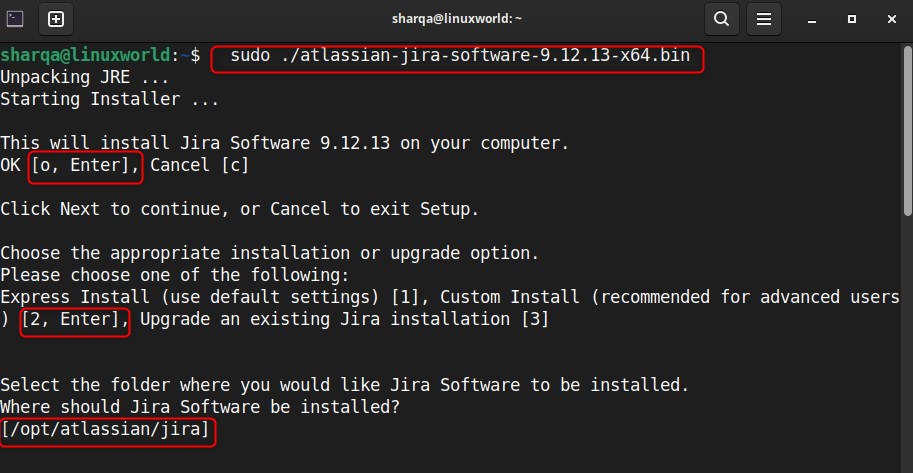
After that, grant the necessary permission to further proceed with the installation:
2. Configuring Jira on LocalHost on Ubuntu 24.04
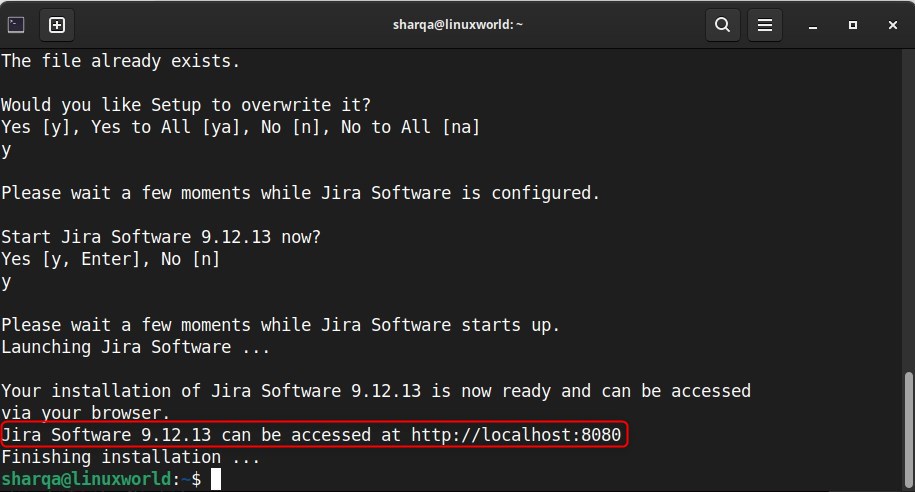
As the installation process has been completed, now set up Jira on LocalHost by opening this URL in your browser:
http://localhost:8080
This URL opens the Jira web interface running locally on port 8080 after installation.
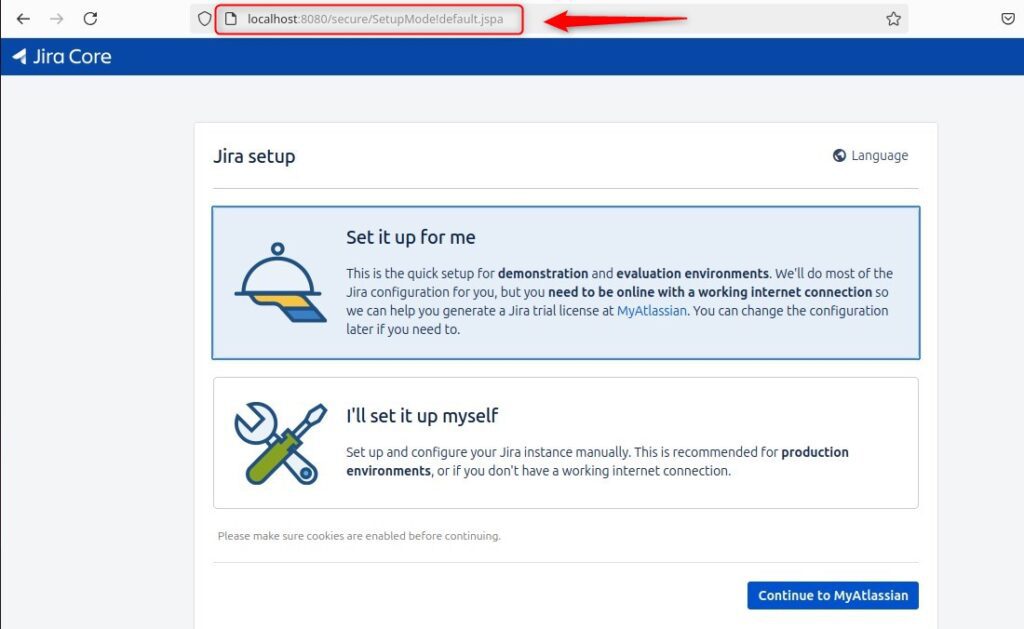
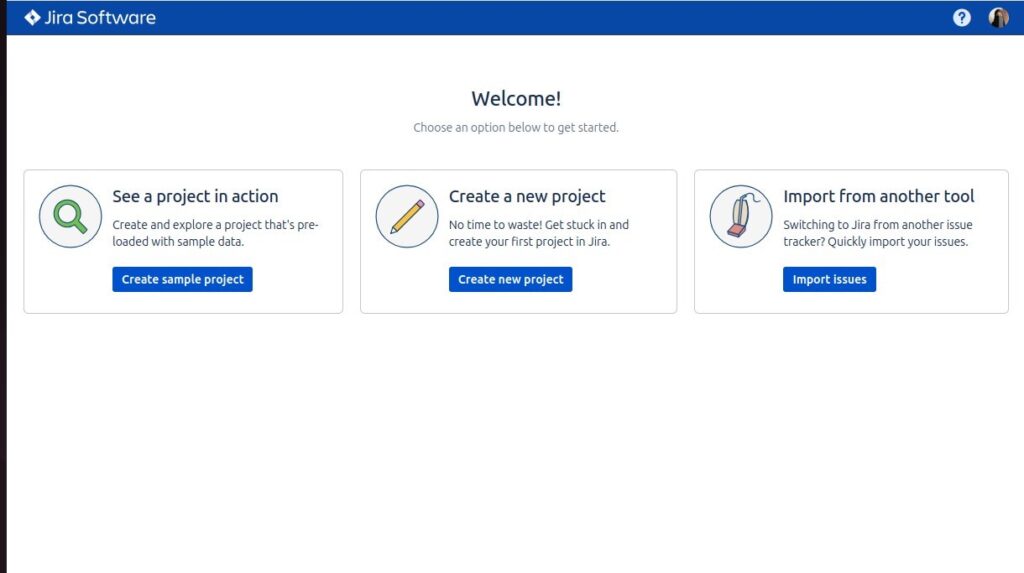
Here you will see two options, “Set it up for me” and “I’ll set it up for myself”. Choose any option according to your preferences:
Now, login into your Atlassian account by providing the necessary credentials:

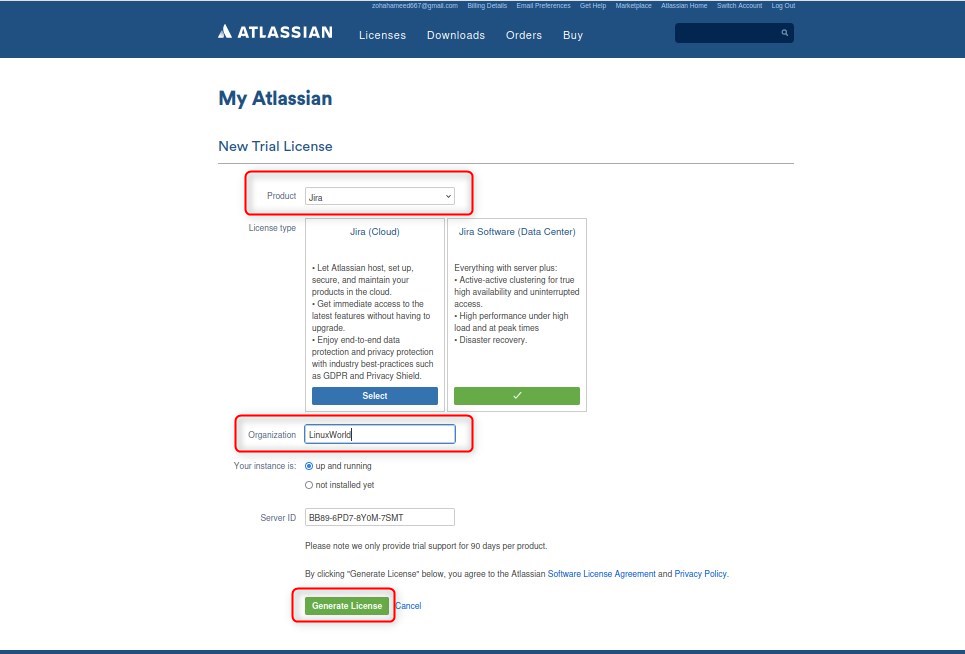
Afterward, generate the Jira license by selecting “Jira” in the product section, enter your organization name, and click on “Next” to proceed:
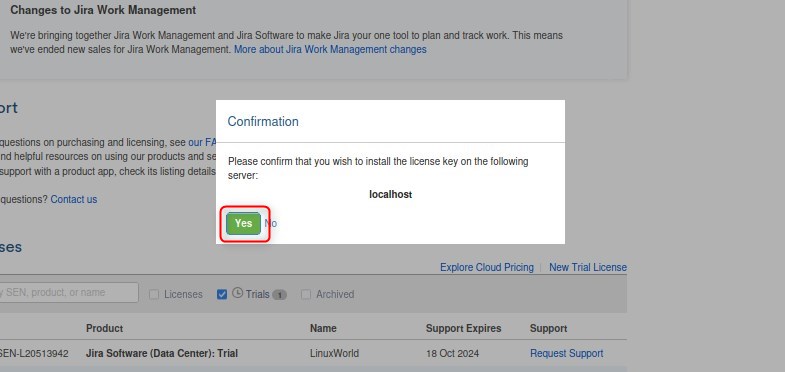
Confirm to installation license on your system:
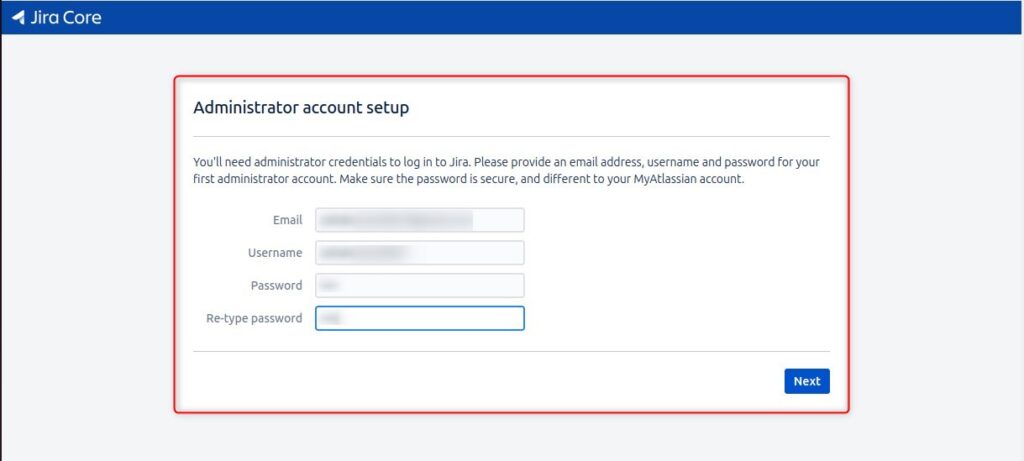
Provide the required details to make an administrative account:
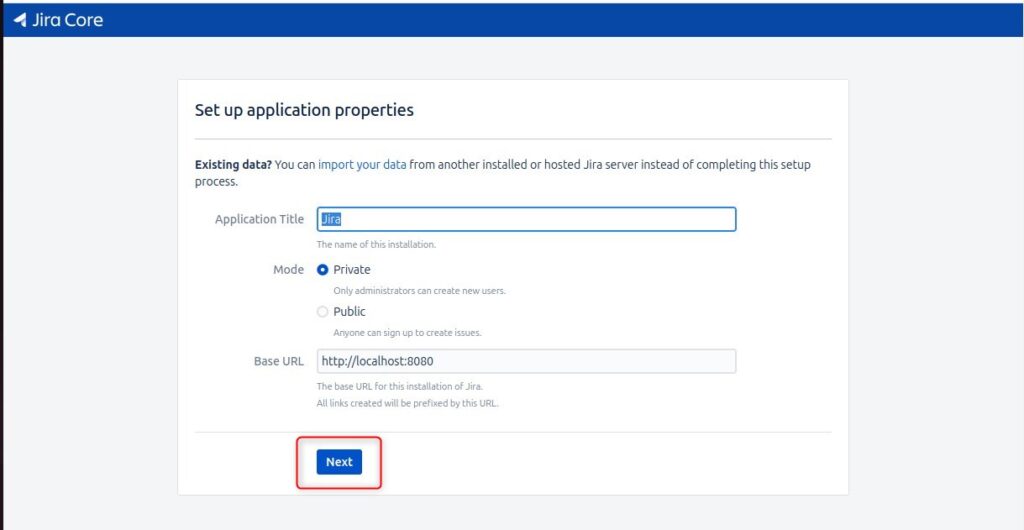
Now, set up the application properties by providing the necessary information:
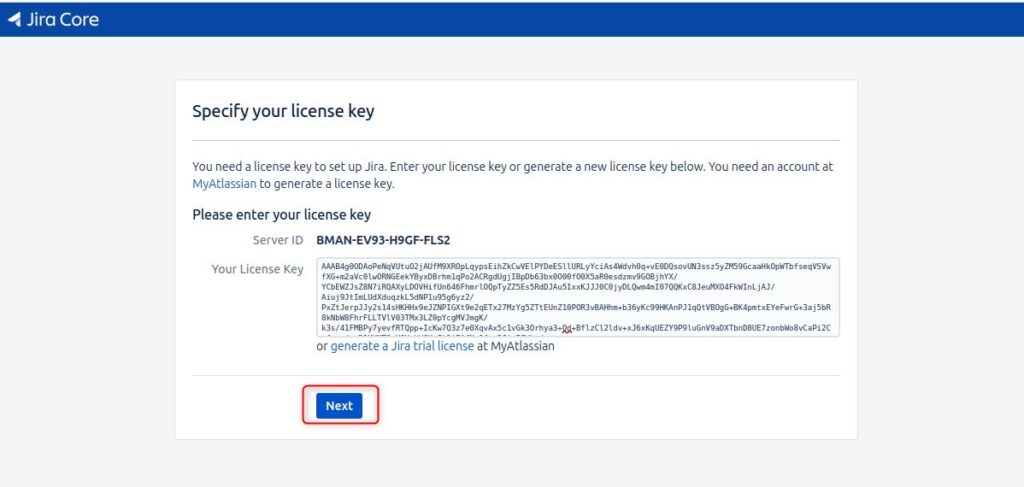
Here, enter your license key or generate one:
The below message confirms that Jira has been successfully set up:
Conclusion
In this guide, we have demonstrated how to install Atlassian Jira Software on Ubuntu 24.04. The main steps include downloading the Jira binary file and making it executable. After that, run the installer. Then access Jira’s web interface, login with an Atlassian account, generate a license, and complete the configuration.