SSH, or Secure Shell, is pivotal in Ubuntu for securely managing systems remotely. It encrypts communications between clients and servers, ensuring the confidentiality and integrity of data. This allows users to execute commands, transfer files, and manage resources securely from any network-accessible location, protecting sensitive information from unauthorized access and eavesdropping.
In Ubuntu, SSH empowers administrators to troubleshoot, install software, and adjust configurations securely from remote locations. Its authentication mechanisms, such as public-key cryptography, verify user identities, thereby enhancing system security by restricting access to authorized personnel. SSH supports efficient system administration while strengthening Ubuntu’s defenses against unauthorized access and data interception.
How to Enable SSH on Ubuntu 24.04 LTS
Enabling SSH on Ubuntu 24.04 LTS is crucial for remote management and improving system security. This guide provides a detailed, step-by-step process for enabling SSH through the command line. By following these instructions, you’ll set up an OpenSSH server, verify its status, configure firewall settings, and ensure SSH starts automatically on boot. This method not only simplifies remote access to your Ubuntu system but also enhances its defenses against unauthorized access and data breaches through SSH’s robust encryption and authentication mechanisms.
Enabling SSH Using the Command Line
Using the command line is a straightforward and precise way to enable SSH. Follow these steps:
Step 1: Update Package Lists
Begin by updating the package lists to ensure you have the latest versions of software available. For this, you have to open the terminal by simultaneously holding Ctrl + Alt + T and then run the following command:
sudo apt update

Step 2: Install OpenSSH Server
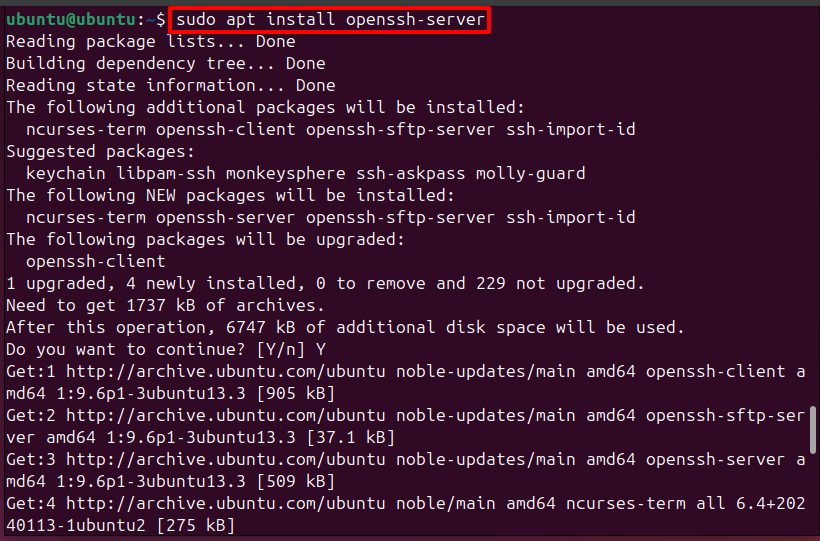
Install the OpenSSH server package, which enables SSH functionality on your Ubuntu system:
sudo apt install openssh-server
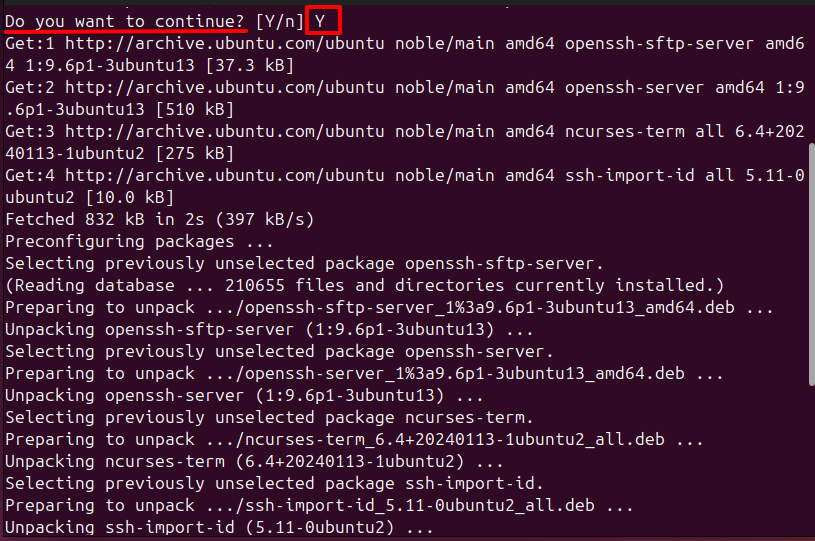
After this point, you need to enter Y to continue your installation.
During installation, you might be prompted regarding the sshd_config file as given in the picture below:
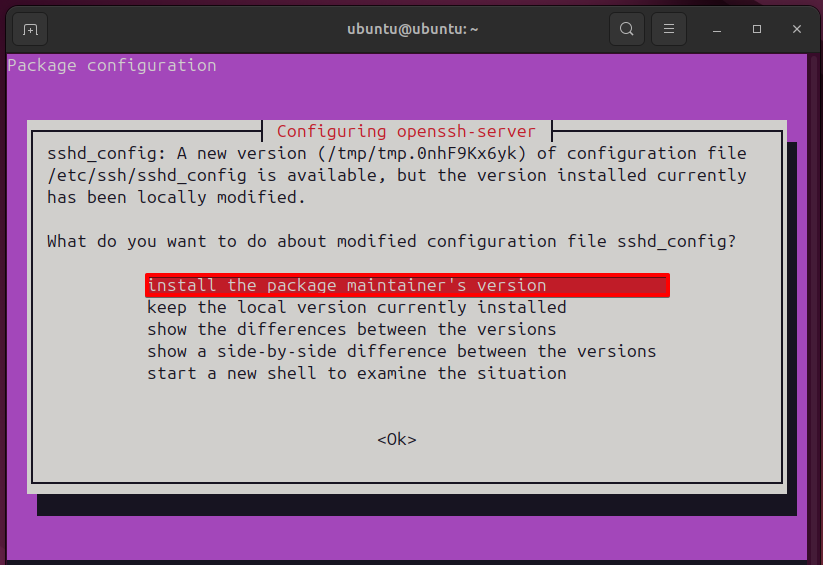
For most users, choosing to install the package maintainer’s version is recommended if you have not made any custom changes to sshd_config. If you have customized this file, select keep the local version currently installed.
Step 3: Check SSH Service Status
Verify that the SSH service is active by checking its status:
sudo systemctl status ssh

If the service is not running as shown in the above picture, start it with:
sudo systemctl start ssh
![]()
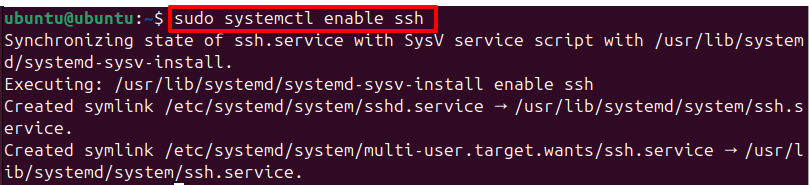
Enable SSH to start on boot:
sudo systemctl enable ssh
Step 4: Adjust Firewall Settings
If you’re using the Uncomplicated Firewall (UFW), allow SSH connections:
sudo ufw allow ssh

This step permits incoming SSH connections through the firewall, ensuring remote access to the Ubuntu system securely.
If the firewall isn’t activated already, turn it on:
sudo ufw enable

This activates the firewall if it’s not already enabled, providing essential network protection and restricting unauthorized access attempts, which is crucial for securely enabling SSH on Ubuntu.
Conclusion
Enabling SSH on Ubuntu 24.04 LTS using the command line is essential for anyone needing remote access to their system. By following these steps which include updating package lists, installing the OpenSSH server, checking service status, and adjusting firewall settings—you ensure a secure connection method for managing your Ubuntu system remotely. This setup not only enhances accessibility but also strengthens security by leveraging SSH’s encrypted communication protocol.
Keep visiting Linux World.