Pandas is a powerful Python data analysis toolkit that offers data structures and operations for manipulating numerical tables and time series. It’s an essential tool for data scientists and analysts working with Python. While Ubuntu 24.04 is relatively new, the methods to install Pandas should be similar to previous versions.
If you’re using Ubuntu 24.04 and looking to get started with Pandas, this guide will walk you through the installation process step by step.
Table of Content
How to Install Pandas on Ubuntu 24.04
Before installing Pandas, ensure that you have Python3 installed on your system. Ubuntu 24.04 comes with Python3 pre-installed, but you can verify the installation by running python3 –version in your terminal. If Python3 is not yet installed, users can install through apt.
Ensure Python3 and pip3 are installed. If not, run:
sudo apt install python3 python3-pip
Method 1: Installing Pandas Using APT
The easiest way to install Pandas on Ubuntu 24.04 is through the APT package manager. Here’s how you can do it:
Step 1: Update the Package List
Before installing any new packages, it’s a good practice to update the package list.
sudo apt update
Step 2: Install Pandas
With the package list updated, you can now install Pandas. For this, run the below command in the terminal:
sudo apt install python3-pandas
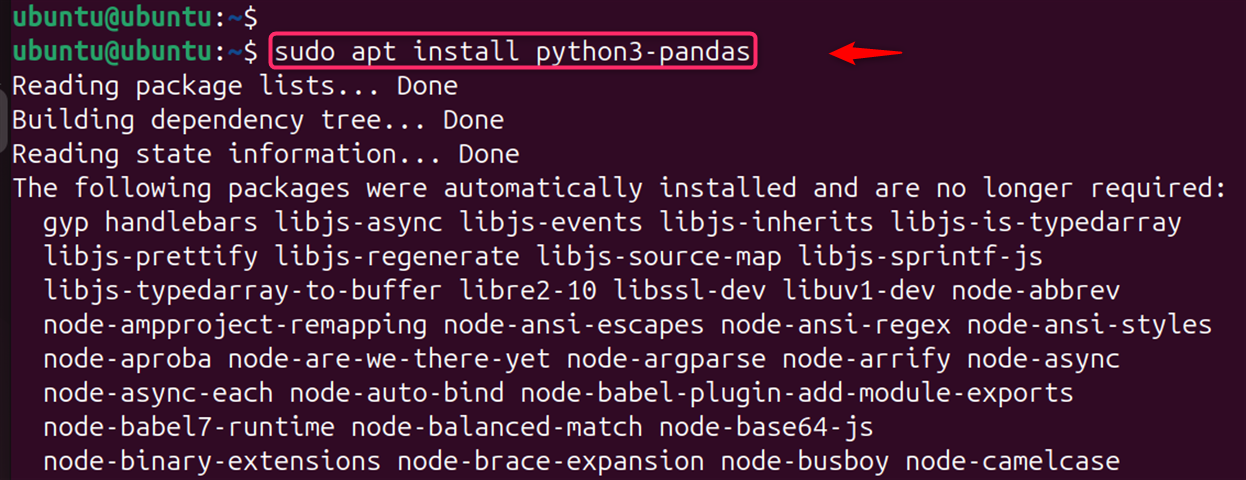
This command will install the Pandas package along with its dependencies.
Step 3: Verify the Installation
After the installation is accomplished, users can verify that Pandas is installed. You can do this by starting a Python session and importing the Pandas library as follows:
python3 -c "import pandas as pd; print(pd.__version__)"

This command prints the version of Pandas that has been installed, confirming that the installation was successful.
By following these steps, you should have Pandas installed on your Ubuntu 24.04 system using APT.
Method 2: Installing Pandas Using Pip
If you’re using Ubuntu 24.04 and wish to install Pandas using Pip, this section will walk you through the process step by step.
Before you begin, ensure that you have Python3 and Pip3 installed on your Ubuntu system.
Step 1: Install Pip3
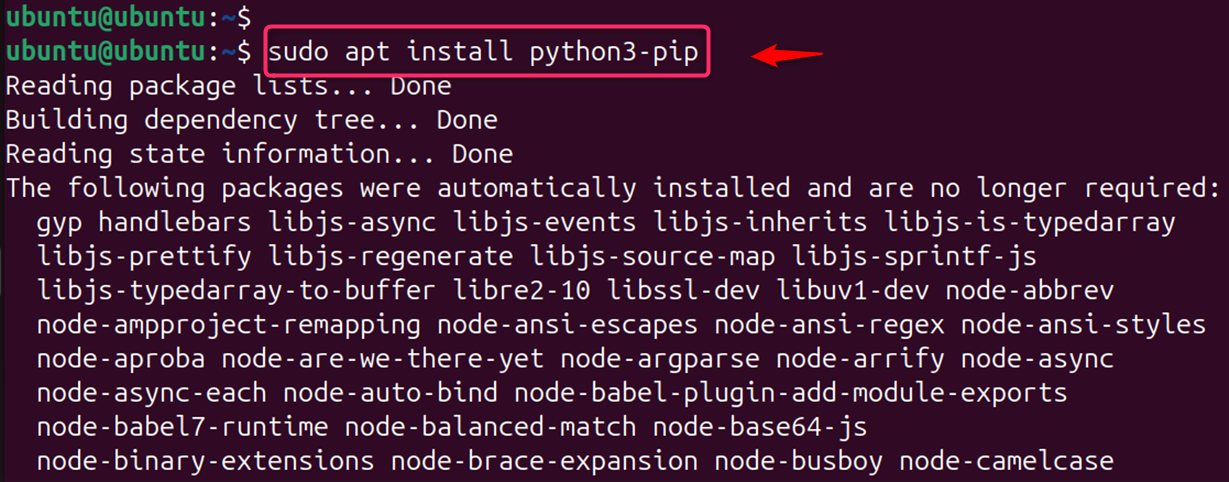
Ubuntu 24.04 comes with Python3 pre-installed, but you may need to install Pip3. You can install Pip3 by running the following command in your terminal:
sudo apt update
sudo apt install python3-pip
Step 2: Install Pandas
After the installation is complete, it’s good practice to verify that Pandas has been installed correctly. For this, import Pandas in a Python shell and verify its version:
python3
import pandas as pd
print(pd.__version__)
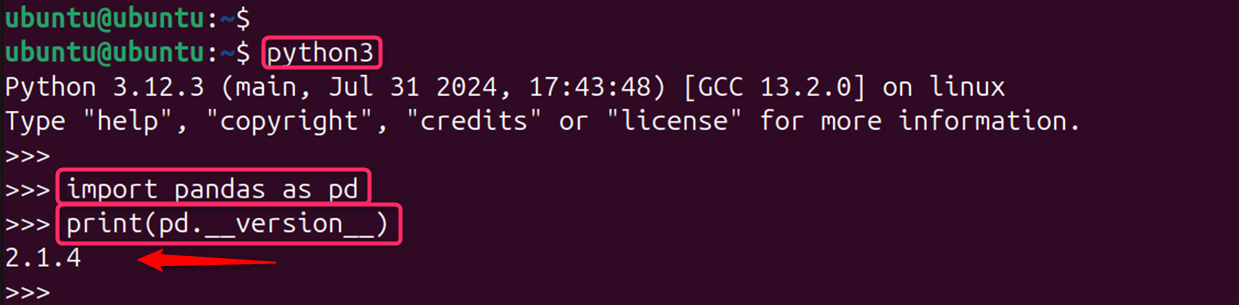
If Pandas has been installed successfully, this command will print the version number of Pandas installed on your system.
Note: It’s highly recommended to use virtual environments for your Python projects. For more detailed information on Pandas and its installation process, you can refer to the official Pandas documentation or check out additional resources and community discussions.
Method 3: Installing Pandas in a Virtual Environment
For Python developers working on Ubuntu 24.04, setting up Pandas in a virtual environment is an essential skill. Let’s install Pandas through the virtual environment:
Step 1: Install pip on Ubuntu
Pip is the package installer for Python. You can install it on Ubuntu 24.04 using the following command:
First, ensure that Pip is installed on your system. If not, install it using:
sudo apt install python3-pip

After installation, confirm that pip is installed correctly by checking its version:
pip3 --version

Step 2: Install a Virtual Environment
To create a virtual environment, first install `virtualenv` using apt:
sudo apt install virtualenv

Step 3: Create a Virtual Environment
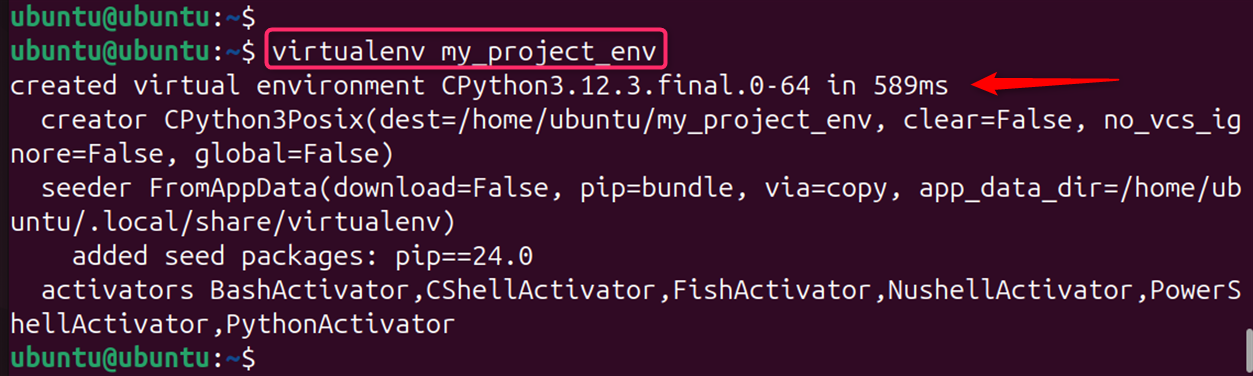
Navigate to the directory where you want to set up your virtual environment. Let’s create a new environment for your project:
virtualenv my_project_env
Step 4: Activate the Virtual Environment
Activate the environment before installing new packages to ensure they are installed within this isolated space. To activate the virtual environment and use its settings, run:
source my_project_env/bin/activate

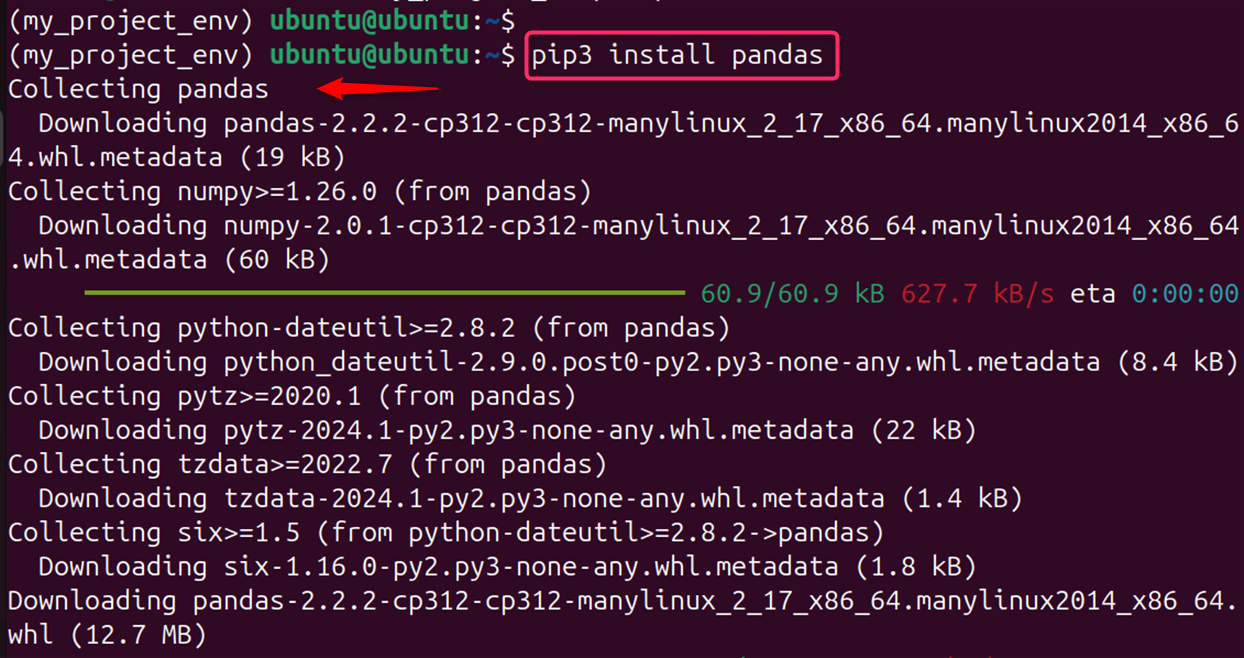
Step 5: Install Pandas
With the virtual environment activated, install Pandas using pip. Now, you can install Pandas within this environment using the same command:
pip3 install pandas
By following these steps, you should now have Pandas installed on your Ubuntu 24.04 system using Pip.
Step 6: Verify the Installation
Ensure that Pandas has been installed correctly by importing it in a Python shell:
python
import pandas as pd
print(pd.__version__)

Bonus Tip: Deactivate the Virtual Environment
You can also deactivate the environment by executing the following command. Let’s deactivate the virtual environment:
deactivate

By following these steps, you can successfully set up a virtual environment and install Pandas on Ubuntu 24.04.
Conclusion
With Pandas installed on your Ubuntu 24.04 system, you’re ready to start analyzing and manipulating data. Whether you choose to install it using APT, Pip, or within a virtual environment, each method has its advantages. Choose the one that best fits your workflow and project requirements. However, virtual environments allow you to manage separate environments for different projects, each with its own dependencies and Python versions. This isolation prevents conflicts between project dependencies and makes it easier to manage project-specific packages.
Remember, it’s always a good idea to read the official documentation for any additional configurations or troubleshooting.