DirectAdmin is an online control panel that simplifies managing web servers, especially on Ubuntu. It provides system administrators with an easy-to-use interface to handle tasks such as managing websites, email accounts, databases, and other server functions. DirectAdmin centralizes domain management, email account setup, database management, and web application deployment. By streamlining these processes, it reduces the complexity of server management, making it more accessible to users with different levels of technical skills.
In this tutorial, we’ll show you how to install DirectAdmin on Ubuntu 24.04 using step-by-step instructions.
How to Install DirectAdmin on Ubuntu 24.04
- Update and Upgrade System Packages
- Set Up Necessary Dependencies for DirectAdmin
- Get the DirectAdmin Installation File
- Set the Installation Script to Be Executable
- Execute the DirectAdmin Installation Script
How to Configure the DirectAdmin on Ubuntu 24.04
How to Install DirectAdmin on Ubuntu 24.04
To install DirectAdmin on Ubuntu 24.04, update system packages, install necessary dependencies, get the DirectAdmin installation file, make the installation script executable, and execute the DirectAdmin installation script. After this, we can configure DirectAdmin and secure communications via SSL certificates.
Here is a step-by-step demonstration of installing DirectAdmin on Ubuntu 24.04:
Update and Upgrade System Packages
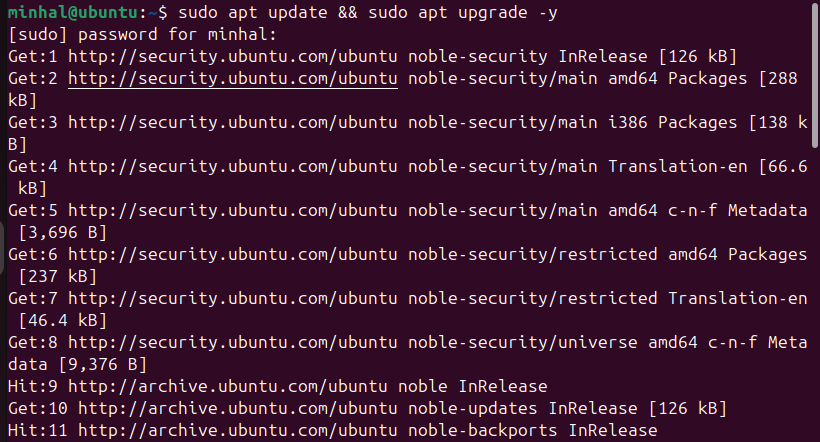
First, update and upgrade the system packages to ensure a smooth DirectAdmin installation and to avoid potential errors caused by outdated packages:
sudo apt update && sudo apt upgrade -y
Set Up Necessary Dependencies for DirectAdmin
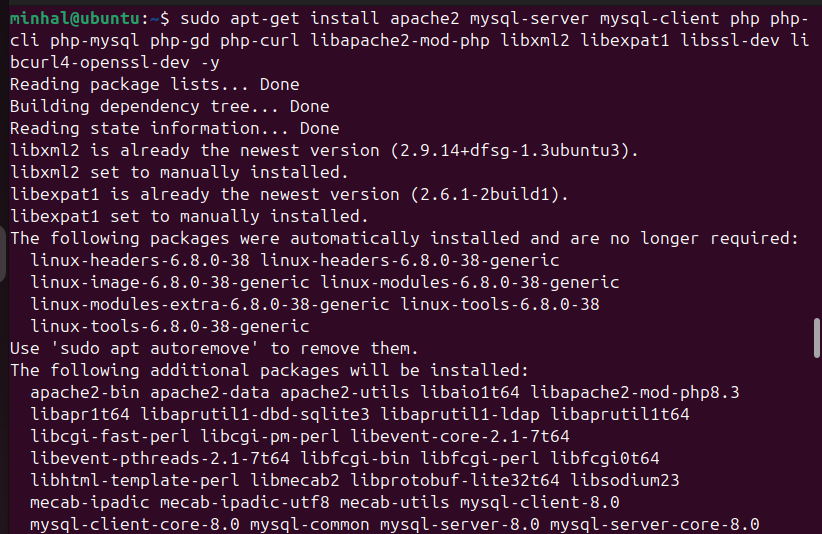
To install DirectAdmin on Ubuntu 24.04, we first need to install the required dependencies on our system. For this purpose, we can execute the below-mentioned command in the terminal:
sudo apt-get install apache2 mysql-server mysql-client php php-cli php-mysql php-gd php-curl libapache2-mod-php libxml2 libexpat1 libssl-dev libcurl4-openssl-dev -y
To set up a DirectAdmin environment, we need several components that are discussed below:
- apache2: It serves web content.
- mysql-server: It manages and stores data
- mysql-client: It enables command-line interaction with MySQL.
- php: It handles server-side scripting.
- php-cli: It enables running PHP scripts from the terminal.
- php-mysql: It ensures the communication between PHP and MySQL.
- php-gd: It supports image processing.
- php-curl: It ensures data transfer through different protocols.
- libapache2-mod-php: It integrates PHP with Apache for processing PHP files.
- libxml2 and libexpat1: These are XML libraries required by various applications,
- libssl-dev and libcurl4-openssl-dev: These are also XML libraries that provide development support for secure communication and data transfer.
Note: After installing the dependencies, visit the DirectAdmin website to buy a license. Once you’ve completed the purchase, you’ll get a license file (license.dat) and a link to download the latest DirectAdmin tar file. Keep this file in a secure location, as you’ll need it during the DirectAdmin installation.
Get the DirectAdmin Installation File
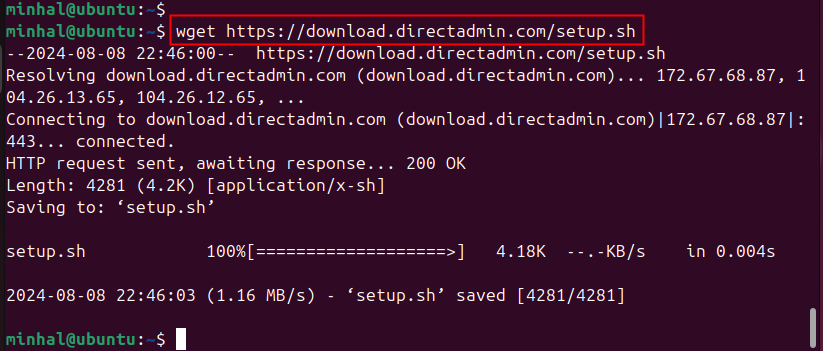
After setting up the necessary dependencies for the DirectAdmin, we can run the below-provided command to get the DirectAdmin installation File:
wget https://download.directadmin.com/setup.sh
Set the Installation Script to Be Executable
Now we’ll use the chmod command to make the “setup.sh” file executable:
chmod +x setup.sh

Execute the DirectAdmin Installation Script
Now run the executable “setup.sh” file to begin the DirectAdmin installation:
sudo ./setup.sh
During the installation process, you’ll be asked to provide the license key:

Specify the product key and follow the on-screen instructions carefully to complete the DirectAdmin installation.
How to Configure the DirectAdmin on Ubuntu 24.04
After installing DirectAdmin, we may need to configure it to optimize server settings, set up user accounts, update domain settings, and ensure proper integration with services like Apache. Follow these steps for post-installation configuration:
Setup Firewall
Configuring the Uncomplicated Firewall (UFW) helps us improve the security of the DirectAdmin control panel. For this purpose, we can set up UFW rules to allow necessary ports and deny others. Generally, we allow the ports used by DirectAdmin (like port 2222) and restrict access to other services.
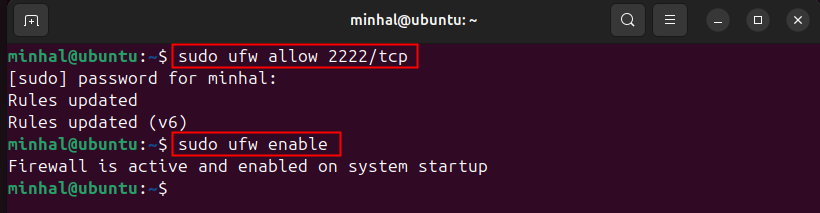
We can use the below-given commands to set the firewall:
sudo ufw allow 2222/tcp
sudo ufw enable
The output shows that UFW rules are updated and the firewall is active and enabled on system startup:
Secure SSL Configuration
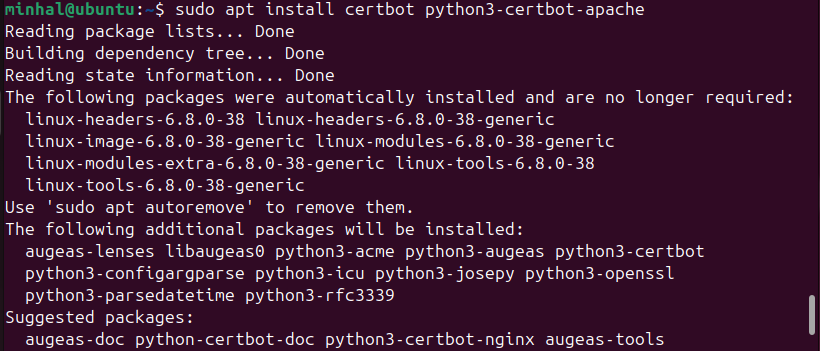
It’s recommended to secure the DirectAdmin installation with SSL certificates. SSL certificates encrypt the communication between users and the DirectAdmin control panel, protect sensitive information, and improve overall security. For this purpose, we can run the below-given command:
sudo apt install certbot python3-certbot-apache
After this, we can run the following command to obtain and install the SSL certificate:
sudo certbot --apache

When we run this command, it will prompt for an email address, agree to the terms of service, select domains to secure, and optionally configure HTTP to HTTPS redirection.
Specify the details carefully to ensure correct certificate issuance and server configuration.
Accessing the DirectAdmin
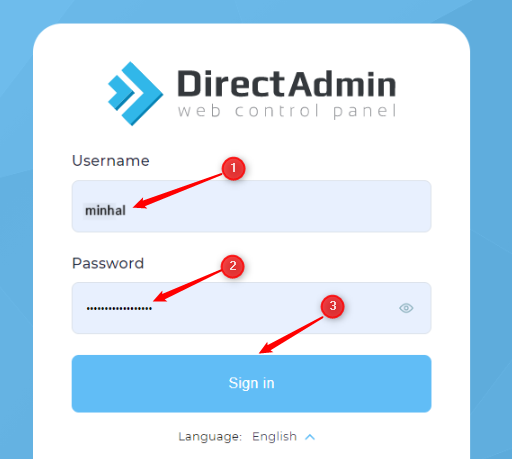
After completing the installation and configuration, access the DirectAdmin control panel by visiting http://ip_address:2222 in a web browser of your choice. Make sure to replace ip_address with the actual IP address or hostname of your server. After this, log in using the credentials you set up during the DirectAdmin installation:
That’s all about installing DirectAdmin on Ubuntu 24.04.
Conclusion
DirectAdmin is a web-based control panel designed to help users manage hosting environments. It offers several tools for server administration, domain management, and email configuration, which makes it easier to manage tasks related to web hosting. To install it on Ubuntu 24.04, update and upgrade system packages, install necessary dependencies, download and execute the installation script, and configure SSL for secure communications. In this tutorial, we’ve provided step-by-step instructions to guide you through the entire installation and configuration process on Ubuntu 24.04.