
Apache Cassandra is a robust, distributed database system capable of storing and processing immense volumes of data across multiple commodity hardware servers. Its fault-tolerant architecture ensures uninterrupted availability and protects against data loss. For managing large-scale data in a distributed environment, Ubuntu servers paired with Apache Cassandra offer a powerful solution. Cassandra’s masterless design enables robust data replication and high availability.
This article will guide you through installing Apache Cassandra on Ubuntu 24.04.
Installing Apache Cassandra on Ubuntu 24.04
Configuring Apache Cassandra on Ubuntu 24.04
Installing Apache Cassandra on Ubuntu 24.04
Cassandra, a freely available NoSQL database, is designed to effortlessly handle and maintain vast amounts of data without downtime. Its ability to scale seamlessly across multiple servers makes it ideal for applications demanding fault tolerance.
There are several methods to install Cassandra. The most common approaches include:
Method 1: Using Cassandra Repository
Method 2: Using a Binary Tarball
Method 1: Using the Cassandra Repository
Apache Cassandra’s robust capabilities make it ideal for mission-critical data management. To set it up on Ubuntu 24.04, follow these steps:
Step 1: Installing Java
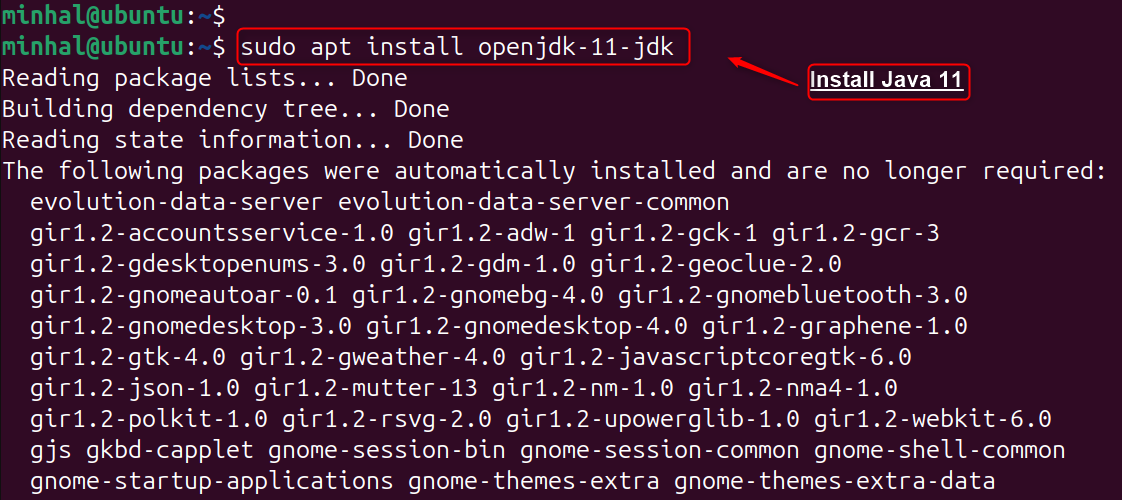
To run Cassandra, you’ll need either Java 8 or Java 11 installed. Let’s get started by installing Java 11 with the apt command:
sudo apt update
sudo apt install openjdk-11-jdk
To authenticate the installation process, run the “version” command:
java -version

Step 2: Add the Apache Cassandra Repository
Next, add the Apache Cassandra 4.1.x repository to your system’s software sources:
echo "deb https://debian.cassandra.apache.org 41x main" | sudo tee -a /etc/apt/sources.list.d/cassandra.sources.list

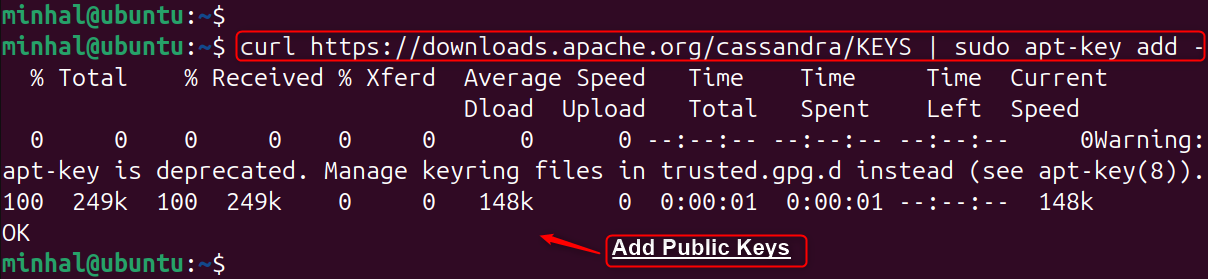
Step 3: Import Cassandra GPG Key
Users must provide the public key at this stage to guarantee a conflict-free installation process:
curl https://downloads.apache.org/cassandra/KEYS | sudo apt-key add -
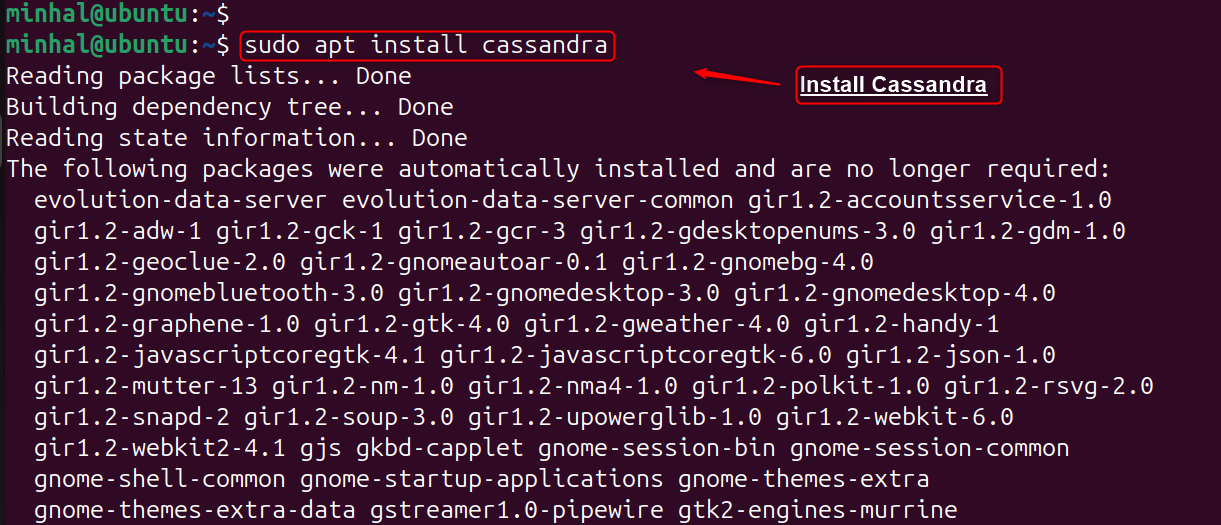
Step 4: Install Cassandra
Refresh the package lists and install the newest Cassandra version available:
sudo apt update
sudo apt install cassandra
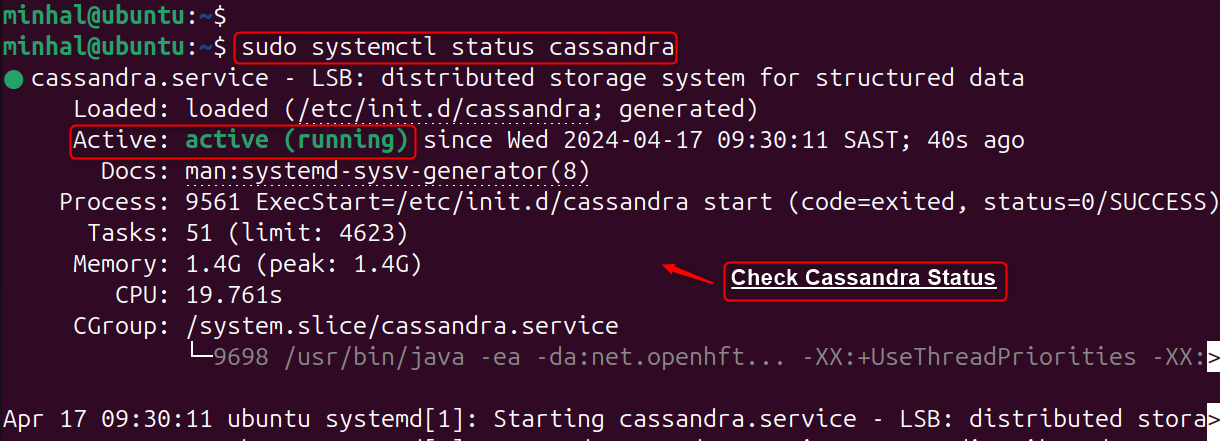
Step 5: Check Cassandra Services
Cassandra automatically starts after installation. Verify its operation with the ‘status’ utility:
sudo systemctl status cassandra
To resolve any systematic issue, execute the below commands to enable as well as start the services:
sudo systemctl enable cassandra # Enable Services
sudo systemctl start cassandra # Start Services
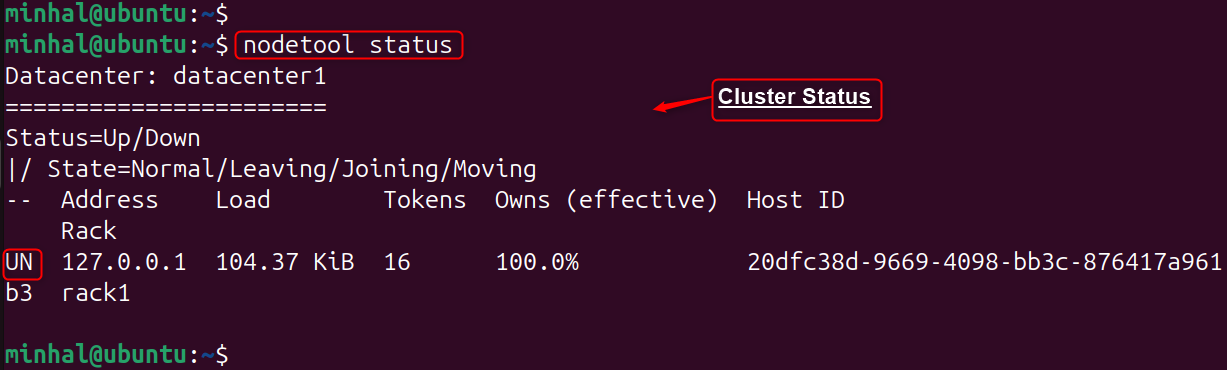
Step 6: Connect to Cluster
To assess the status of the Cassandra cluster, execute the command below. This provides a comprehensive overview of your cluster’s topology and current state:
nodetool status
Step 7: Access Apache Cassandra Shell
To interact with Apache Cassandra directly, users can employ the command-line interface provided by cqlsh:
cqlsh

To resolve any issues, execute the following command: “sudo snap install cqlsh”.
Remove Apache Cassandra on Ubuntu 24.04
To uninstall Apache Cassandra and its dependencies from Ubuntu 24.04, employ the ‘autoremove’ option within the ‘apt’ command. For a complete removal, also eliminate the associated GPG key and repository from your system:
sudo apt autoremove --purge cassandra
sudo rm /etc/apt/sources.list.d/cassandra.list
sudo rm /etc/apt/trusted.gpg.d/cassandra-key.gpg
This is all from the installation.
Method 2: Using a Binary Tarball
To manually install Apache Cassandra on Ubuntu 24.04 using the binary archive, follow these steps:
Prerequisites: Install Java 8 or Java 11
The Ubuntu system needs Java 8 as well as Java 11 to operate. Verify this before proceeding:
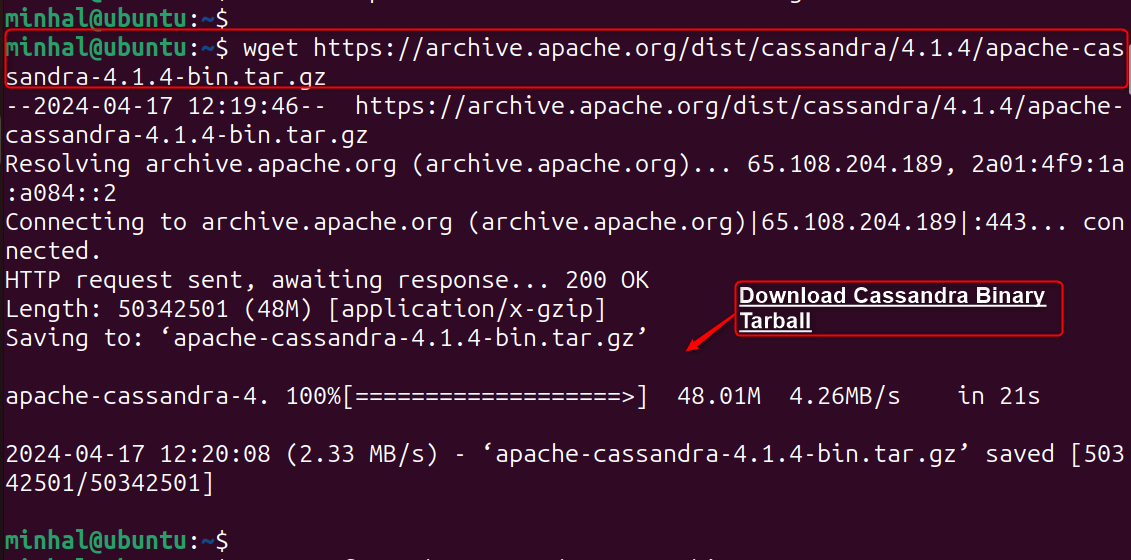
Step 1: Download the Cassandra Binary Tarball
Once your Java environment is configured, proceed to download the compressed Cassandra binary file from the official Apache Cassandra website:
wget https://archive.apache.org/dist/cassandra/4.1.4/apache-cassandra-4.1.4-bin.tar.gz
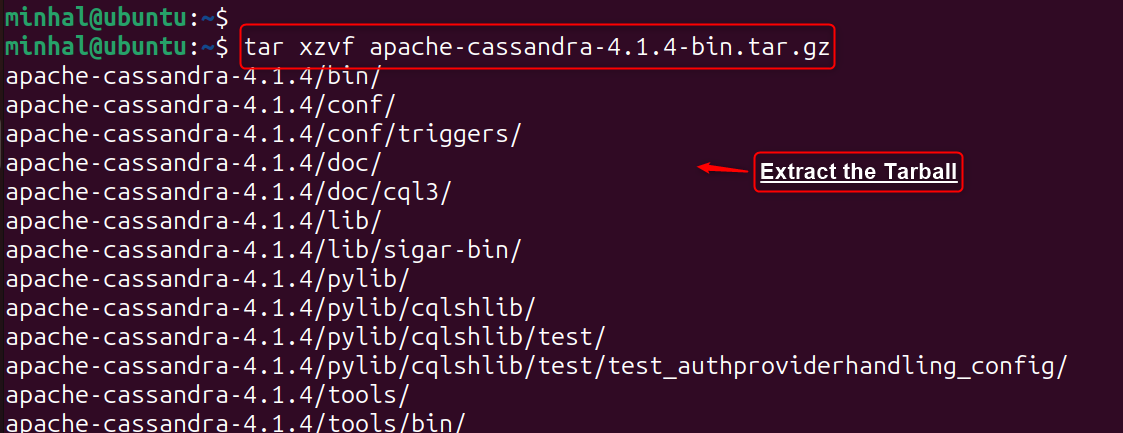
Step 2: Extract the Tarball
Uncompress the downloaded tarball using the ‘tar xzvf‘ command:
tar xzvf apache-cassandra-4.1.4-bin.tar.gz
Note: Replace the asterisks in ‘apache-cassandra-..*-bin.tar.gz’ with the exact version numbers of your downloaded tarball.
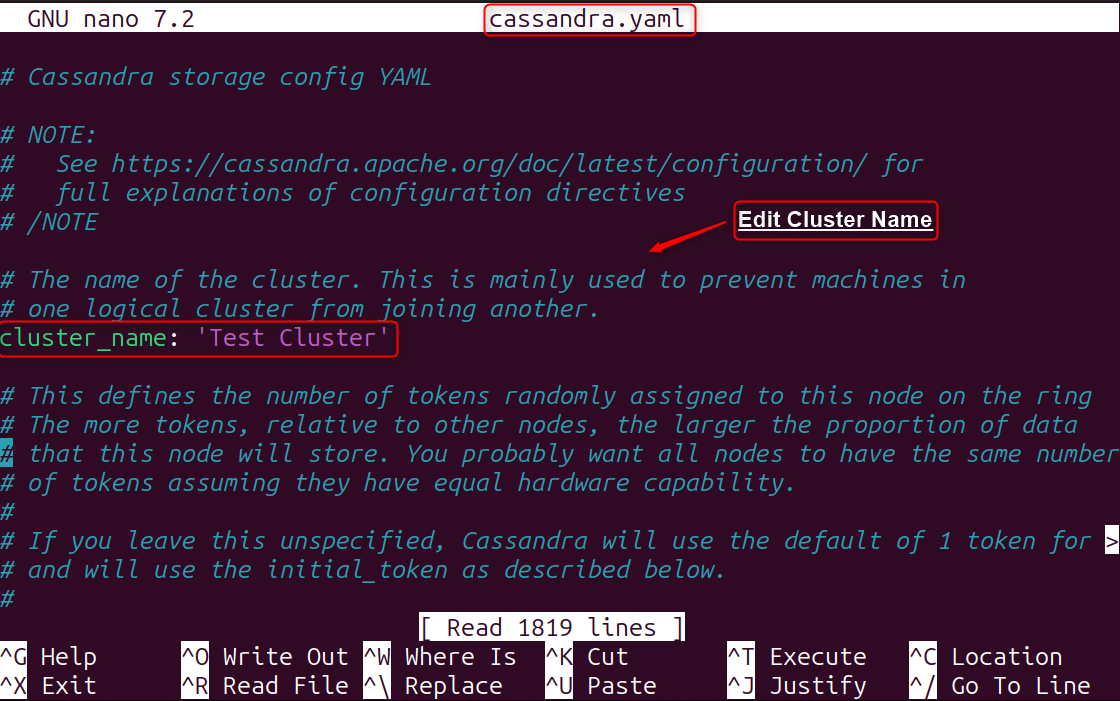
Step 3: Open Cassandra Configuration File
Once the files are extracted, navigate to the resulting directory. Inside, you’ll find a folder named ‘conf’. It is located in this folder:
cd apache-cassandra-4.1.4/confsudo nano cassandra.yaml

To match your specific configuration, you may have to modify this file. Pay close attention to the ‘cluster_name’ and ‘seeds’ values under the ‘seed_provider’ heading:
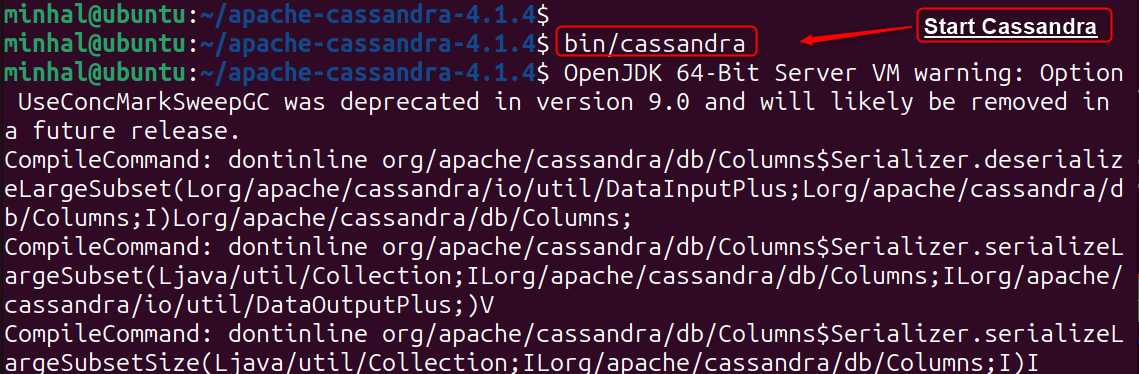
Step 4: Start Cassandra
To initiate the Cassandra database, execute the ‘bin/cassandra‘ command located within the ‘apache-cassandra-4.1.4‘ folder:
bin/cassandra
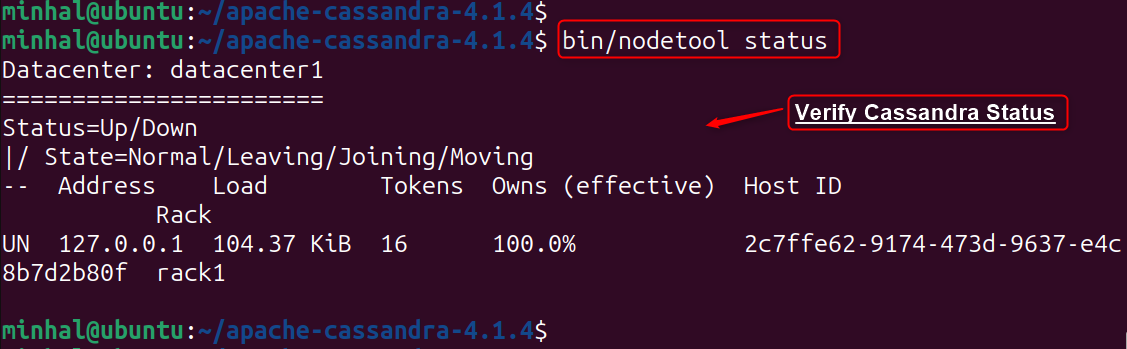
Step 5: Check Cassandra Services
Users can authenticate the Cassandra service with the “status” command:
bin/nodetool status
That is all from the binary tarball method.
Method 3: Using Docker Image
To deploy Cassandra on Ubuntu 24.04 using a Docker container, Docker must be installed first. Refer to the Docker installation guide for Linux to set up Docker on your Ubuntu system.
Once Docker is ready, follow the provided steps to install Apache Cassandra as a Docker image:
Step 1: Pull the Cassandra Docker Image
To begin using Cassandra with Docker, obtain the official Cassandra Docker image from Docker Hub by executing the following command:
docker pull cassandra:latest
Step 2: Run a Cassandra Container
After downloading the Cassandra image, initiate a new, detached Cassandra container by executing the ‘docker run’ command:
docker run --name cassandra -d cassandra:latest
Step 3: Connect to Cassandra
To interact with the Cassandra instance, open the Cassandra Query Language shell by running the cqlsh command:
cqlsh

Configuring Apache Cassandra on Ubuntu 24.04
Once Cassandra is installed, tailor the cassandra.yaml file to your cluster’s needs and start the service. Let’s configure Cassandra on Ubuntu 24.04:
Step 1: Configuring Cassandra
Cassandra’s primary configuration file, “cassandra.yaml“, resides in “/etc/cassandra“. You might need to modify this file, especially the “cluster_name” and “seeds” settings under “seed_provider” for multi-node setups. The default name of the cluster is “Test Cluster“:
sudo nano /etc/cassandra/cassandra.yaml

Step 2: Using Cassandra
To work with your database, start the Cassandra Query Language shell (cqlsh) by typing a command in your terminal:
cqlsh

Finally, users have configured Apache Cassandra on Ubuntu 24.04.
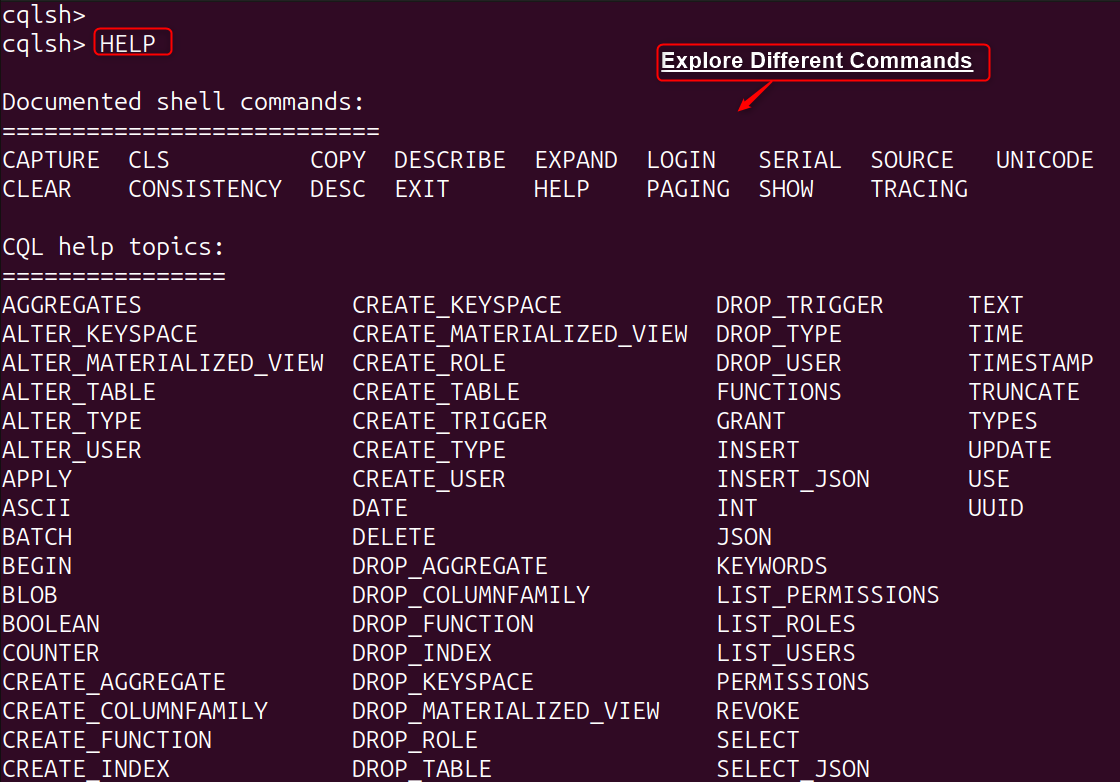
Explore Different Commands
For in-depth guidance on setup, troubleshooting, and shell commands, consult the official Apache documentation. Use the ‘HELP’ statement for additional shell command information:
Note: Configure Cassandra as a single-node or multi-node cluster based on your needs. For multi-node setups, ensure firewall rules allow Cassandra traffic.
Conclusion
To install Apache Cassandra on Ubuntu 24.04, you’ll need Java 8 or Java 11. The recommended method is to use the official Apache Software Foundation repositories. This involves adding the Cassandra repository to your system, importing the necessary GPG key, and updating the package lists. Once done, install Cassandra utilizing the sudo apt install cassandra command. Alternatively, you can install Cassandra using the binary tarball or Docker.