Linux offers a variety of tools and commands that allow users to monitor and control the hardware aspects of their systems. One such aspect is the fan speed, which is crucial for maintaining an optimal temperature for your computer’s components, thus ensuring performance and longevity.
Linux, known for its stability and flexibility, also provides various methods for users to control the fan speed of their systems. This capability is crucial for maintaining an optimal temperature for your hardware. Here, we explore the different methods available for controlling fan speed on Linux.
Table of Content
- How to Control Fan Speed on Linux
- Step 1: Installing lm-sensors
- Step 2: Detecting Sensors
- Step 3: Checking Sensor Output
- Step 4: Configuring fancontrol
- Step 5: Fine-Tuning and Starting fancontrol
- Bonus Tip: Control Fan Speed Using BIOS
- Conclusion
How to Control Fan Speed on Linux
One of the most common tools for monitoring and controlling fan speed on Linux is lm-sensors. It’s a powerful suite that can read temperature, voltage, and fan speed sensors. For the configuration of the lm-sensors, the fancontrol script is utilized for adjusting the fan speed based on the temperatures reported through lm-sensors.
Let’s install and configure the fan speed on linux via lm-sensors on the Linux system:
Step 1: Installing lm-sensors
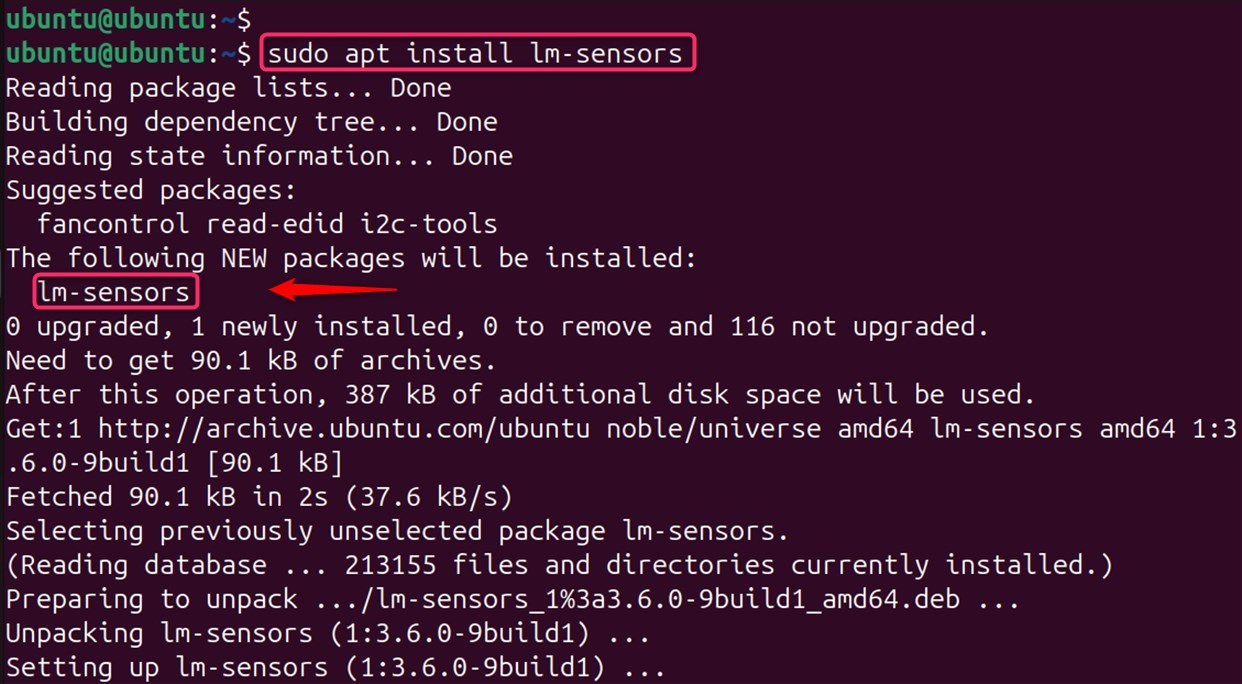
The first step in controlling fan speed is to install lm-sensors, a tool that allows you to monitor hardware sensors, including temperature and fan speed.
For Debian-based systems:
sudo apt updatesudo apt install lm-sensors
For RHEL-based systems like CentOS:
sudo dnf -y install lm_sensors
Step 2: Detecting Sensors
After installation, you need to detect the available sensors on your system and determine the necessary kernel modules to load. Use the following command:
sudo sensors-detect
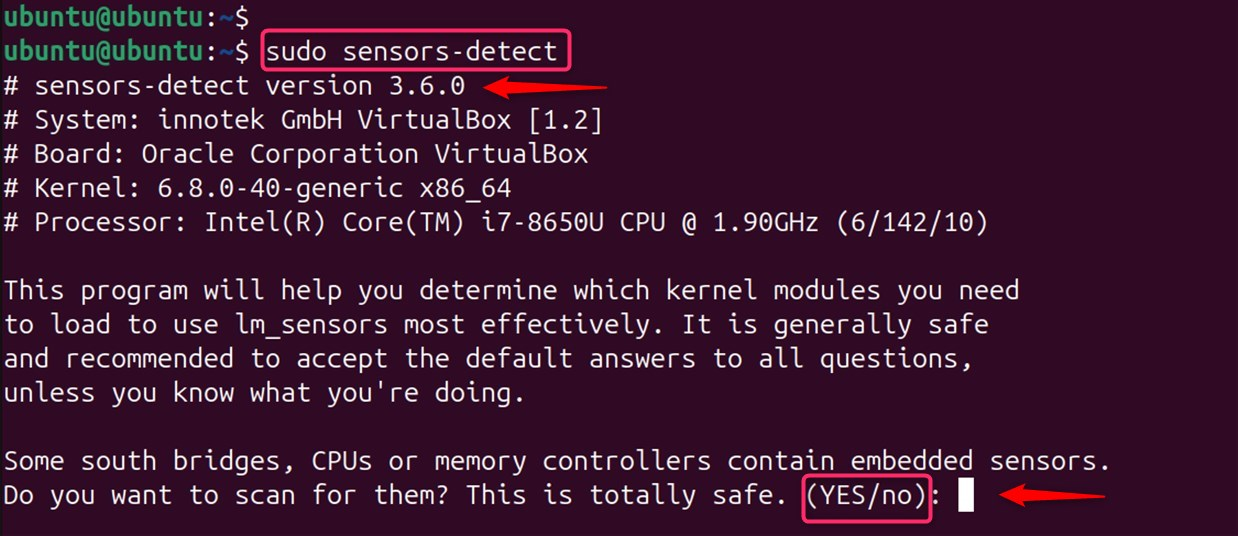
You will be prompted to answer a series of questions to identify the sensors:
It’s generally safe to accept the default answers unless you have specific requirements:

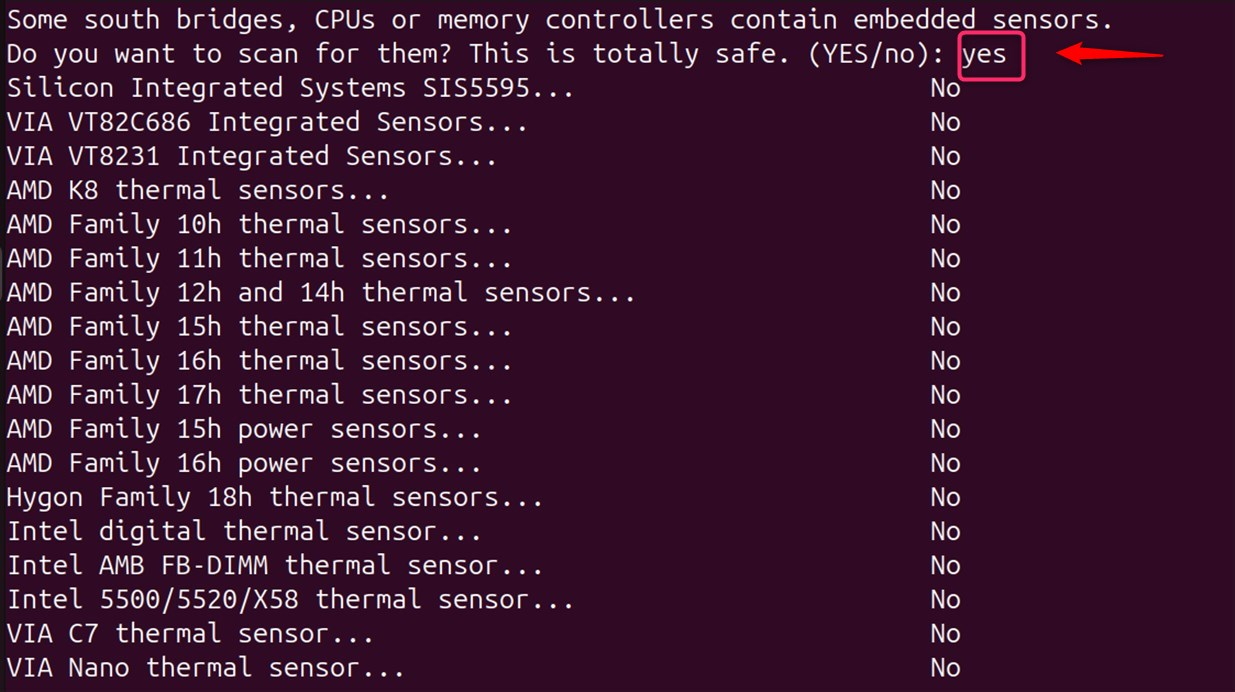
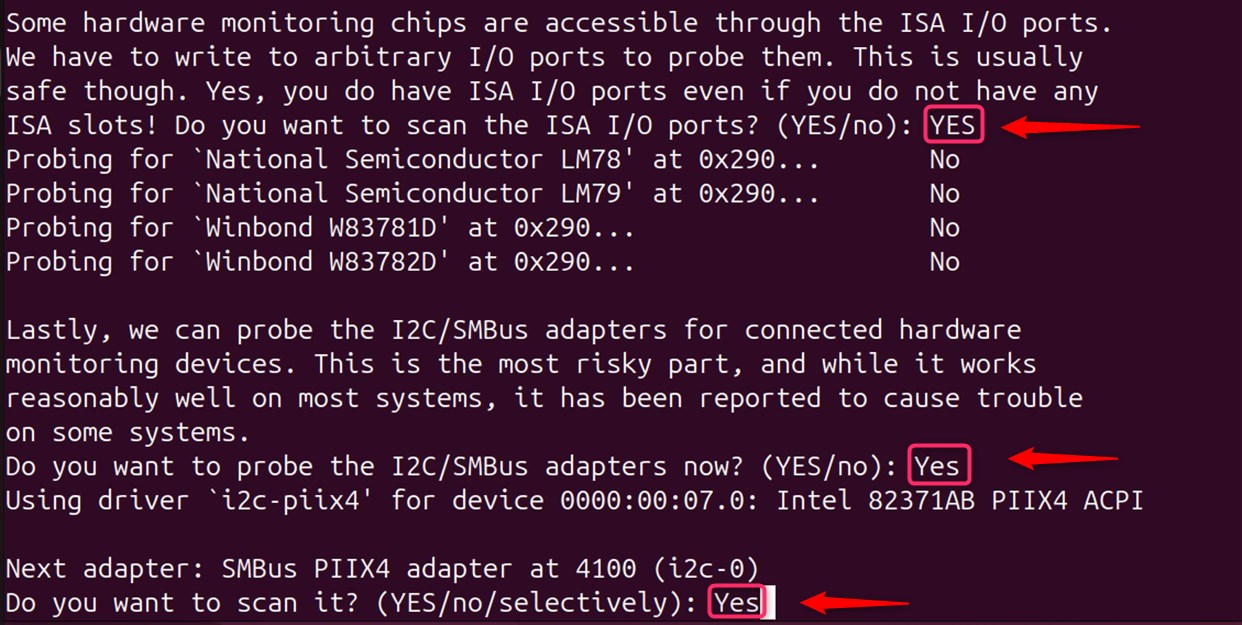
It moves further to asking to scan:
Note: Always remember to proceed with caution, as incorrect settings can potentially harm your system. Remember, keeping your system cool is not just about comfort, but also about ensuring the longevity and reliability of your hardware.
Step 3: Checking Sensor Output
To confirm that the sensors are working correctly, use the sensors command:
sensors

This displays the current readings of all detected sensors, including temperatures and fan speeds.
Step 4: Configuring fancontrol
fancontrol is a utility that works alongside lm-sensors to regulate fan speed based on system temperature. This pwmconfig tool is often used to control PWM (Pulse-Width Modulation) fans. It requires root privileges and can be used to set fan speeds based on specific PWM values.
For configuration, users need to run the below command:
sudo pwmconfig
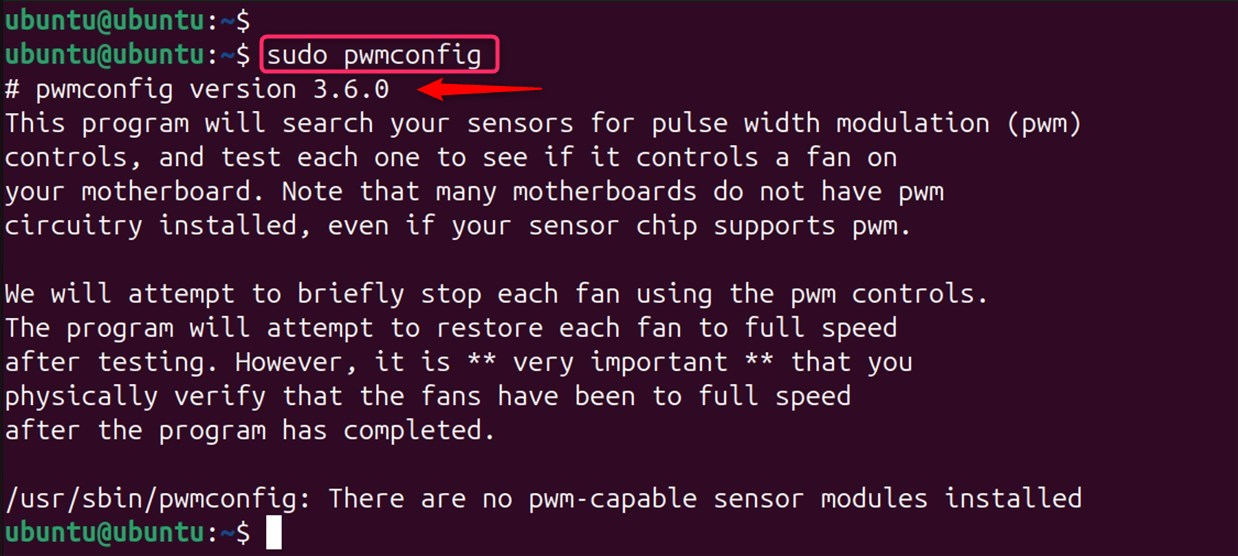
This script guides you through a series of prompts to configure the fan speed control.
Note: fancontroll is another command-line tool that provides a more user-friendly interface for controlling fan speeds. It can be used to set fan speeds based on temperature thresholds.
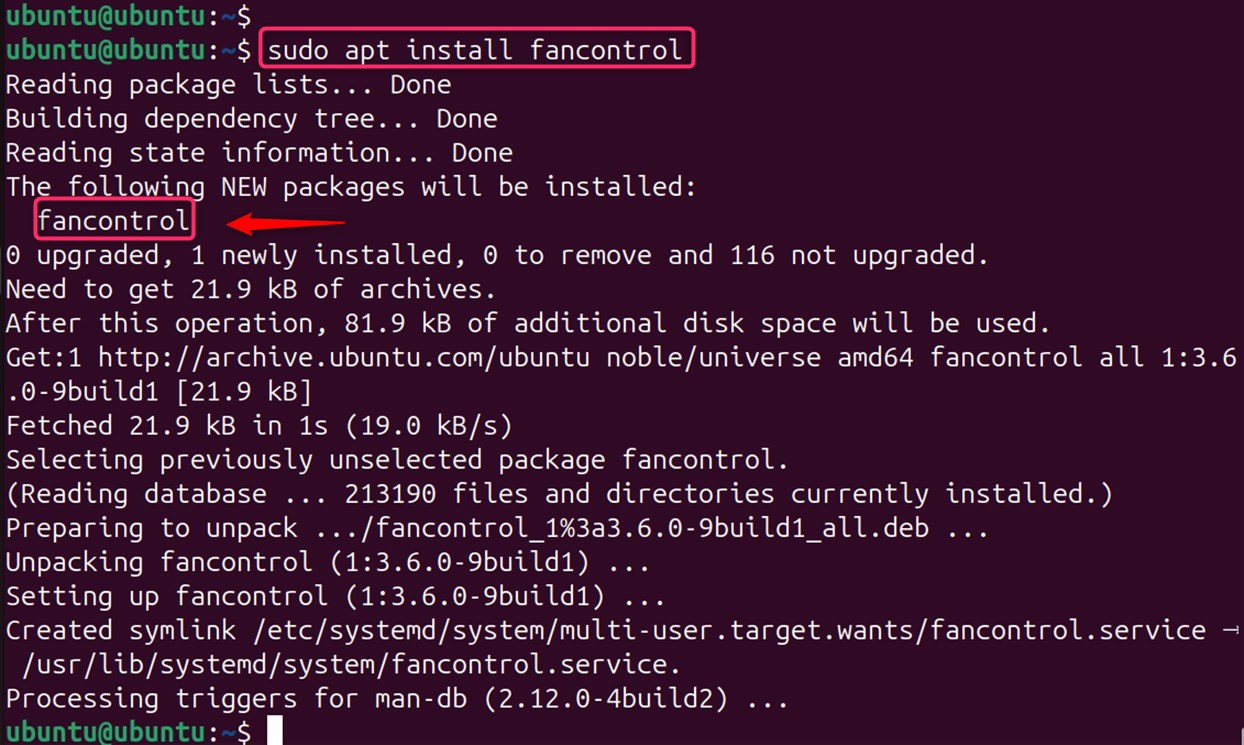
You’ll specify which sensors to use and set the desired fan speed for different temperature thresholds. If not work, users can install fancontroll package as below:
sudo apt install fancontrol
Step 5: Fine-Tuning and Starting fancontrol
Once you’ve configured fancontrol, you may need to fine-tune the settings in the /etc/fancontrol file. After making adjustments, apply your changes by restarting the fancontrol service:
sudo service fancontrol restart

By following these steps, you can effectively control the fan speed on your Linux system, ensuring that your hardware runs at optimal temperatures and performs efficiently.
Bonus Tip: Control Fan Speed Using BIOS
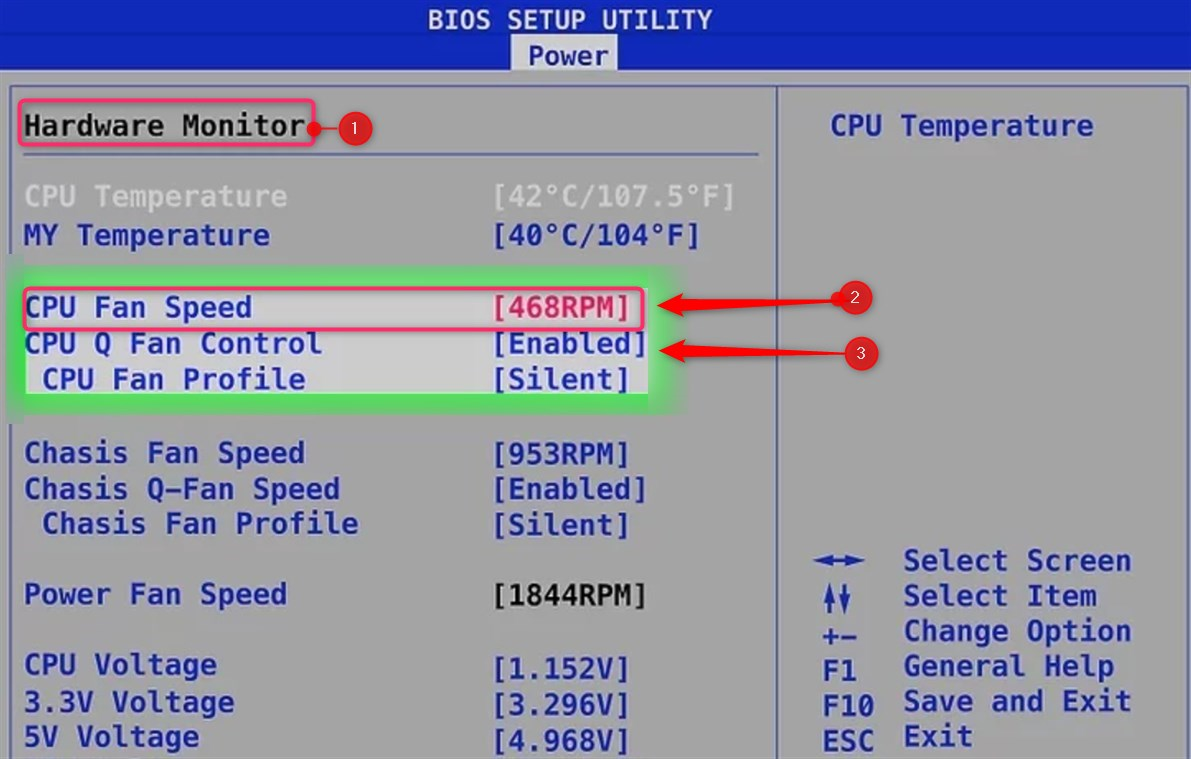
Another method to control fan speed is through the system’s BIOS or UEFI settings. Many modern motherboards provide options to set up fan profiles that regulate the fan speed based on CPU or system temperatures.
Accessing BIOS/UEFI:
– Reboot your system and press the key indicated on the screen (often F2, Del, or Esc) to enter the BIOS/UEFI.
– Then, move to the Hardware Monitor section and check the CPU Fan Speed. For instance, it is 468 RPM.
– Finally, Adjust the Fan Control as needed, being careful not to disable critical safety features:
That is all from the guide.
Conclusion
Controlling fan speed on Linux requires a bit of setup, but it offers the flexibility to optimize your system’s cooling as per your needs. Whether you prefer a GUI tool or the command line, Linux provides you with the options to keep your system cool and quiet. First, install lm-sensors using the package manager of your distribution. For Debian-based systems, use sudo apt install lm-sensors, and for RHEL-based systems, sudo dnf install lm_sensors. Then, find the system’s sensors via sudo sensors-detect. After that, confirm sensor operation with the sensors command. Finally, use pwmconfig to create a fancontrol configuration file.
Keep following LinuxWorld for more Linux guides.